¶ title: Construction of 2nd event mechanism
description: Doc ID: 2022_RE_PP_003
published: true
date: 2025-05-21T19:20:38.952Z
tags:
editor: markdown
dateCreated: 2022-08-20T16:31:25.107Z
¶ title: Construction of 2nd event mechanism
description: Doc ID: 2022_RE_PP_003
published: true
date: 2024-12-30T21:20:12.027Z
tags:
editor: markdown
dateCreated: 2022-08-20T16:31:25.107Z
¶ title: Construction of 2nd event mechanism
description: Doc ID: 2022_RE_PP_003
published: true
date: 2024-03-05T18:08:44.279Z
tags:
editor: markdown
dateCreated: 2022-08-20T16:31:25.107Z
¶ Deployment mechanism construction & assembly
¶ 1. Introduction
This document explain how to produce and to assemble 2nd event deployment mechanism for wildhorn.
Assembly Information:
→ Time required for production : 1 hour
→ Time required for assembly : 30 min
→ People required: 1 Person
¶ 2. Construction Description
¶ 2.1 Step by step Construction Procedure
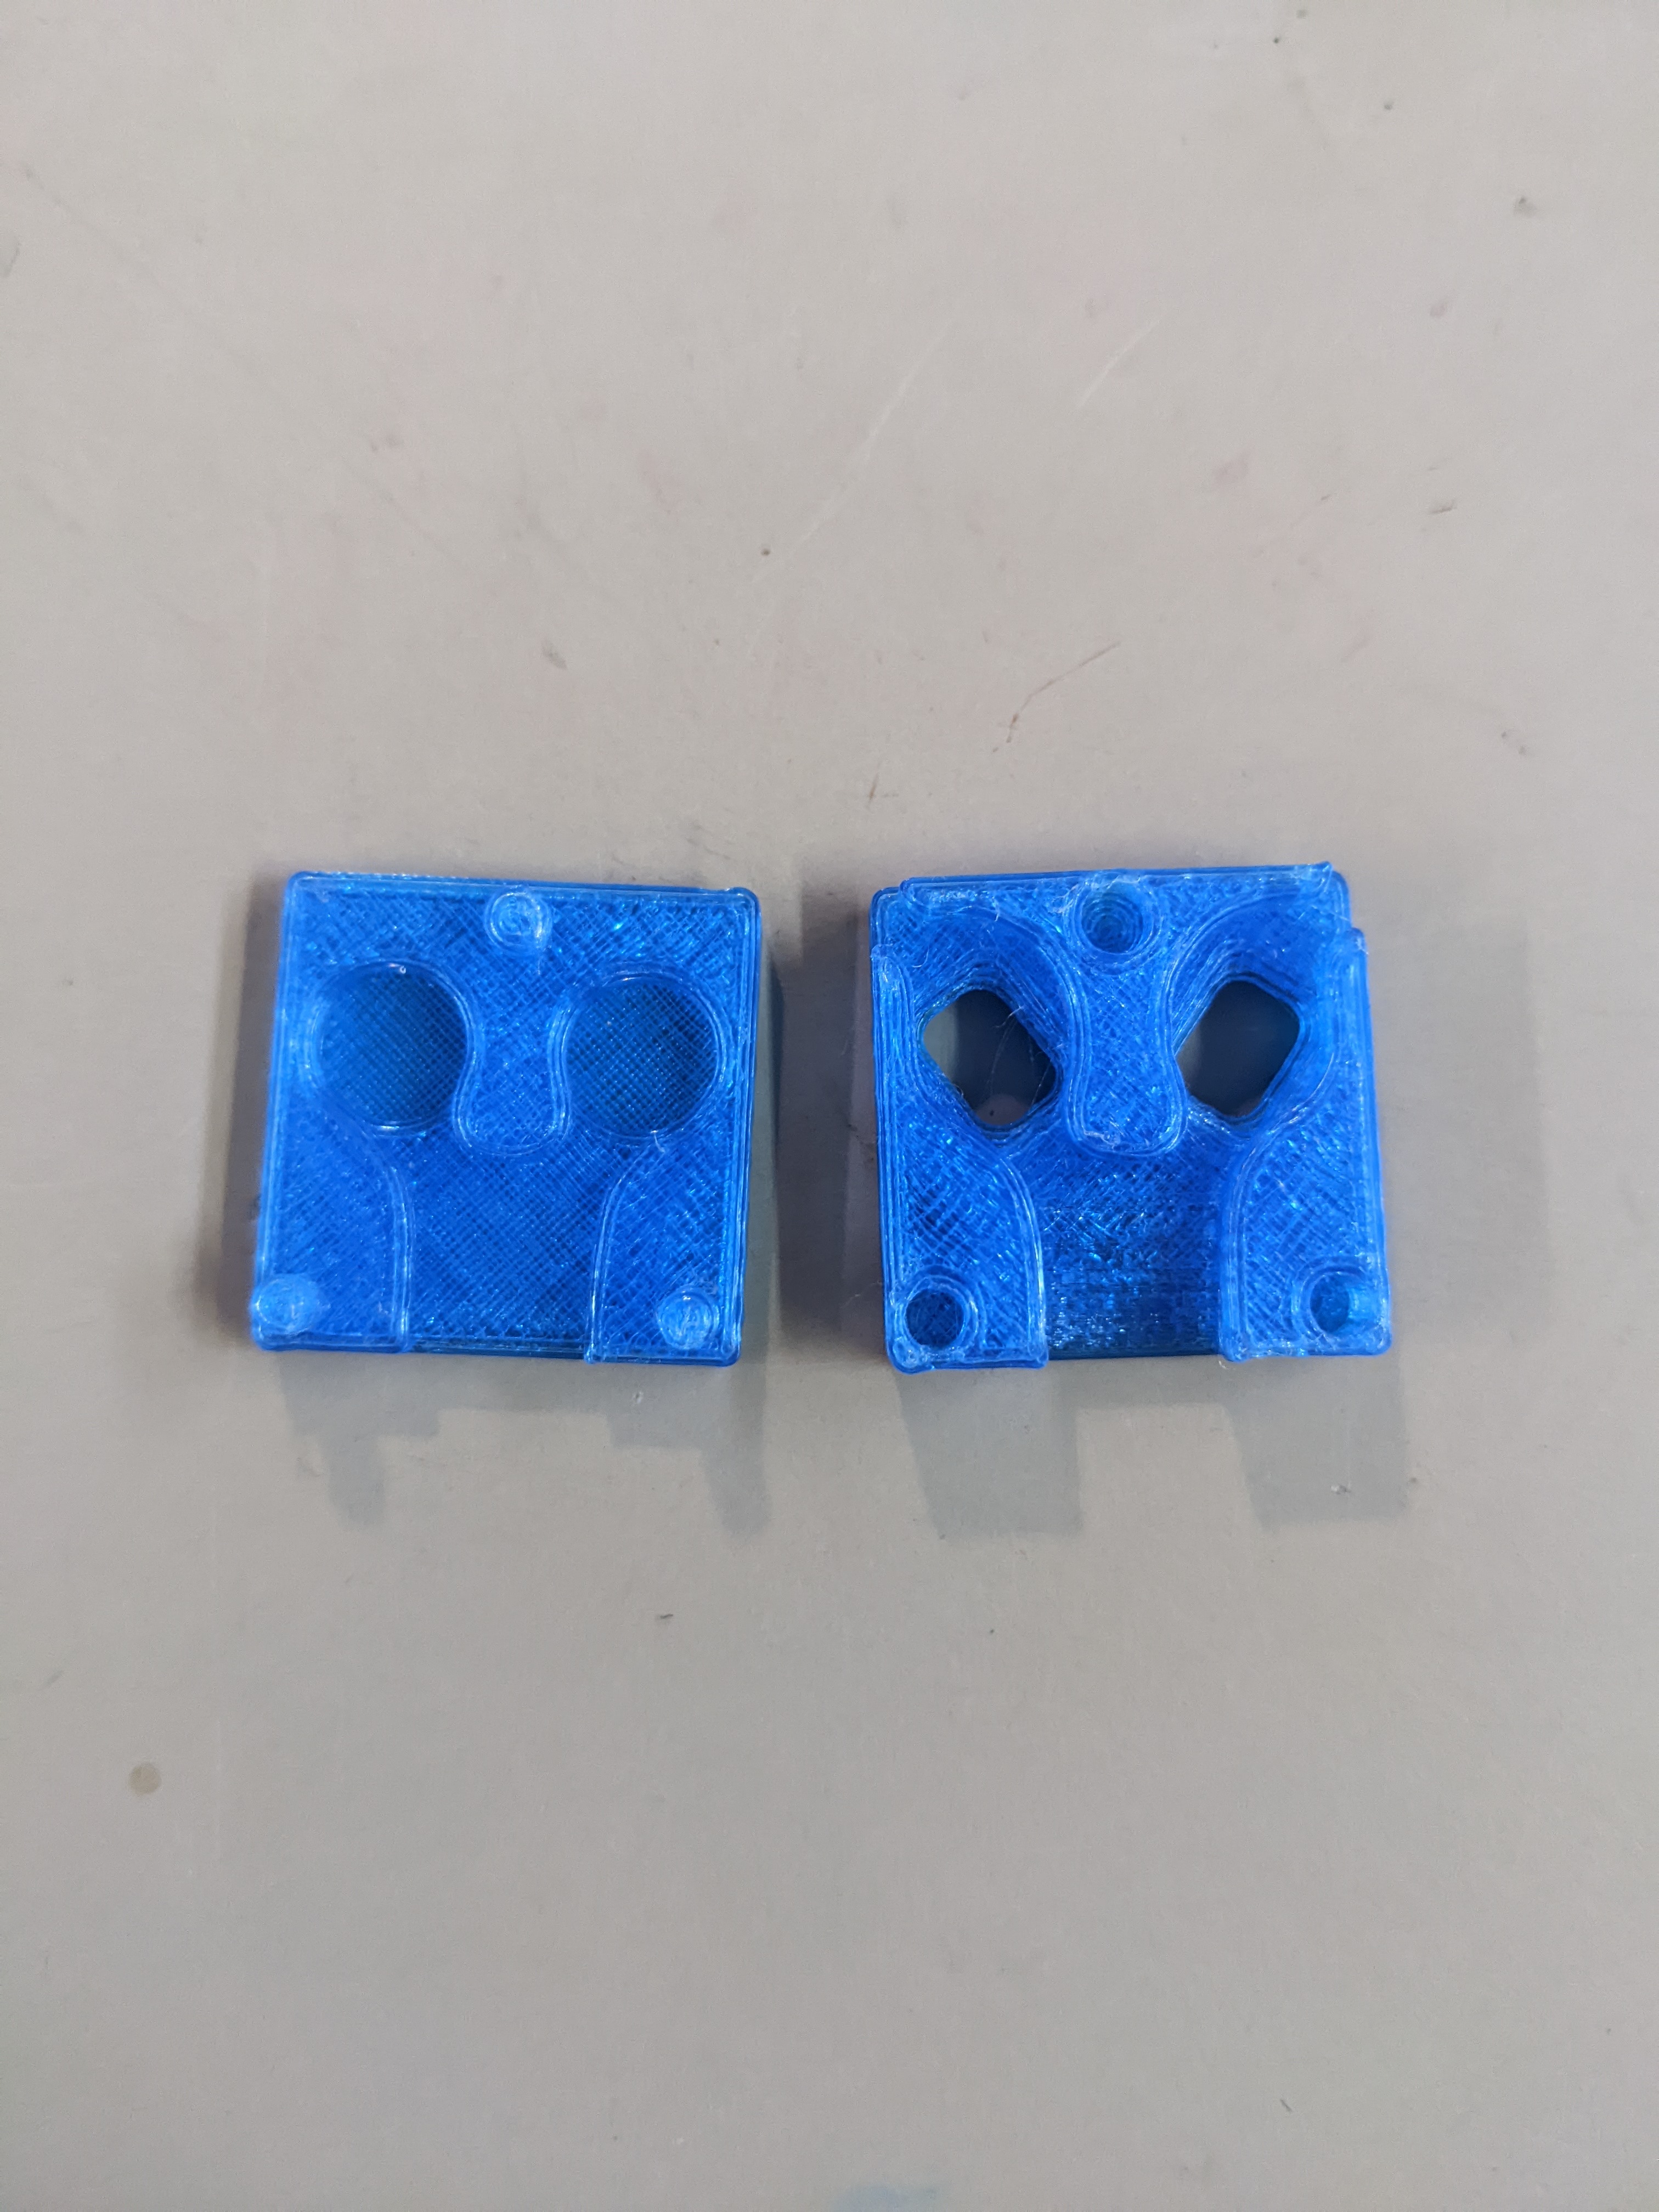
¶ Step 1 : 3D printing
☐ Start by 3D printing the two parts
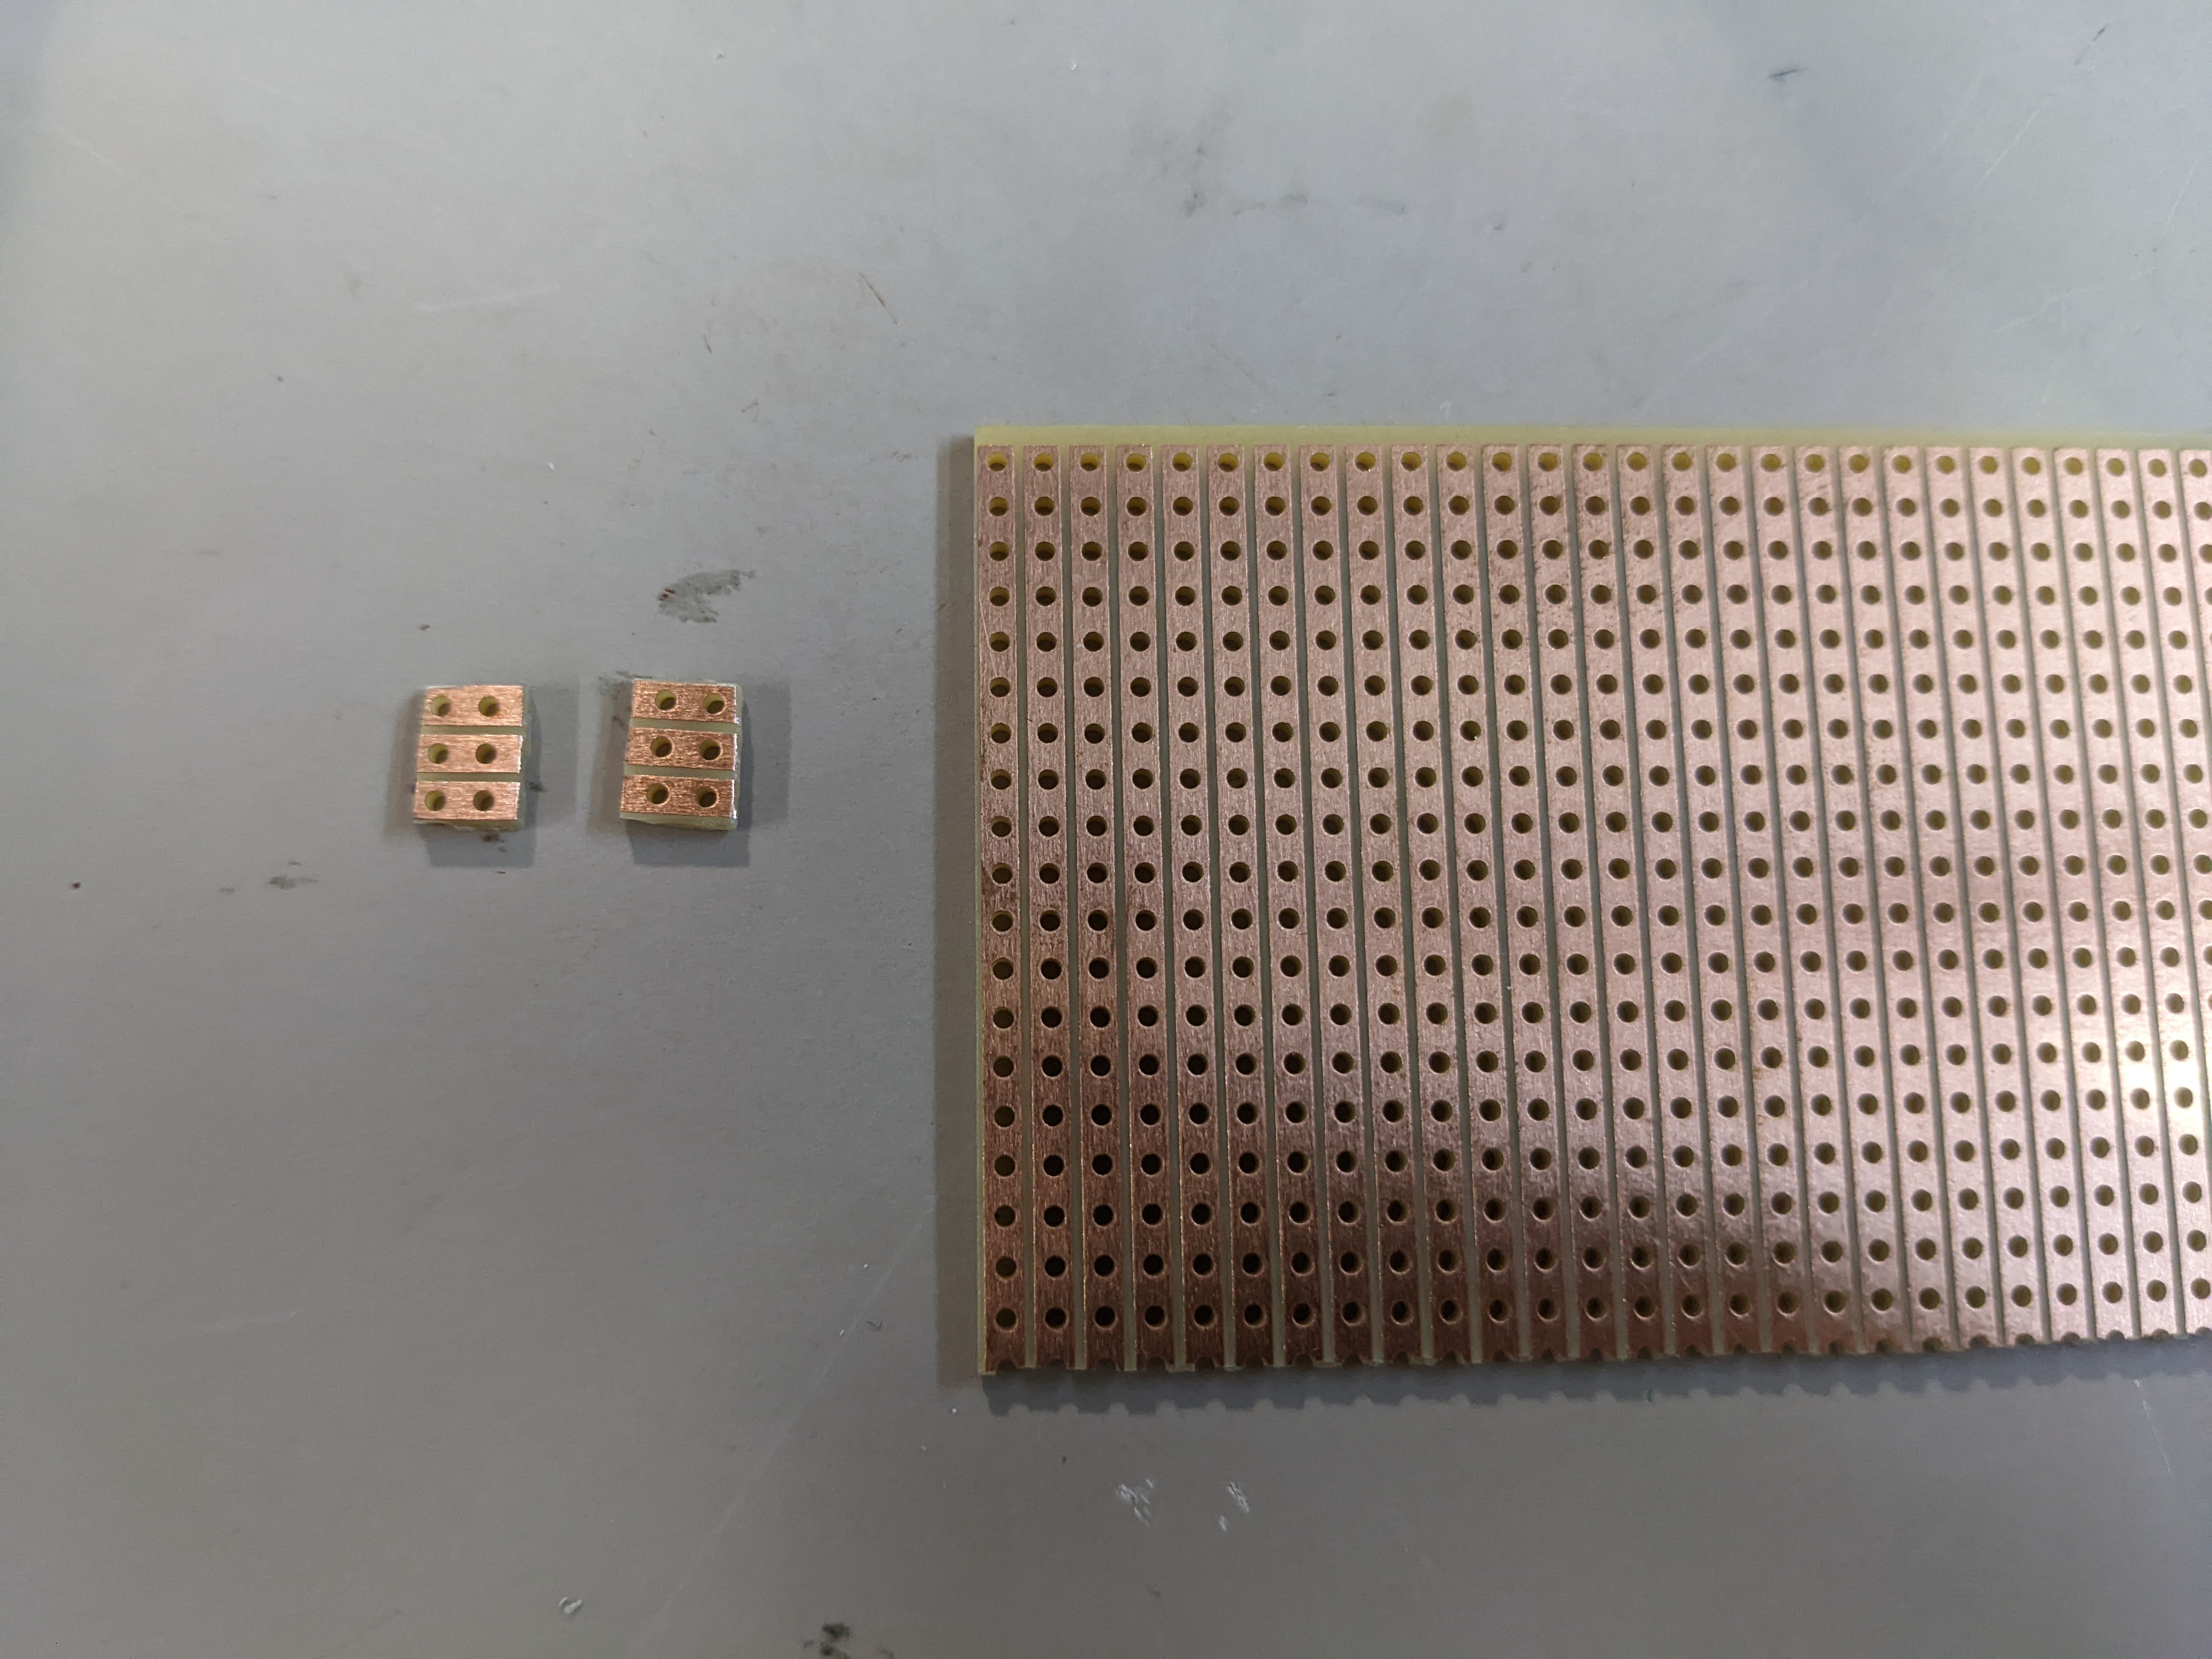
¶ Step 2 : Cutting electronic board
☐ Cut 2 rectangles (2x3 holes)
☐ Remove with a cutter the internal layer of copper of both small rectangle in order to avoid any short circuit (not shown)
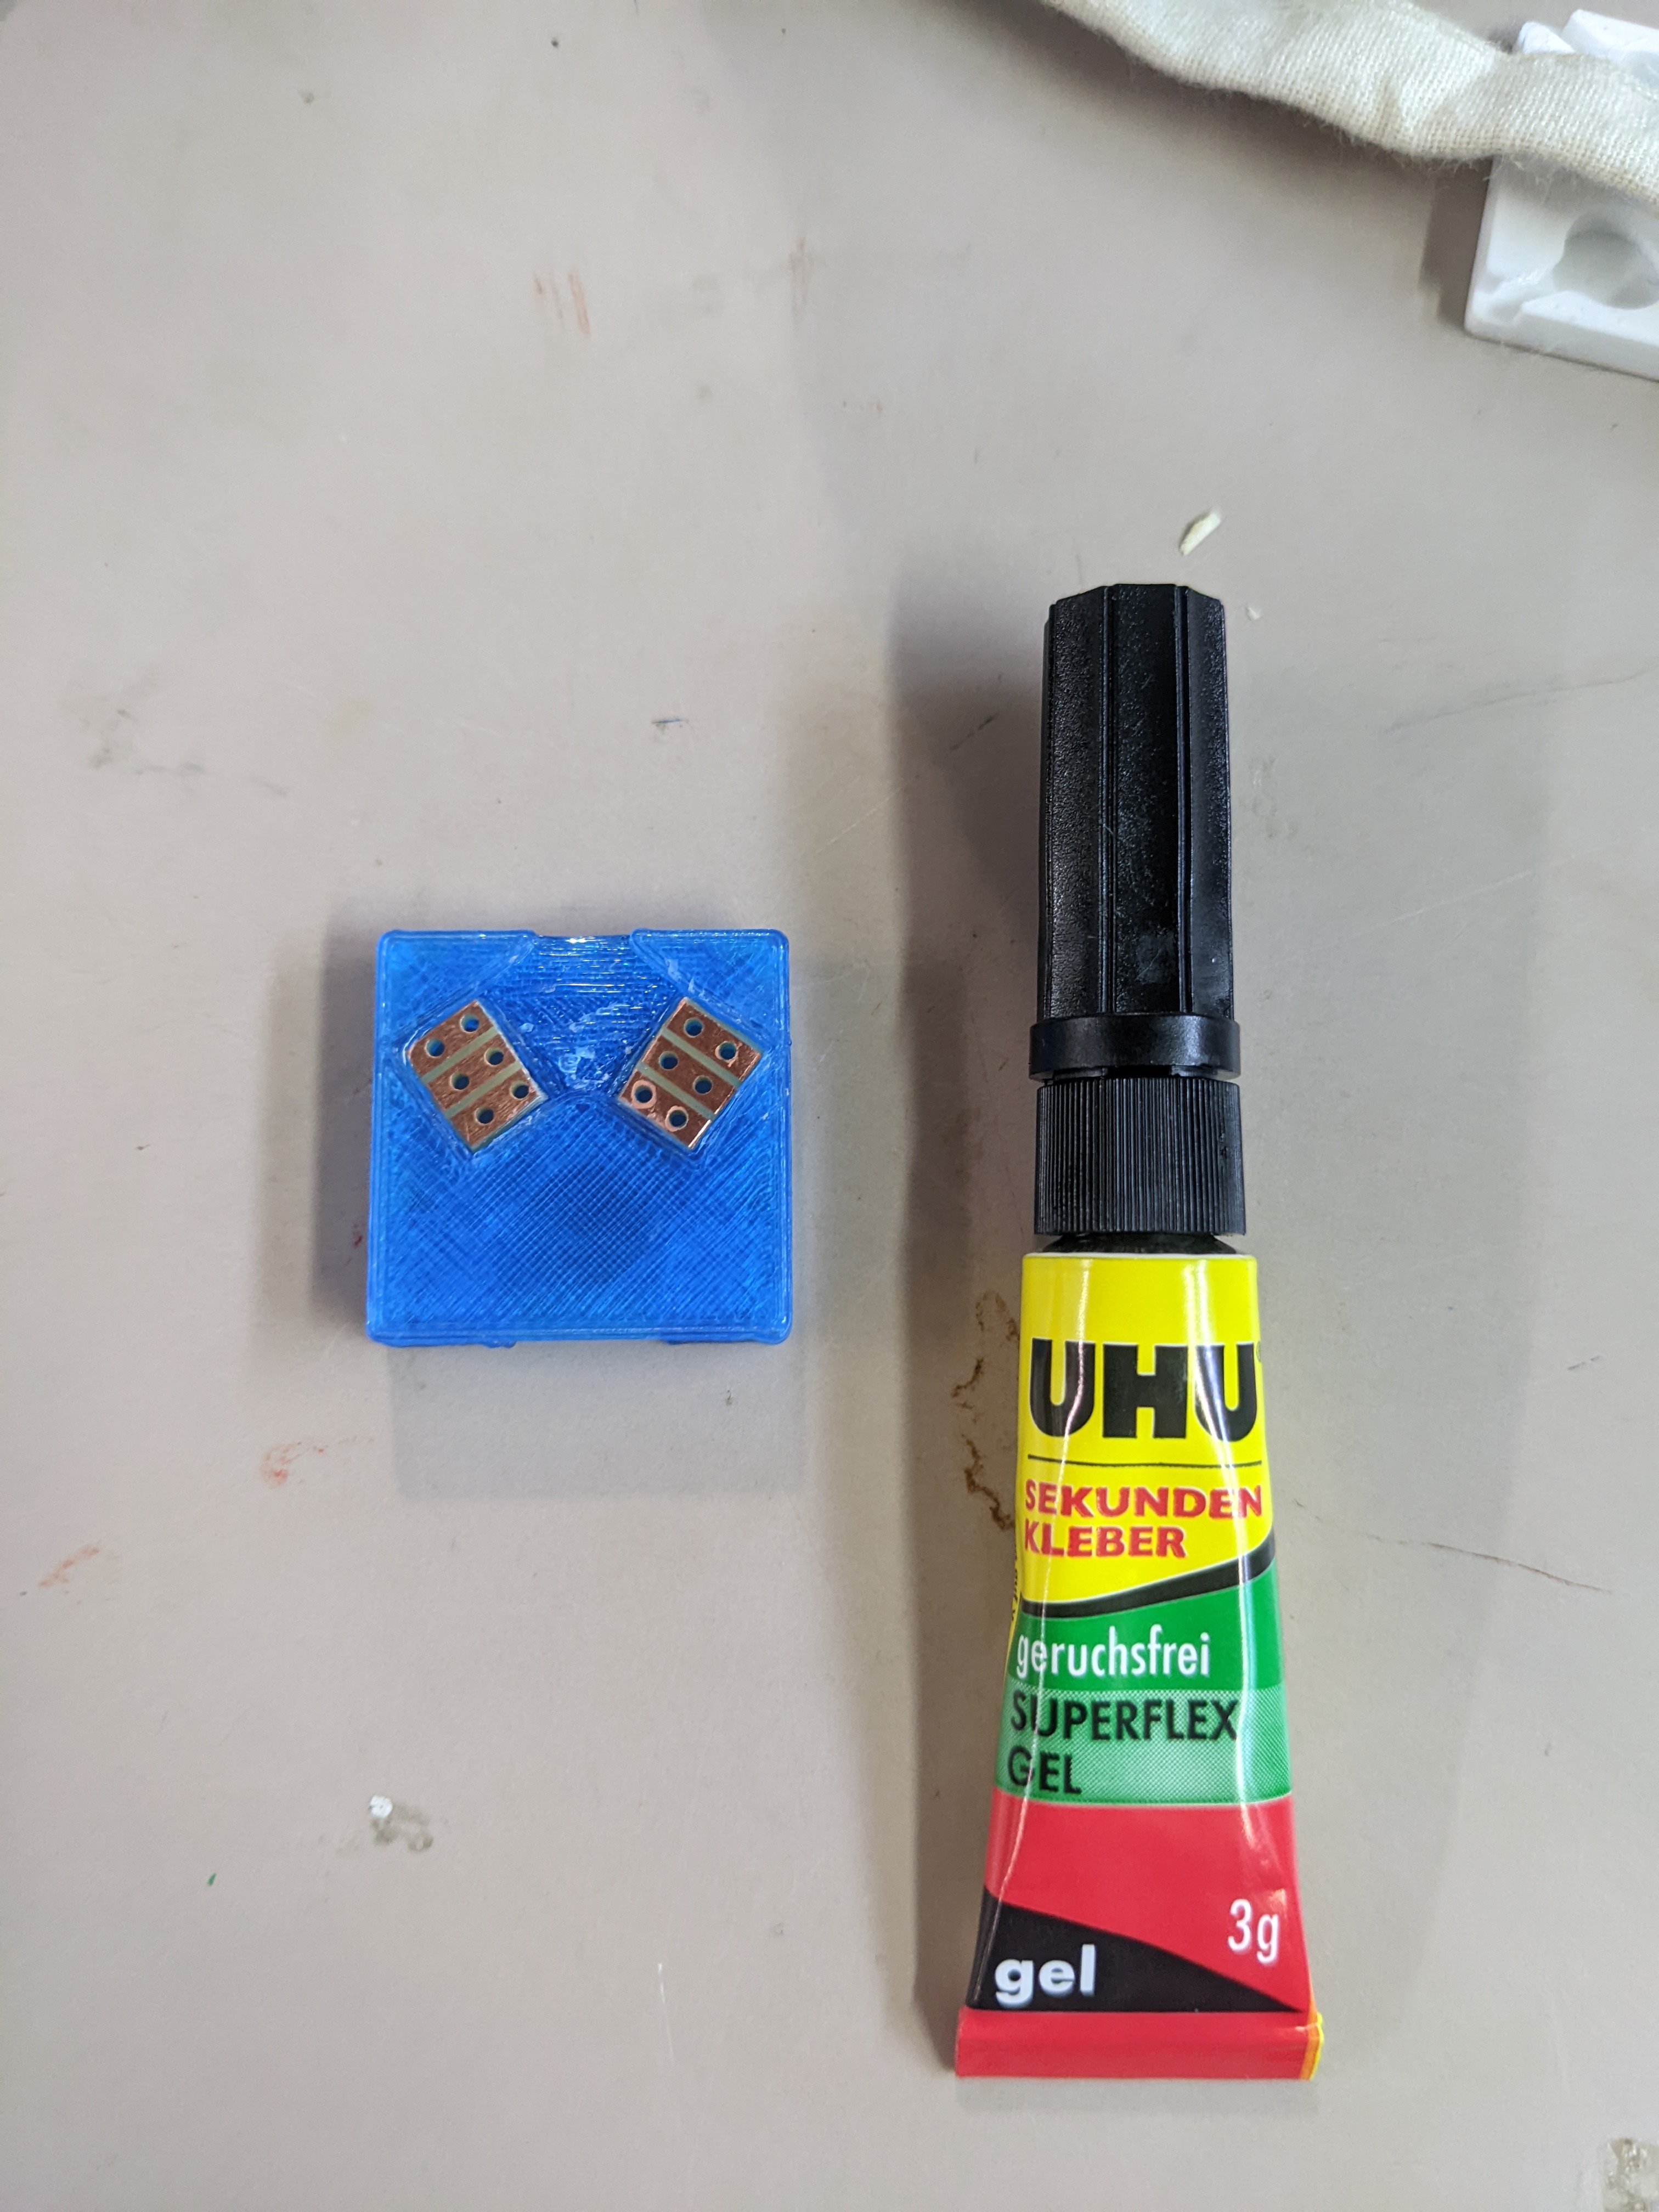
¶ Step 3 : Sticking
☐ Stick the 2 rectangles on the blue box
¶ Step 4 : Dyneema and nichrome
☐ Cut 15 cm of dyneema and mark with a pen where the nichrome loops will take place
☐ Cut 2x 5cm of nichrome
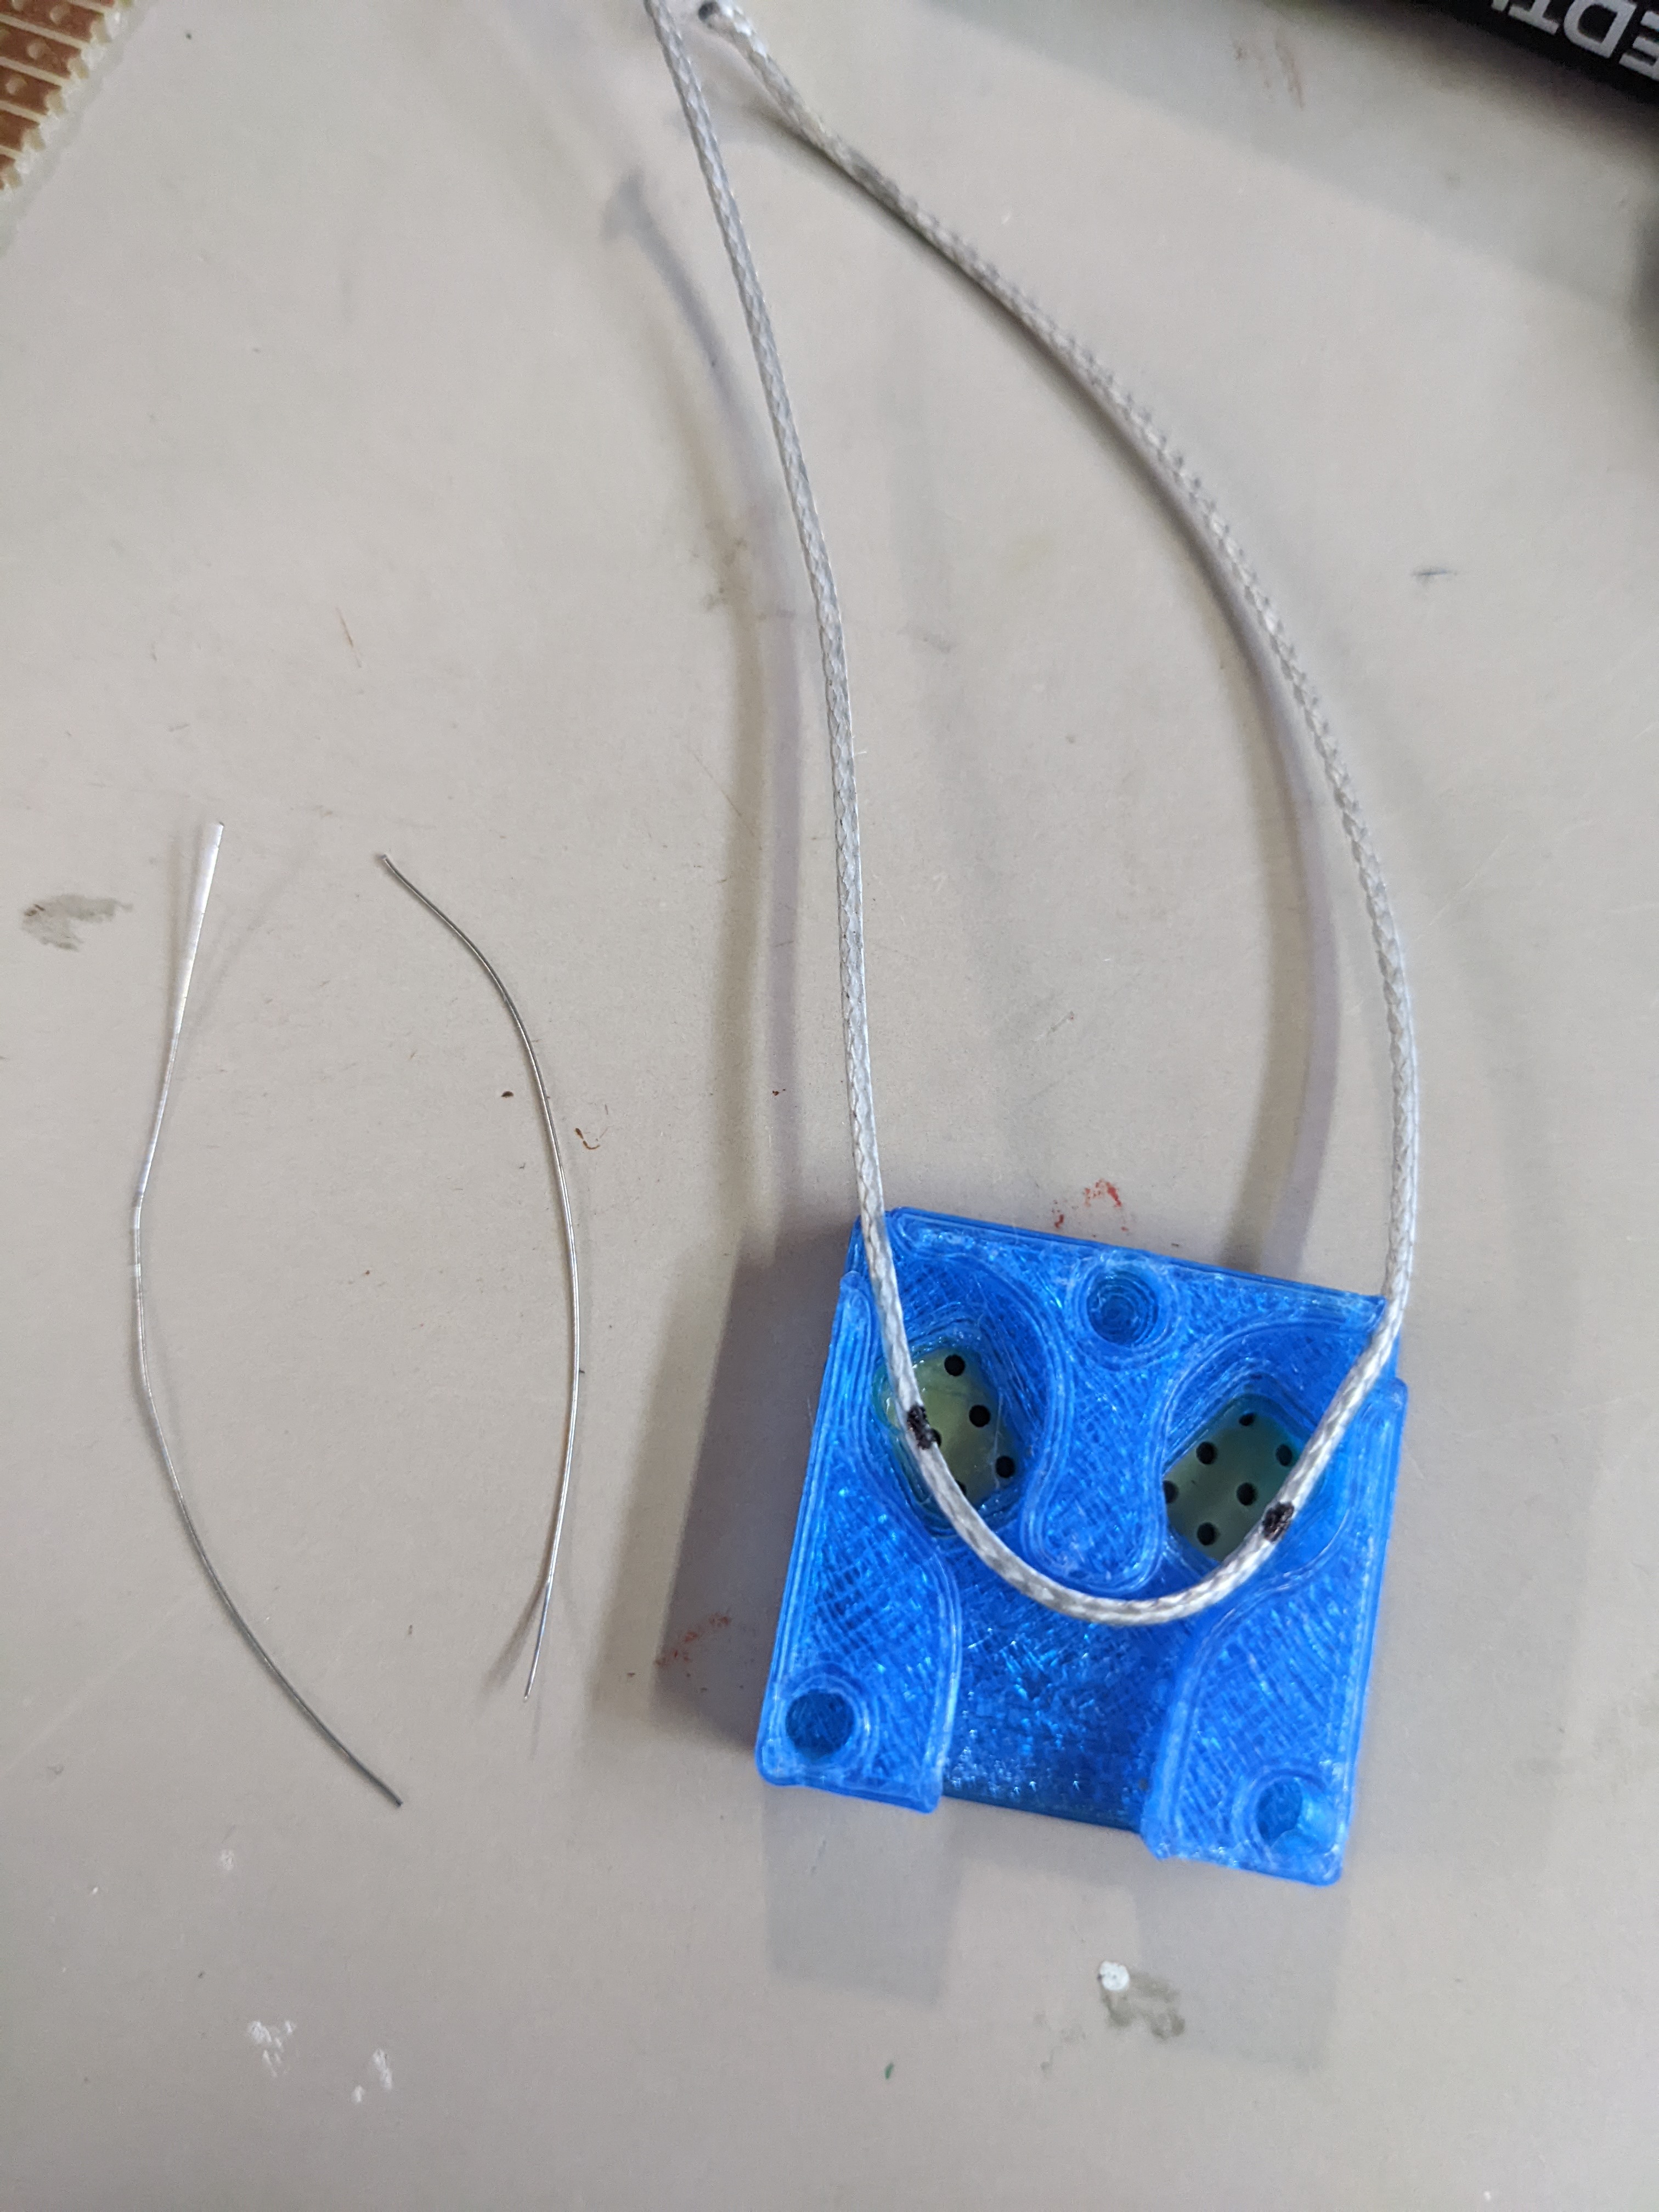
¶ Step 6 : Assembling
☐ Make two loops with the nichrome around the dyneema on the marks done before
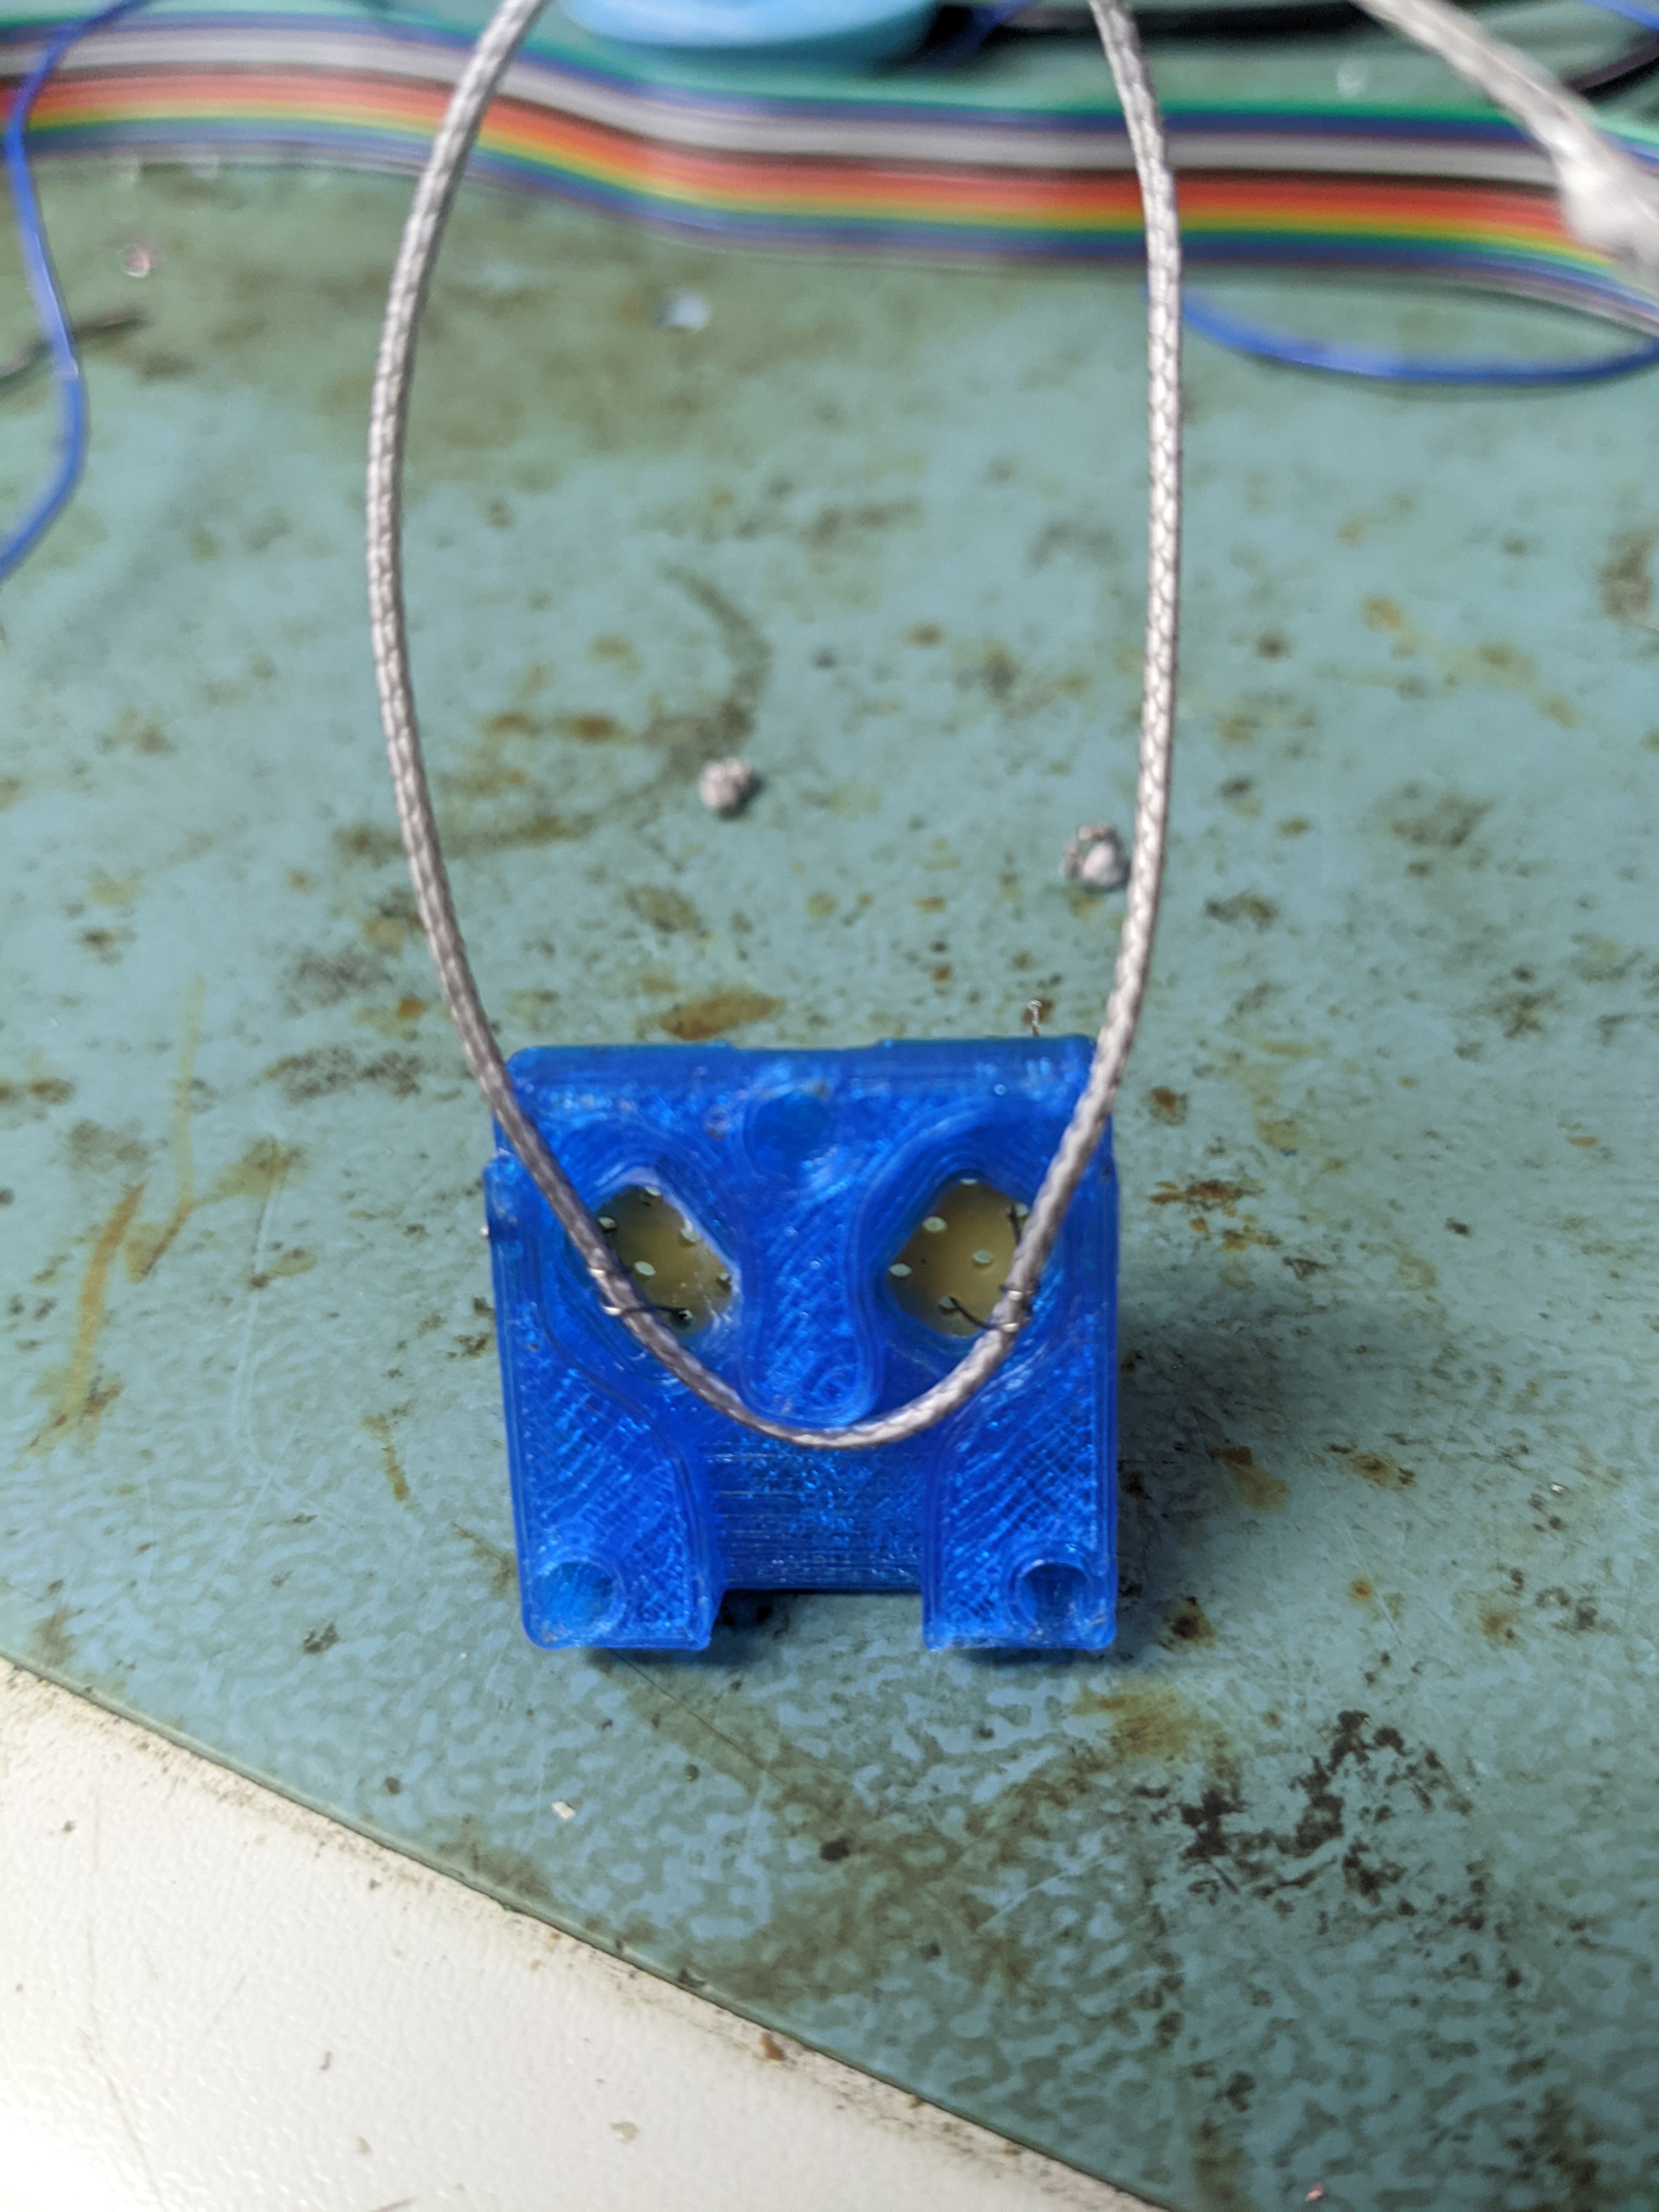
☐ Plug the nichrom wire trough the 4 external holes of the electronic board as shown
¶ Step 7 : Wires
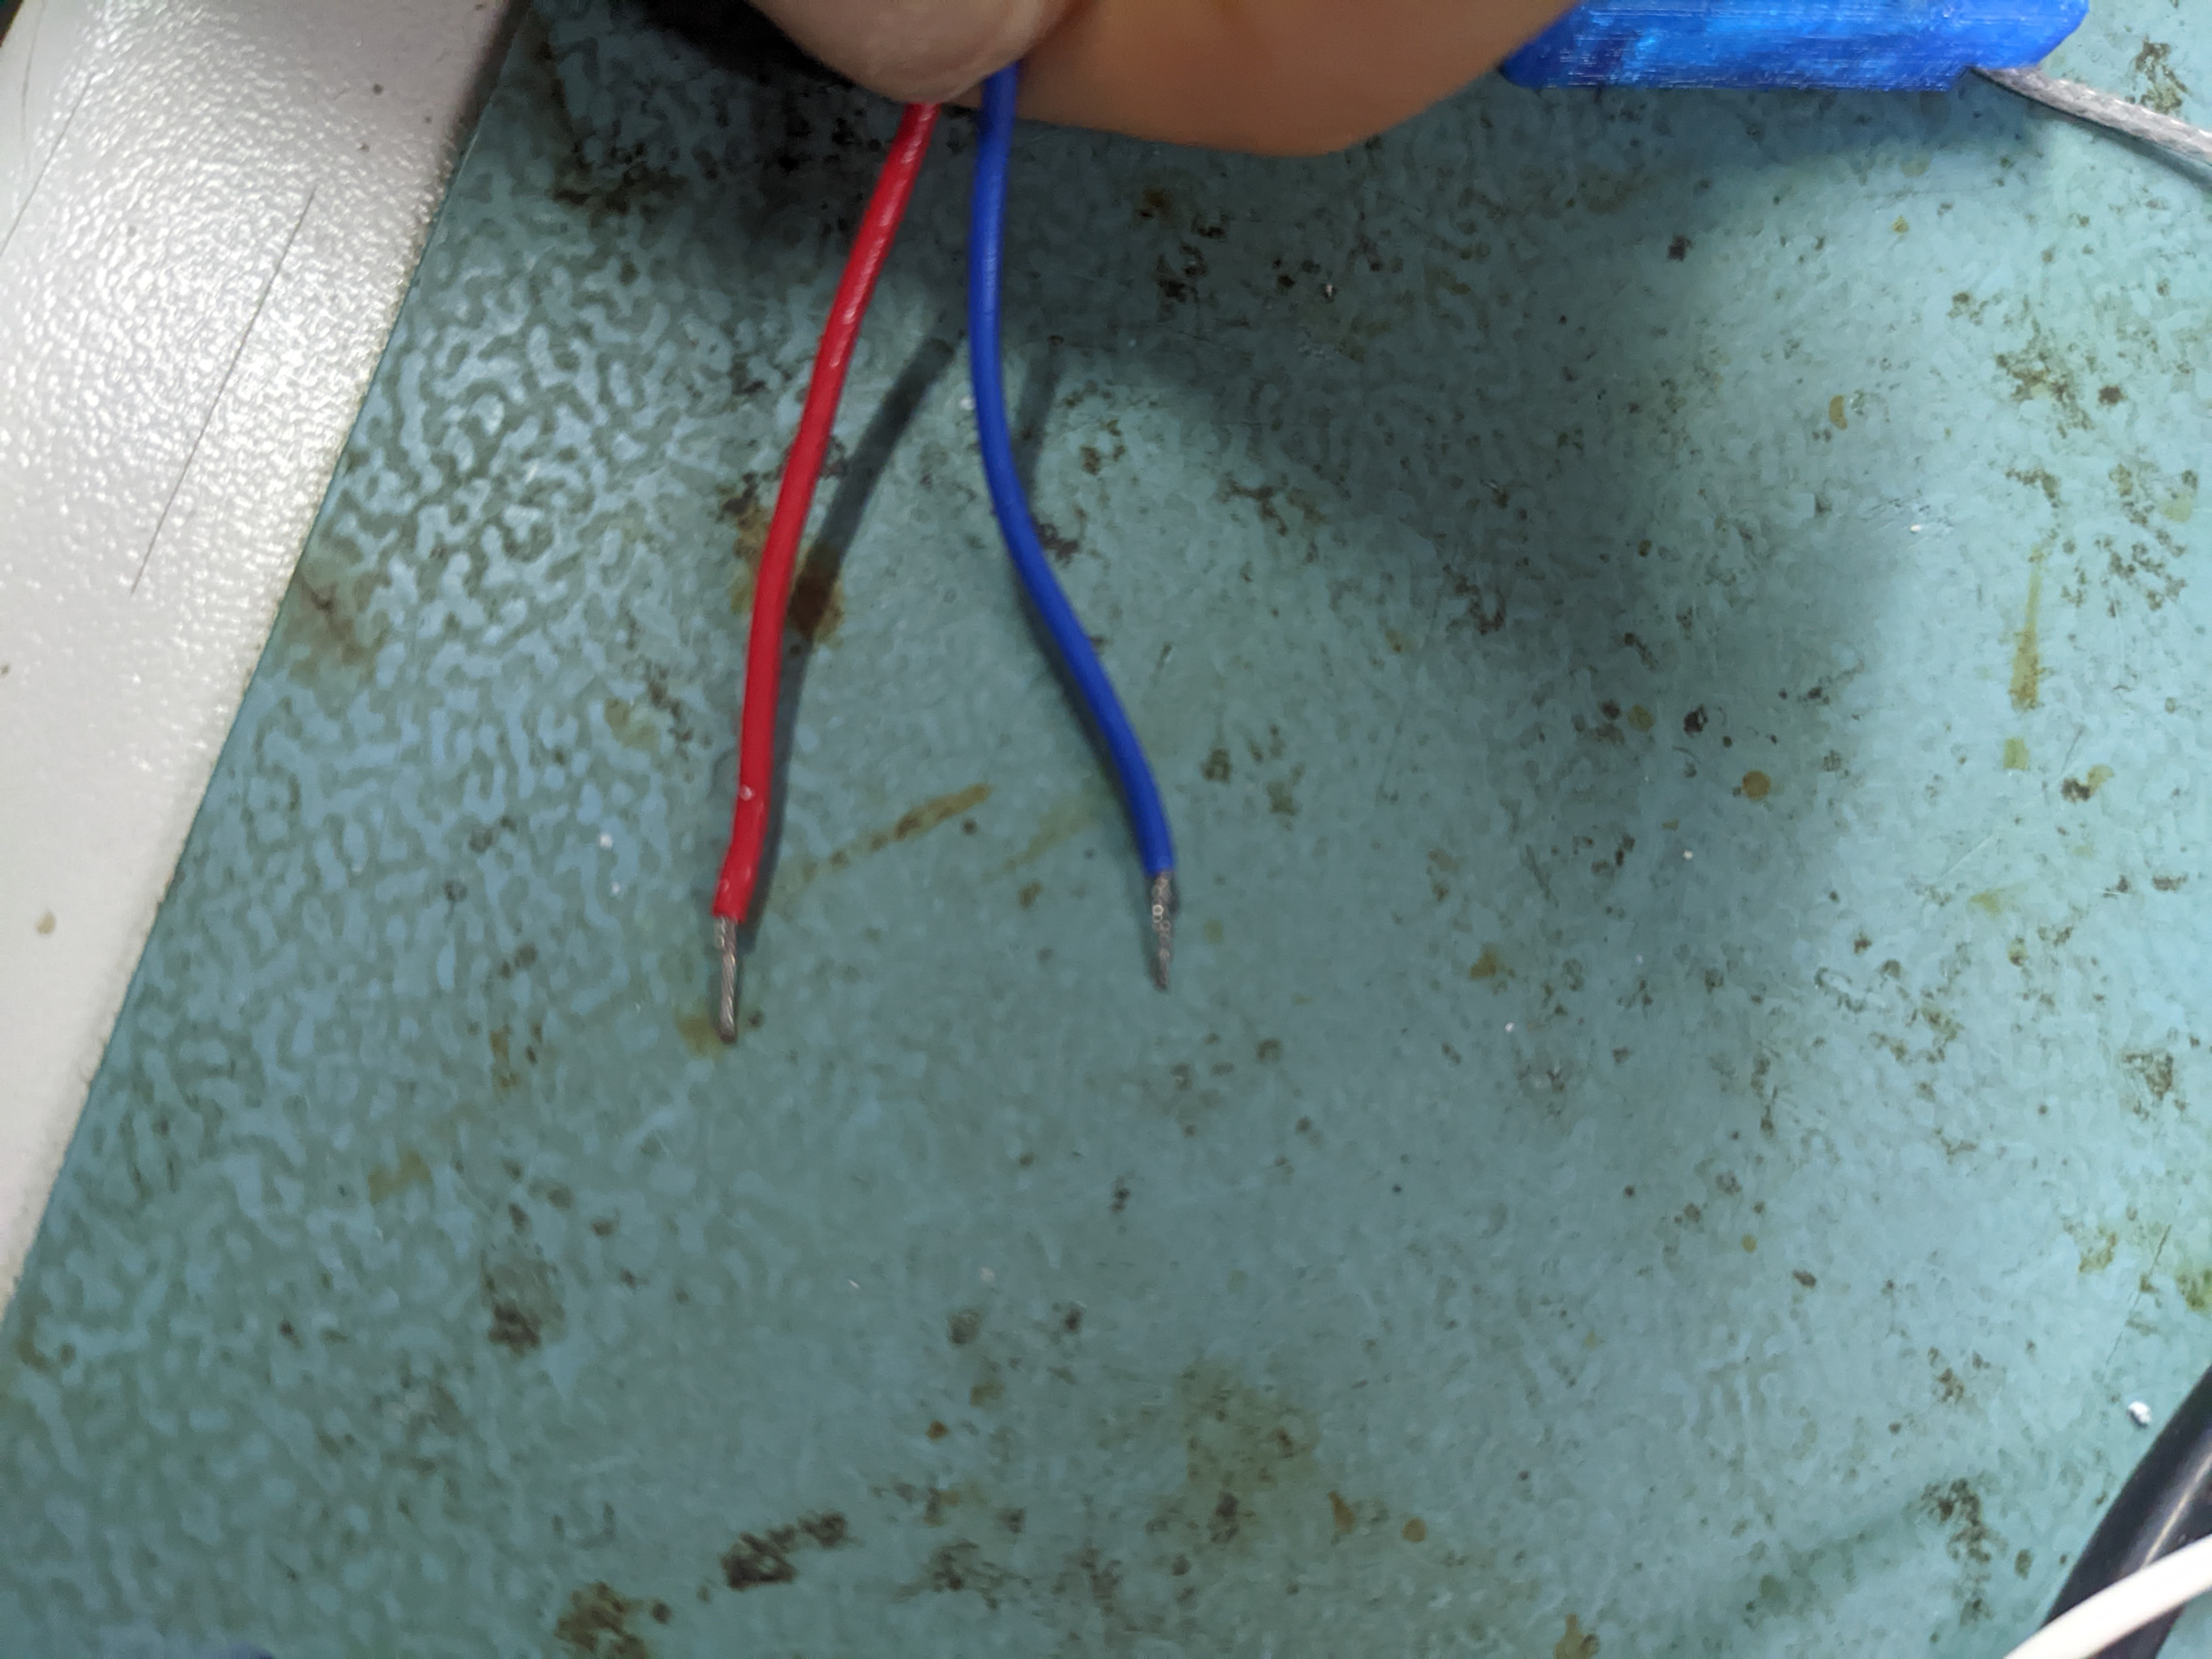
☐ Cut 4x wires of different colors and strip them 3mm
¶ Step 8 : Soldering
☐ Solder the 4 wires by pairs with the nichrome wires
☐ Cut the excess of nichrome

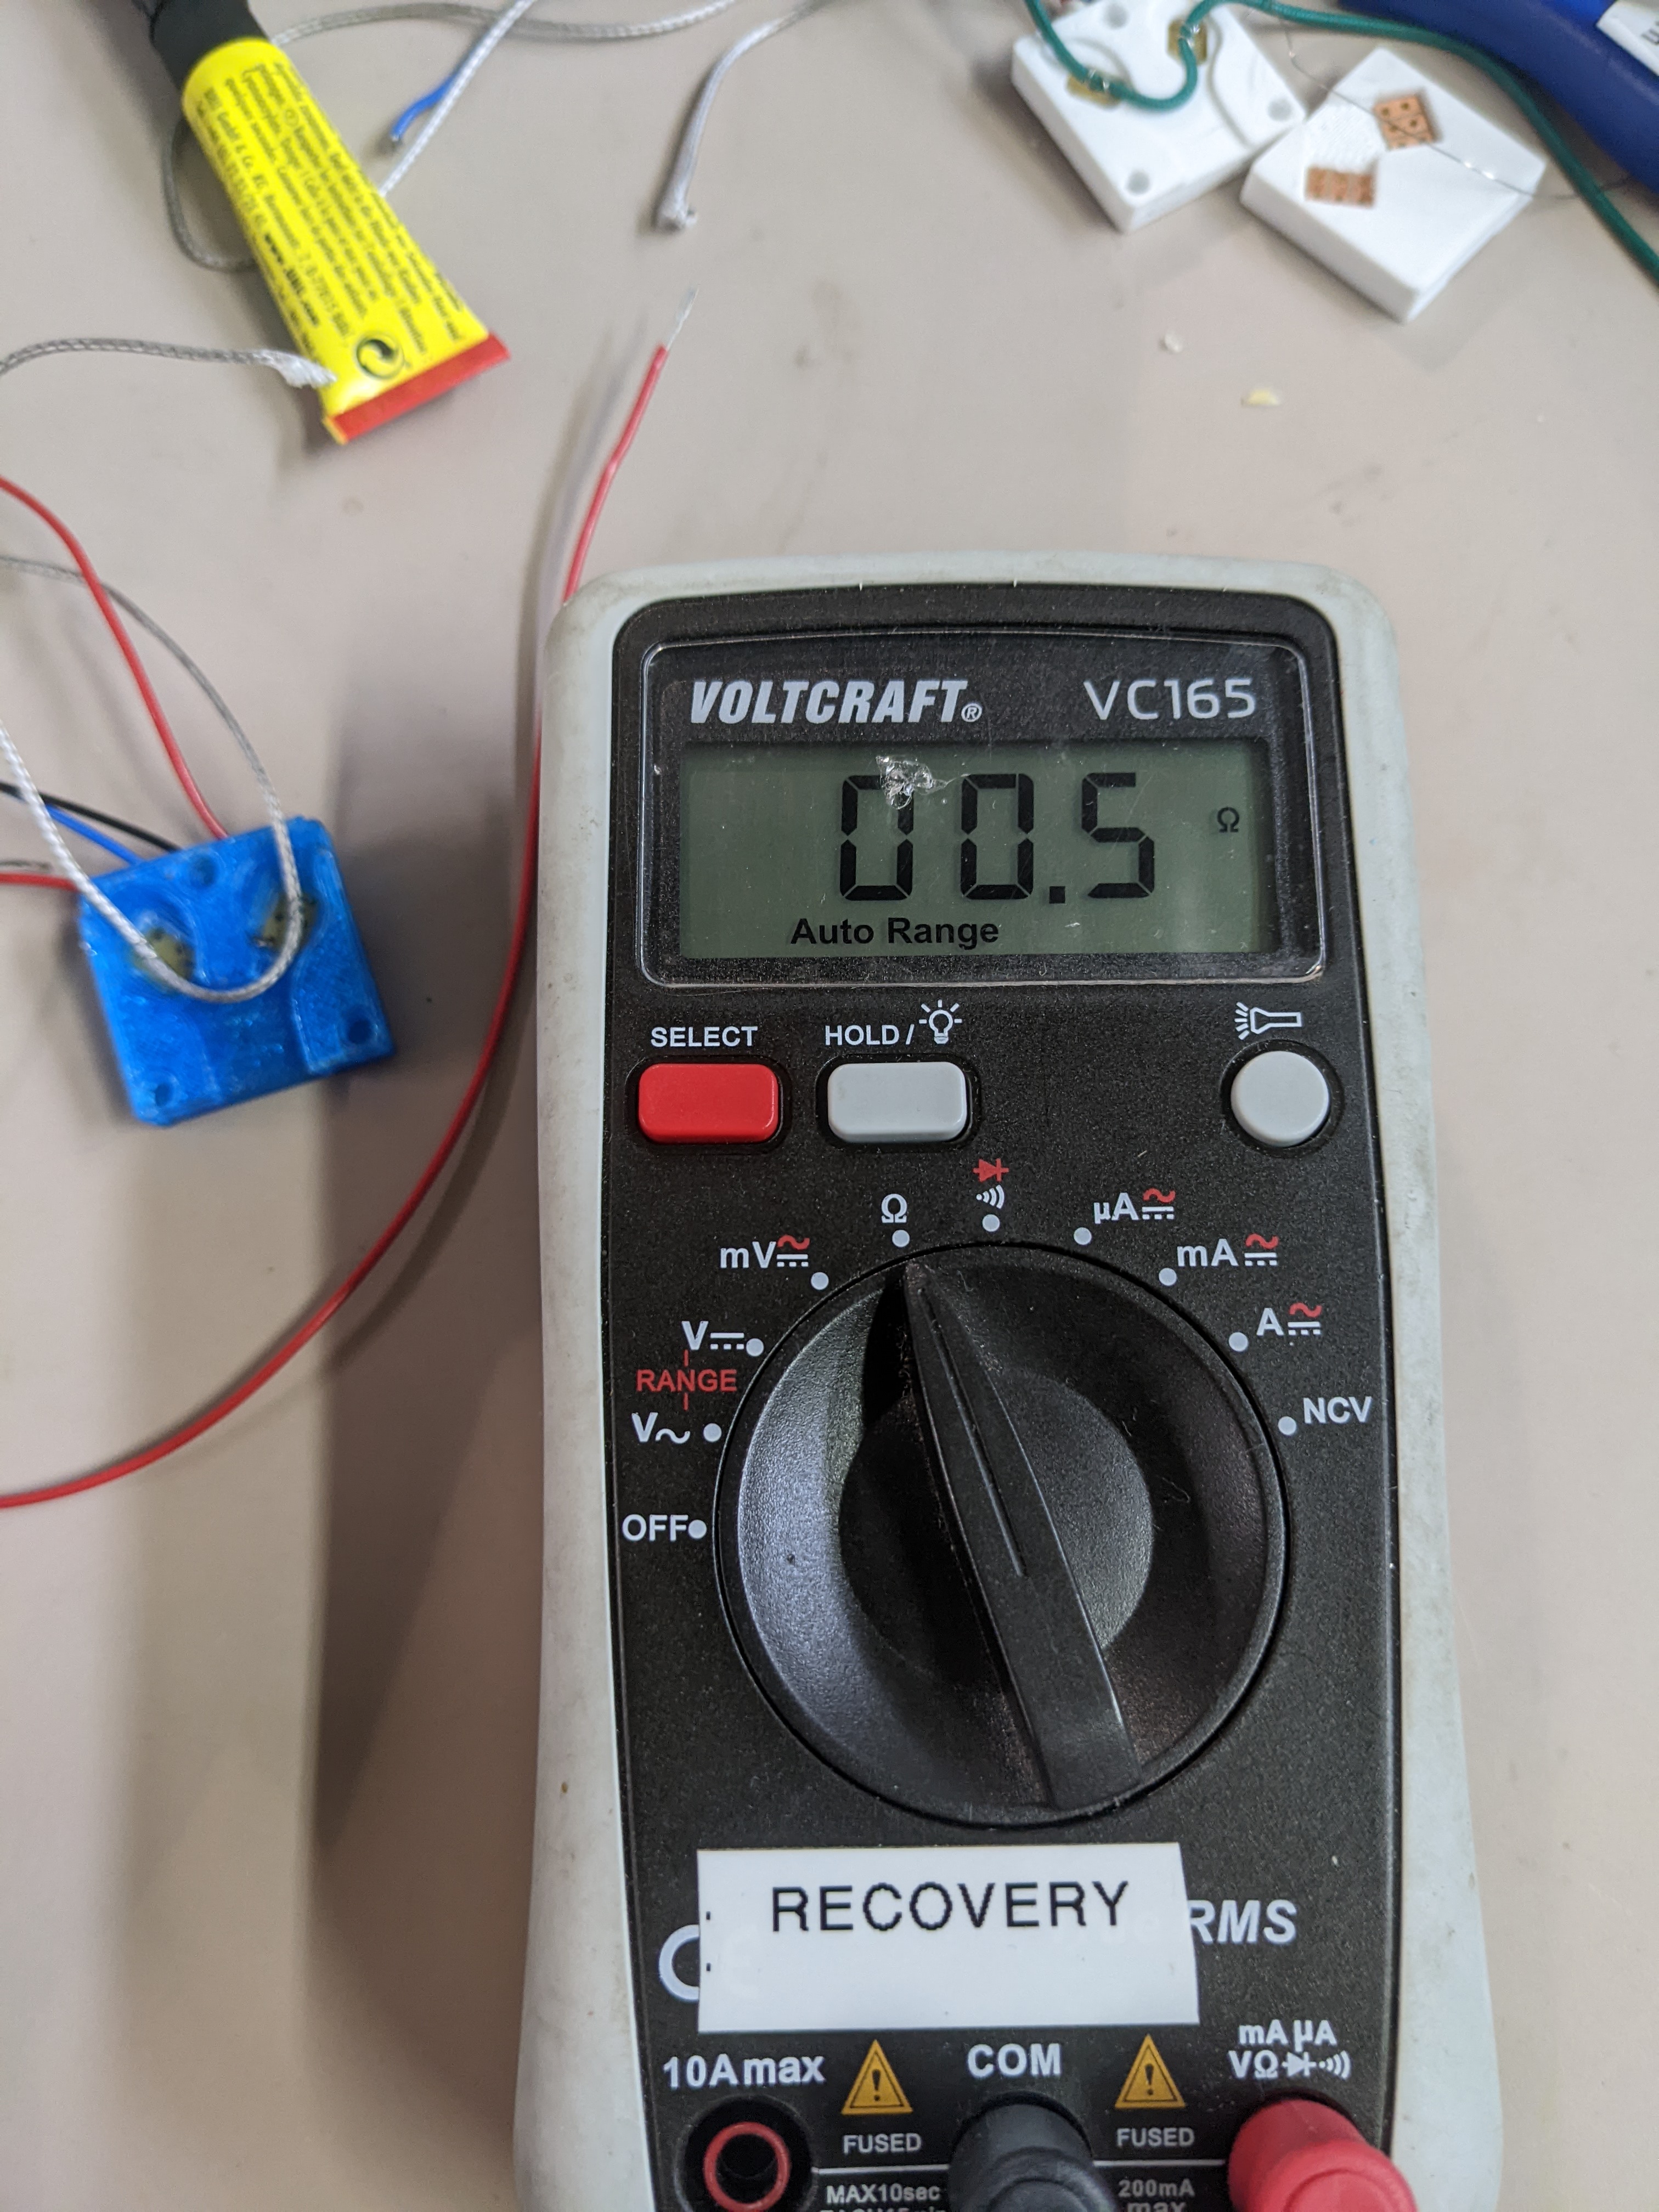
¶ Step 9 : Checking
☐ Check the resistance through the 2 nichrome wires, it has to be 0,6 ± 0,2 Ohm
¶ Step 10 : End of construction
- Mechanism is ready to be assembled to the 3 rings riser
Ready to be assembled
¶ 3. Assembly Description
¶ 3.1 Step by step Construction Procedure
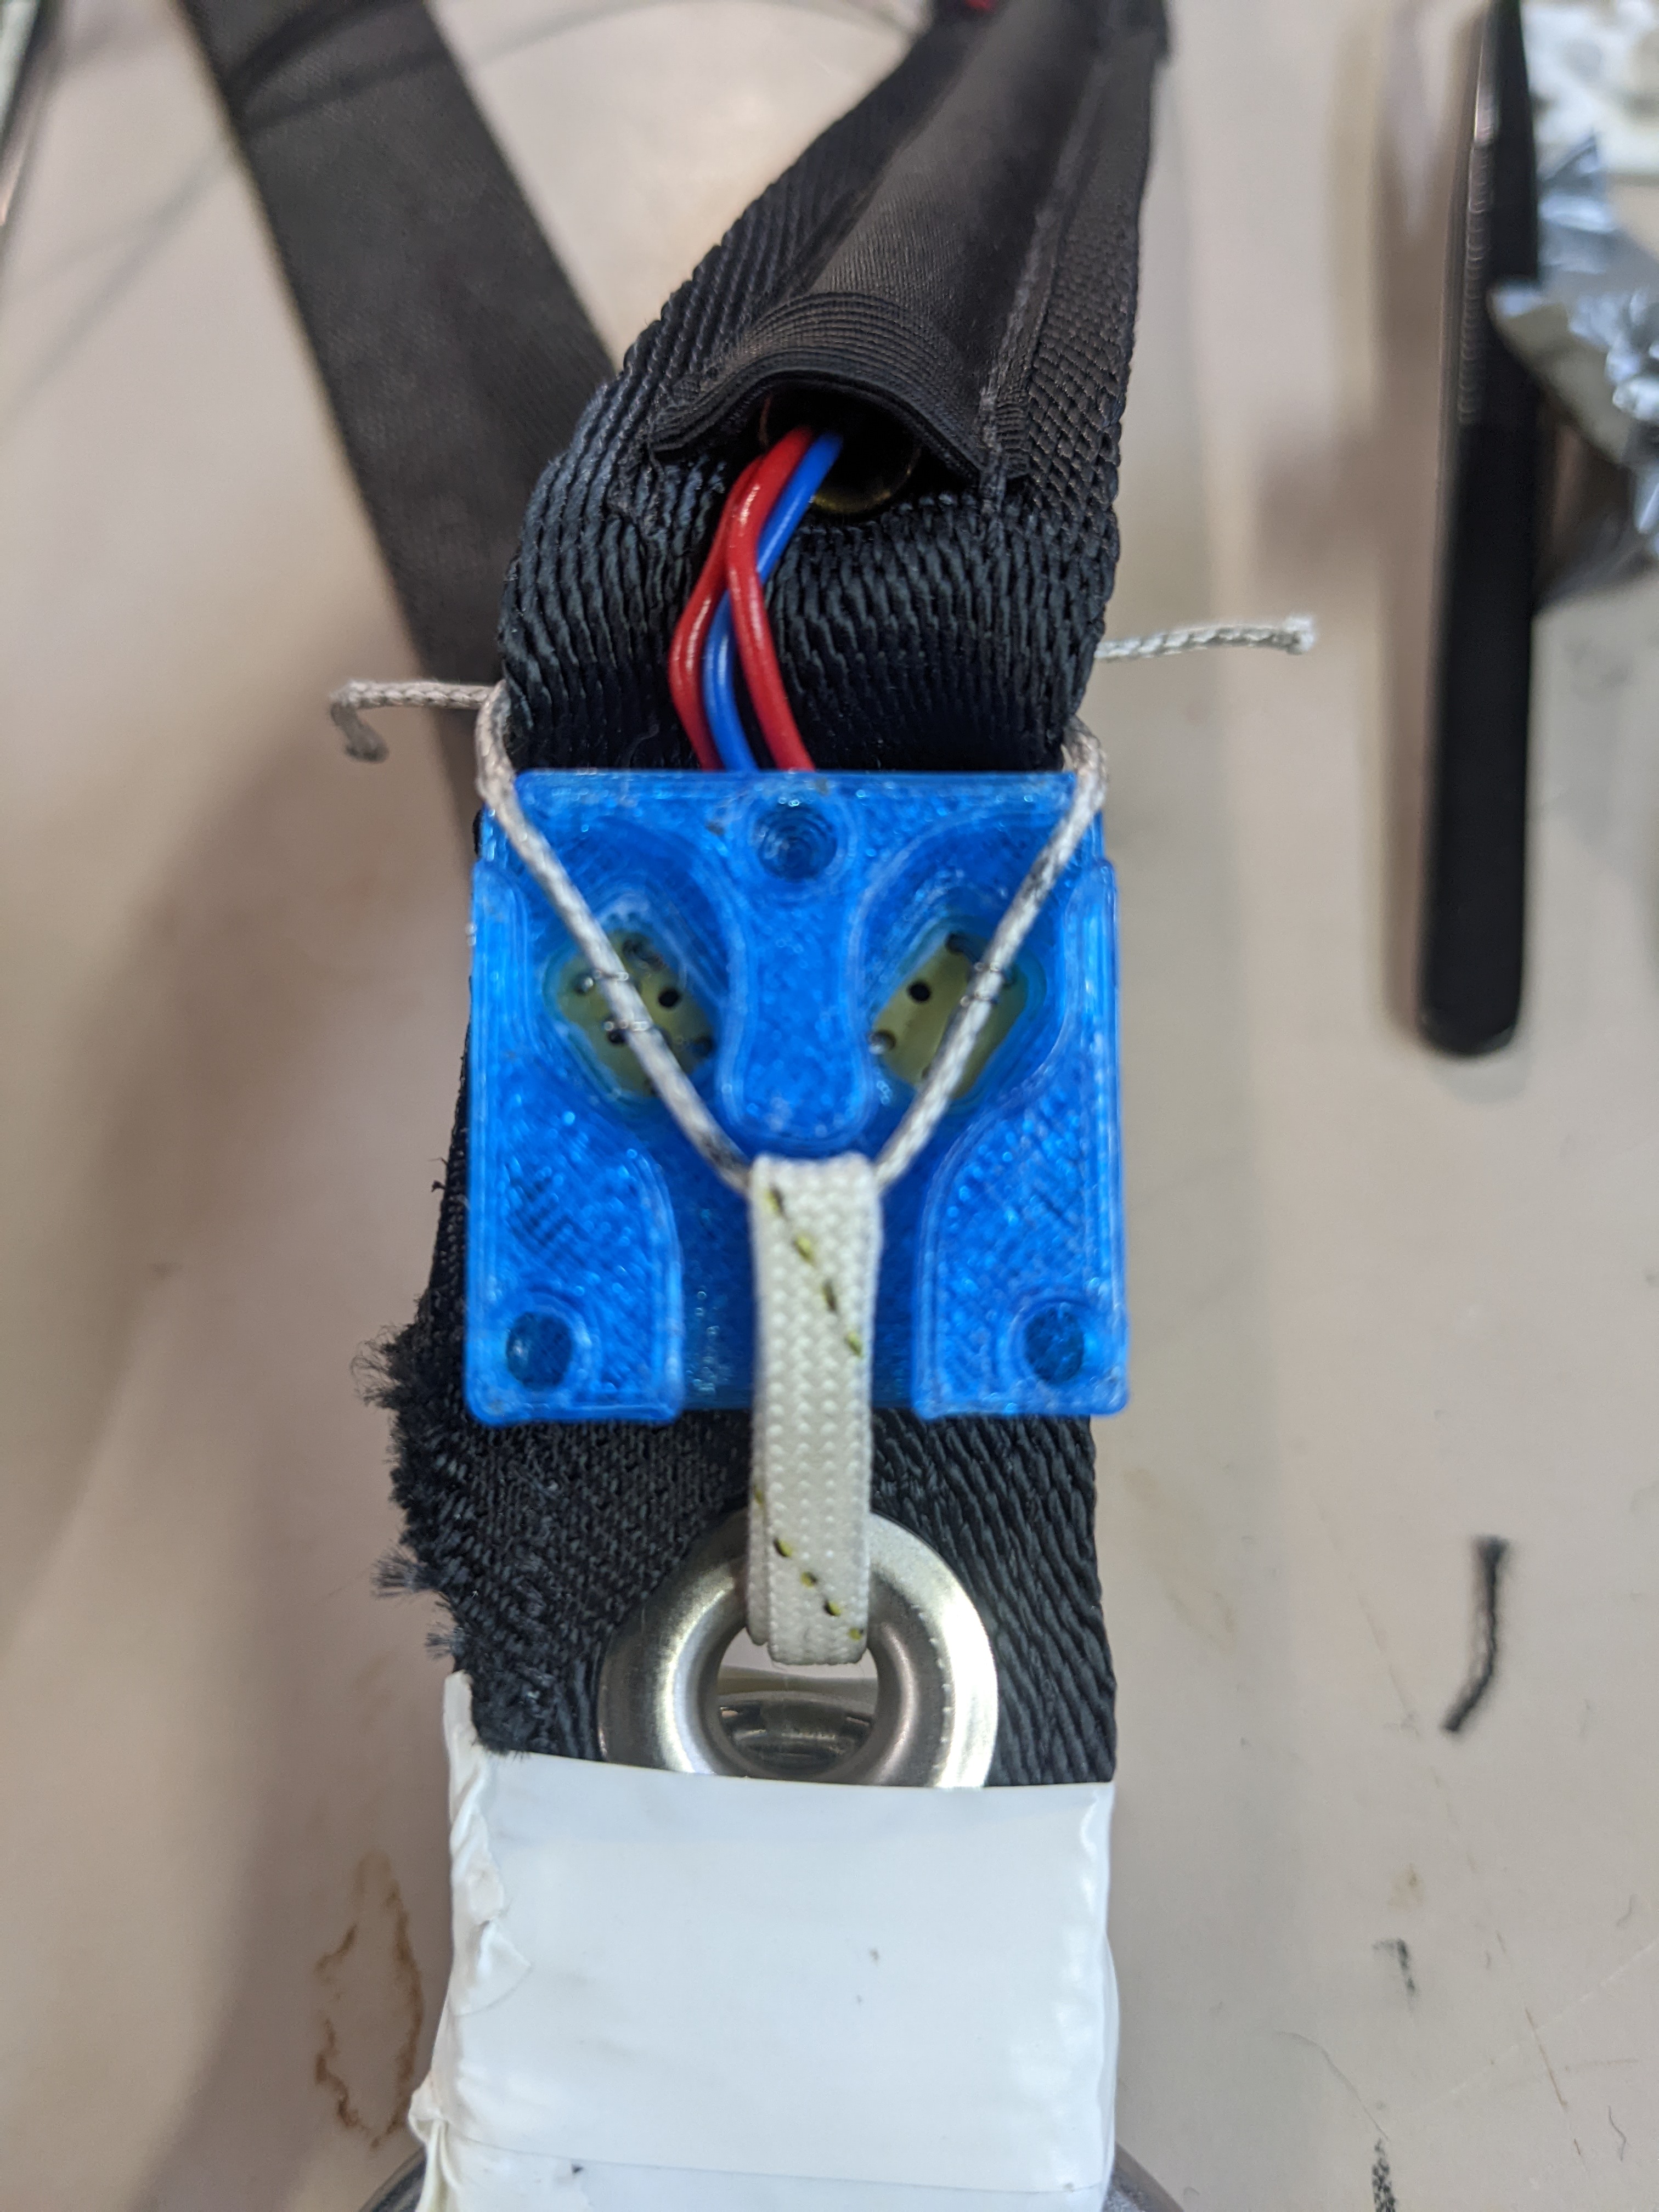
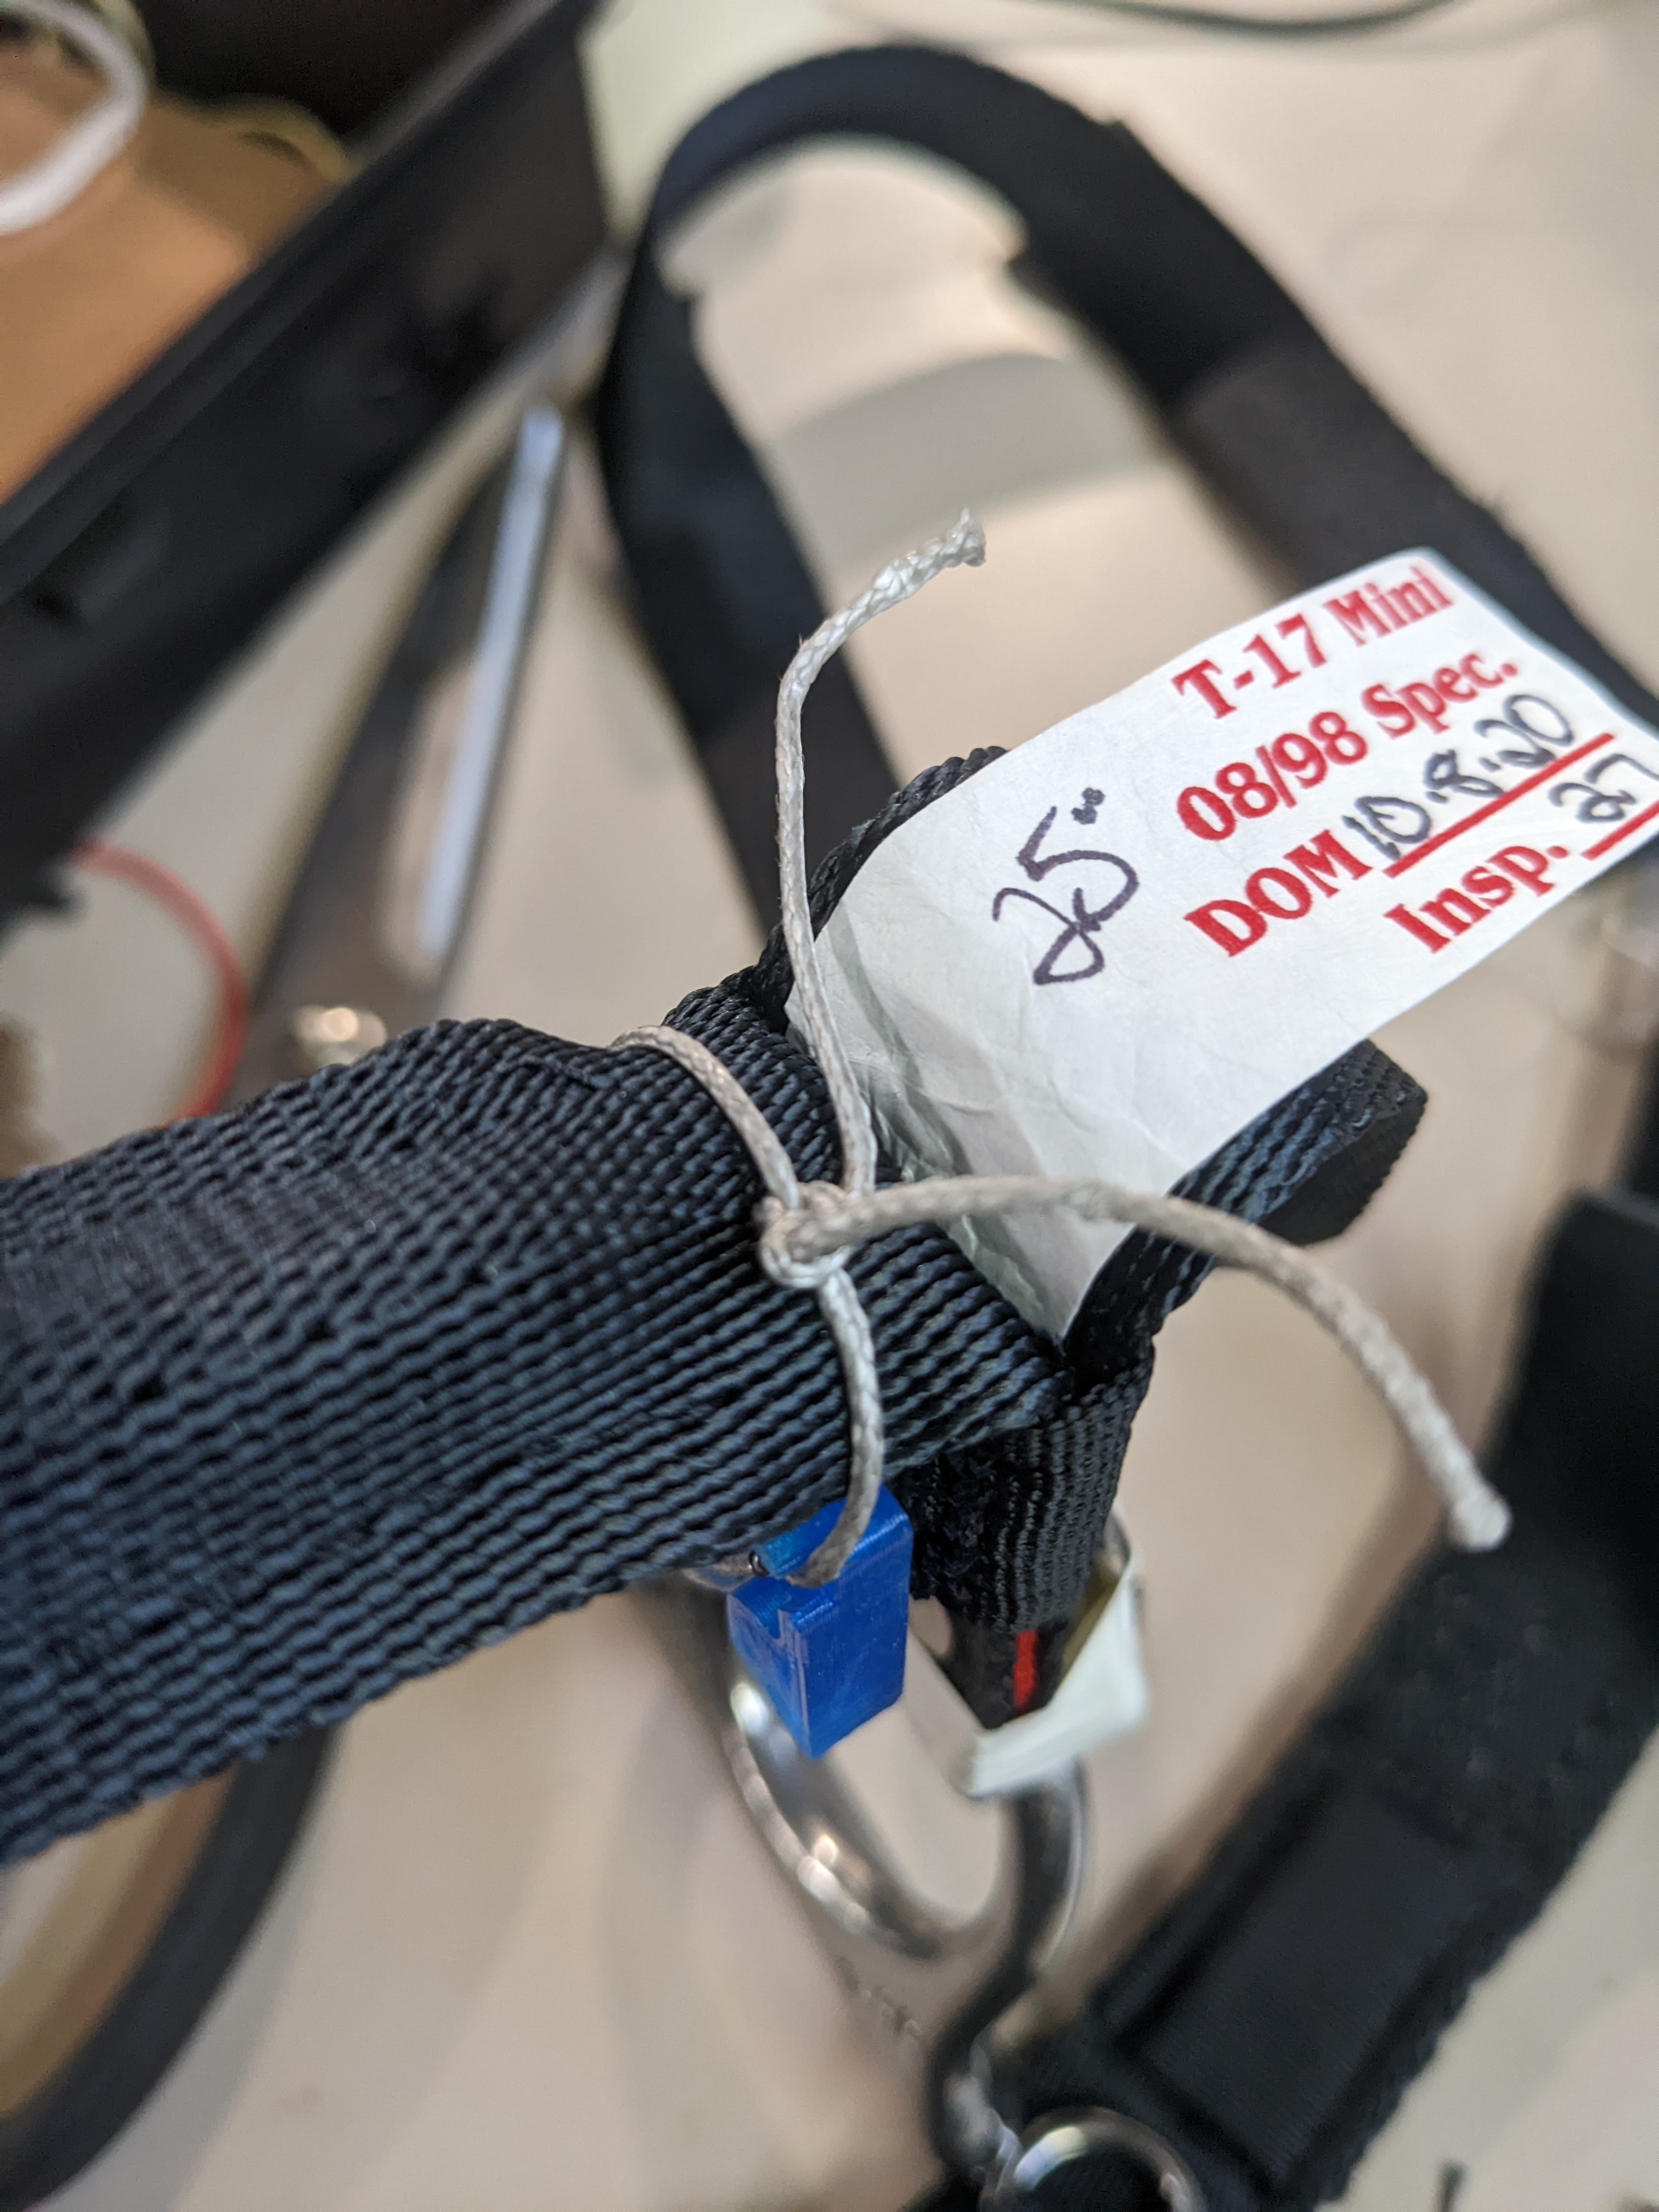
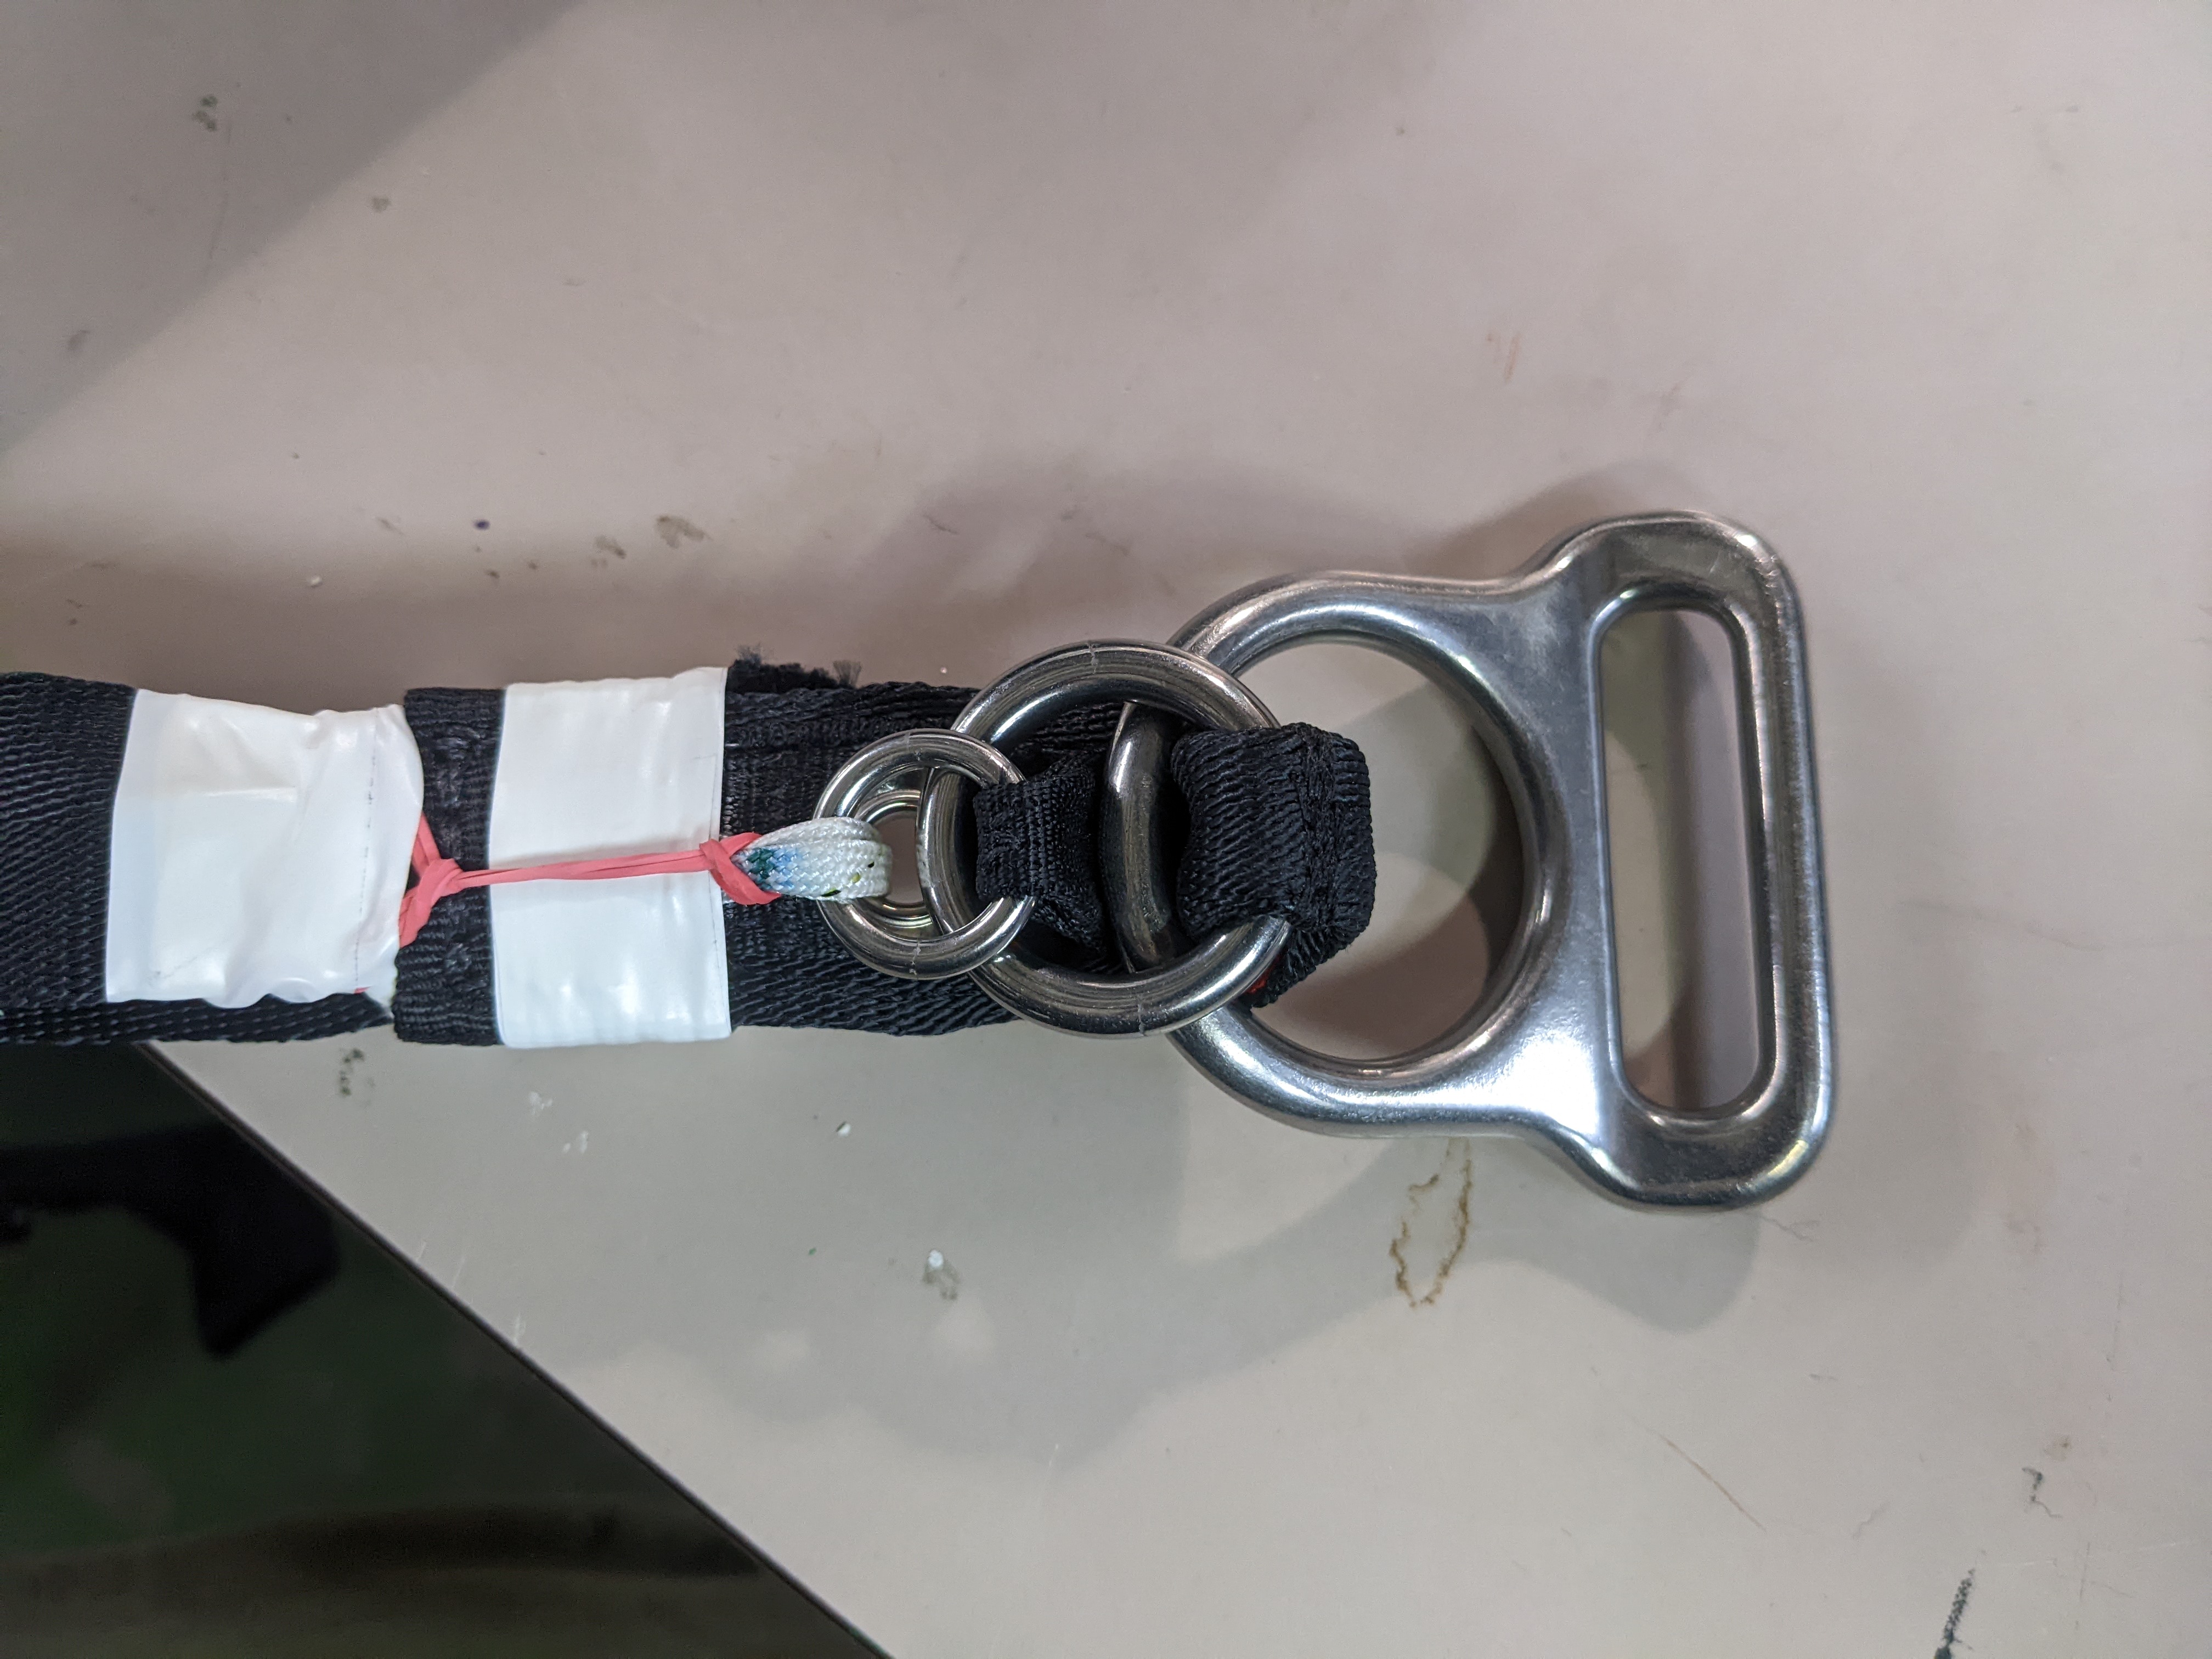
¶ Step A : Dyneema through "languette"
☐ Close the 3 rings as shown in picture
☐ Pass one side of dyneema through the languette and then through the nichrome loop
Don't forget to close the 3 rings riser mechanism and to attach it to the big ring
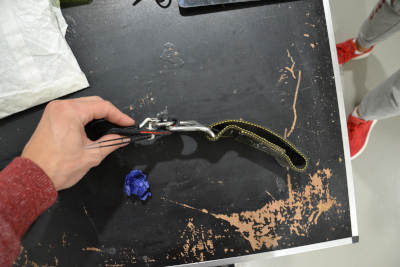
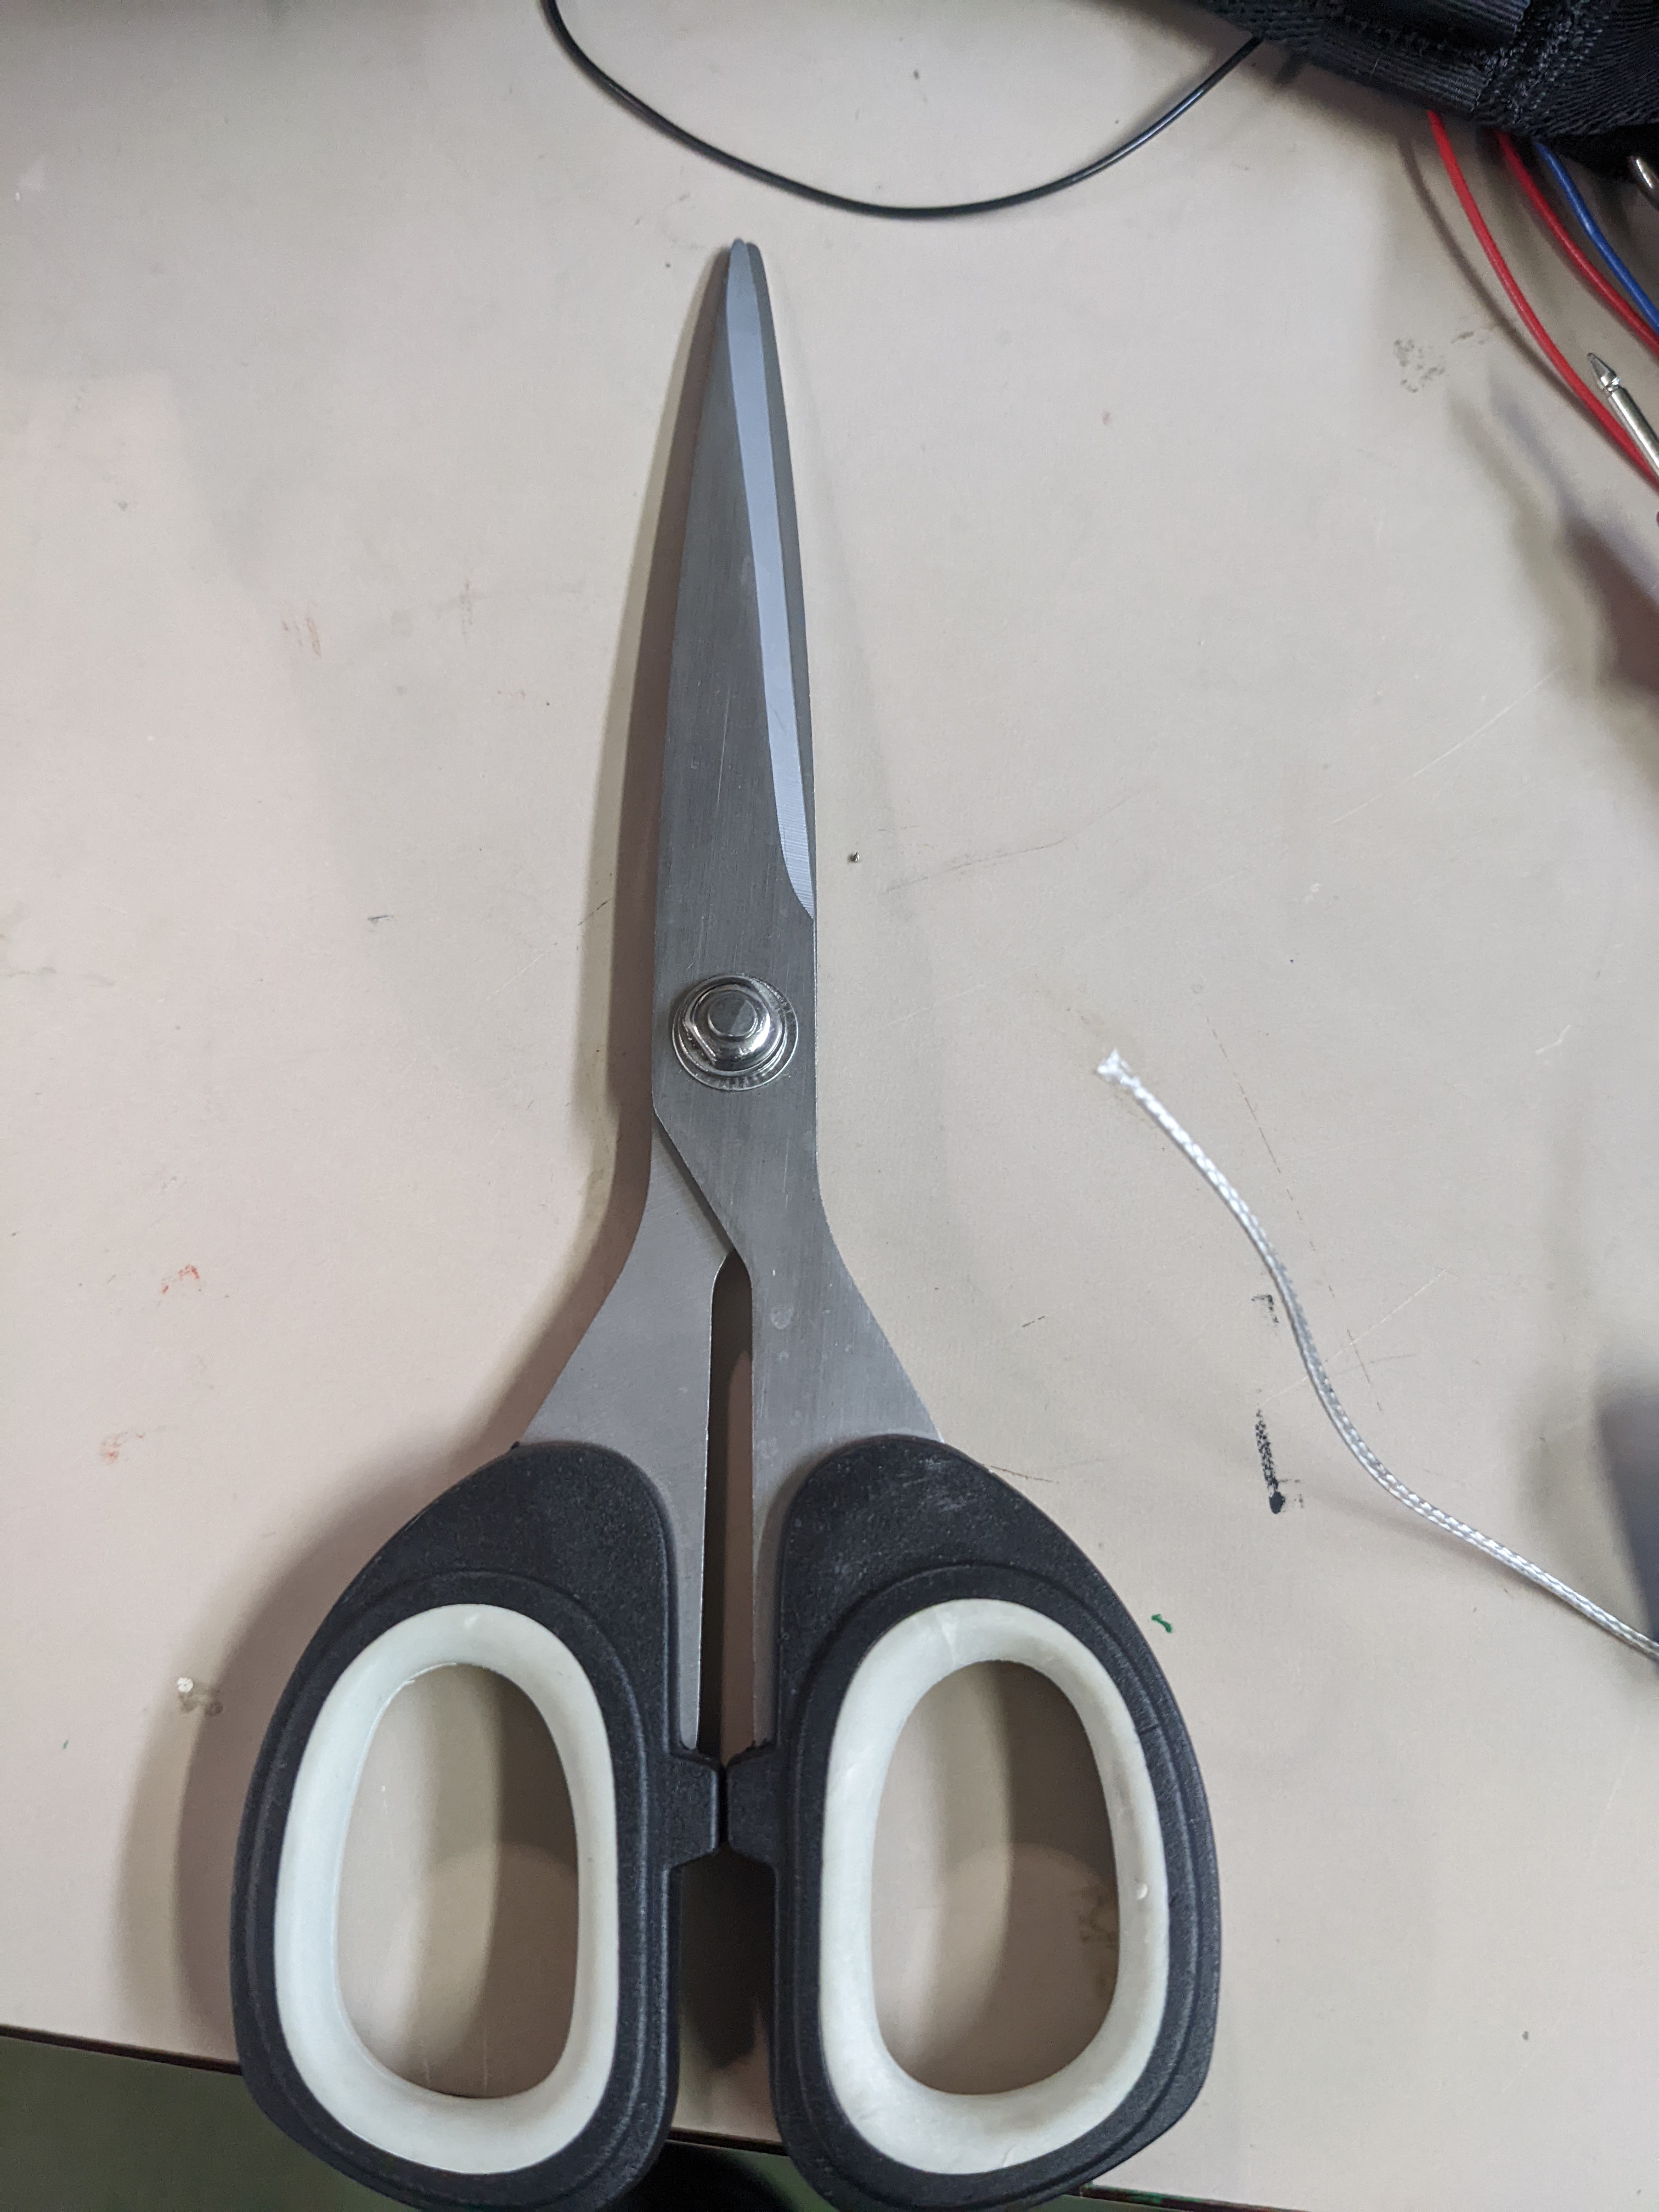
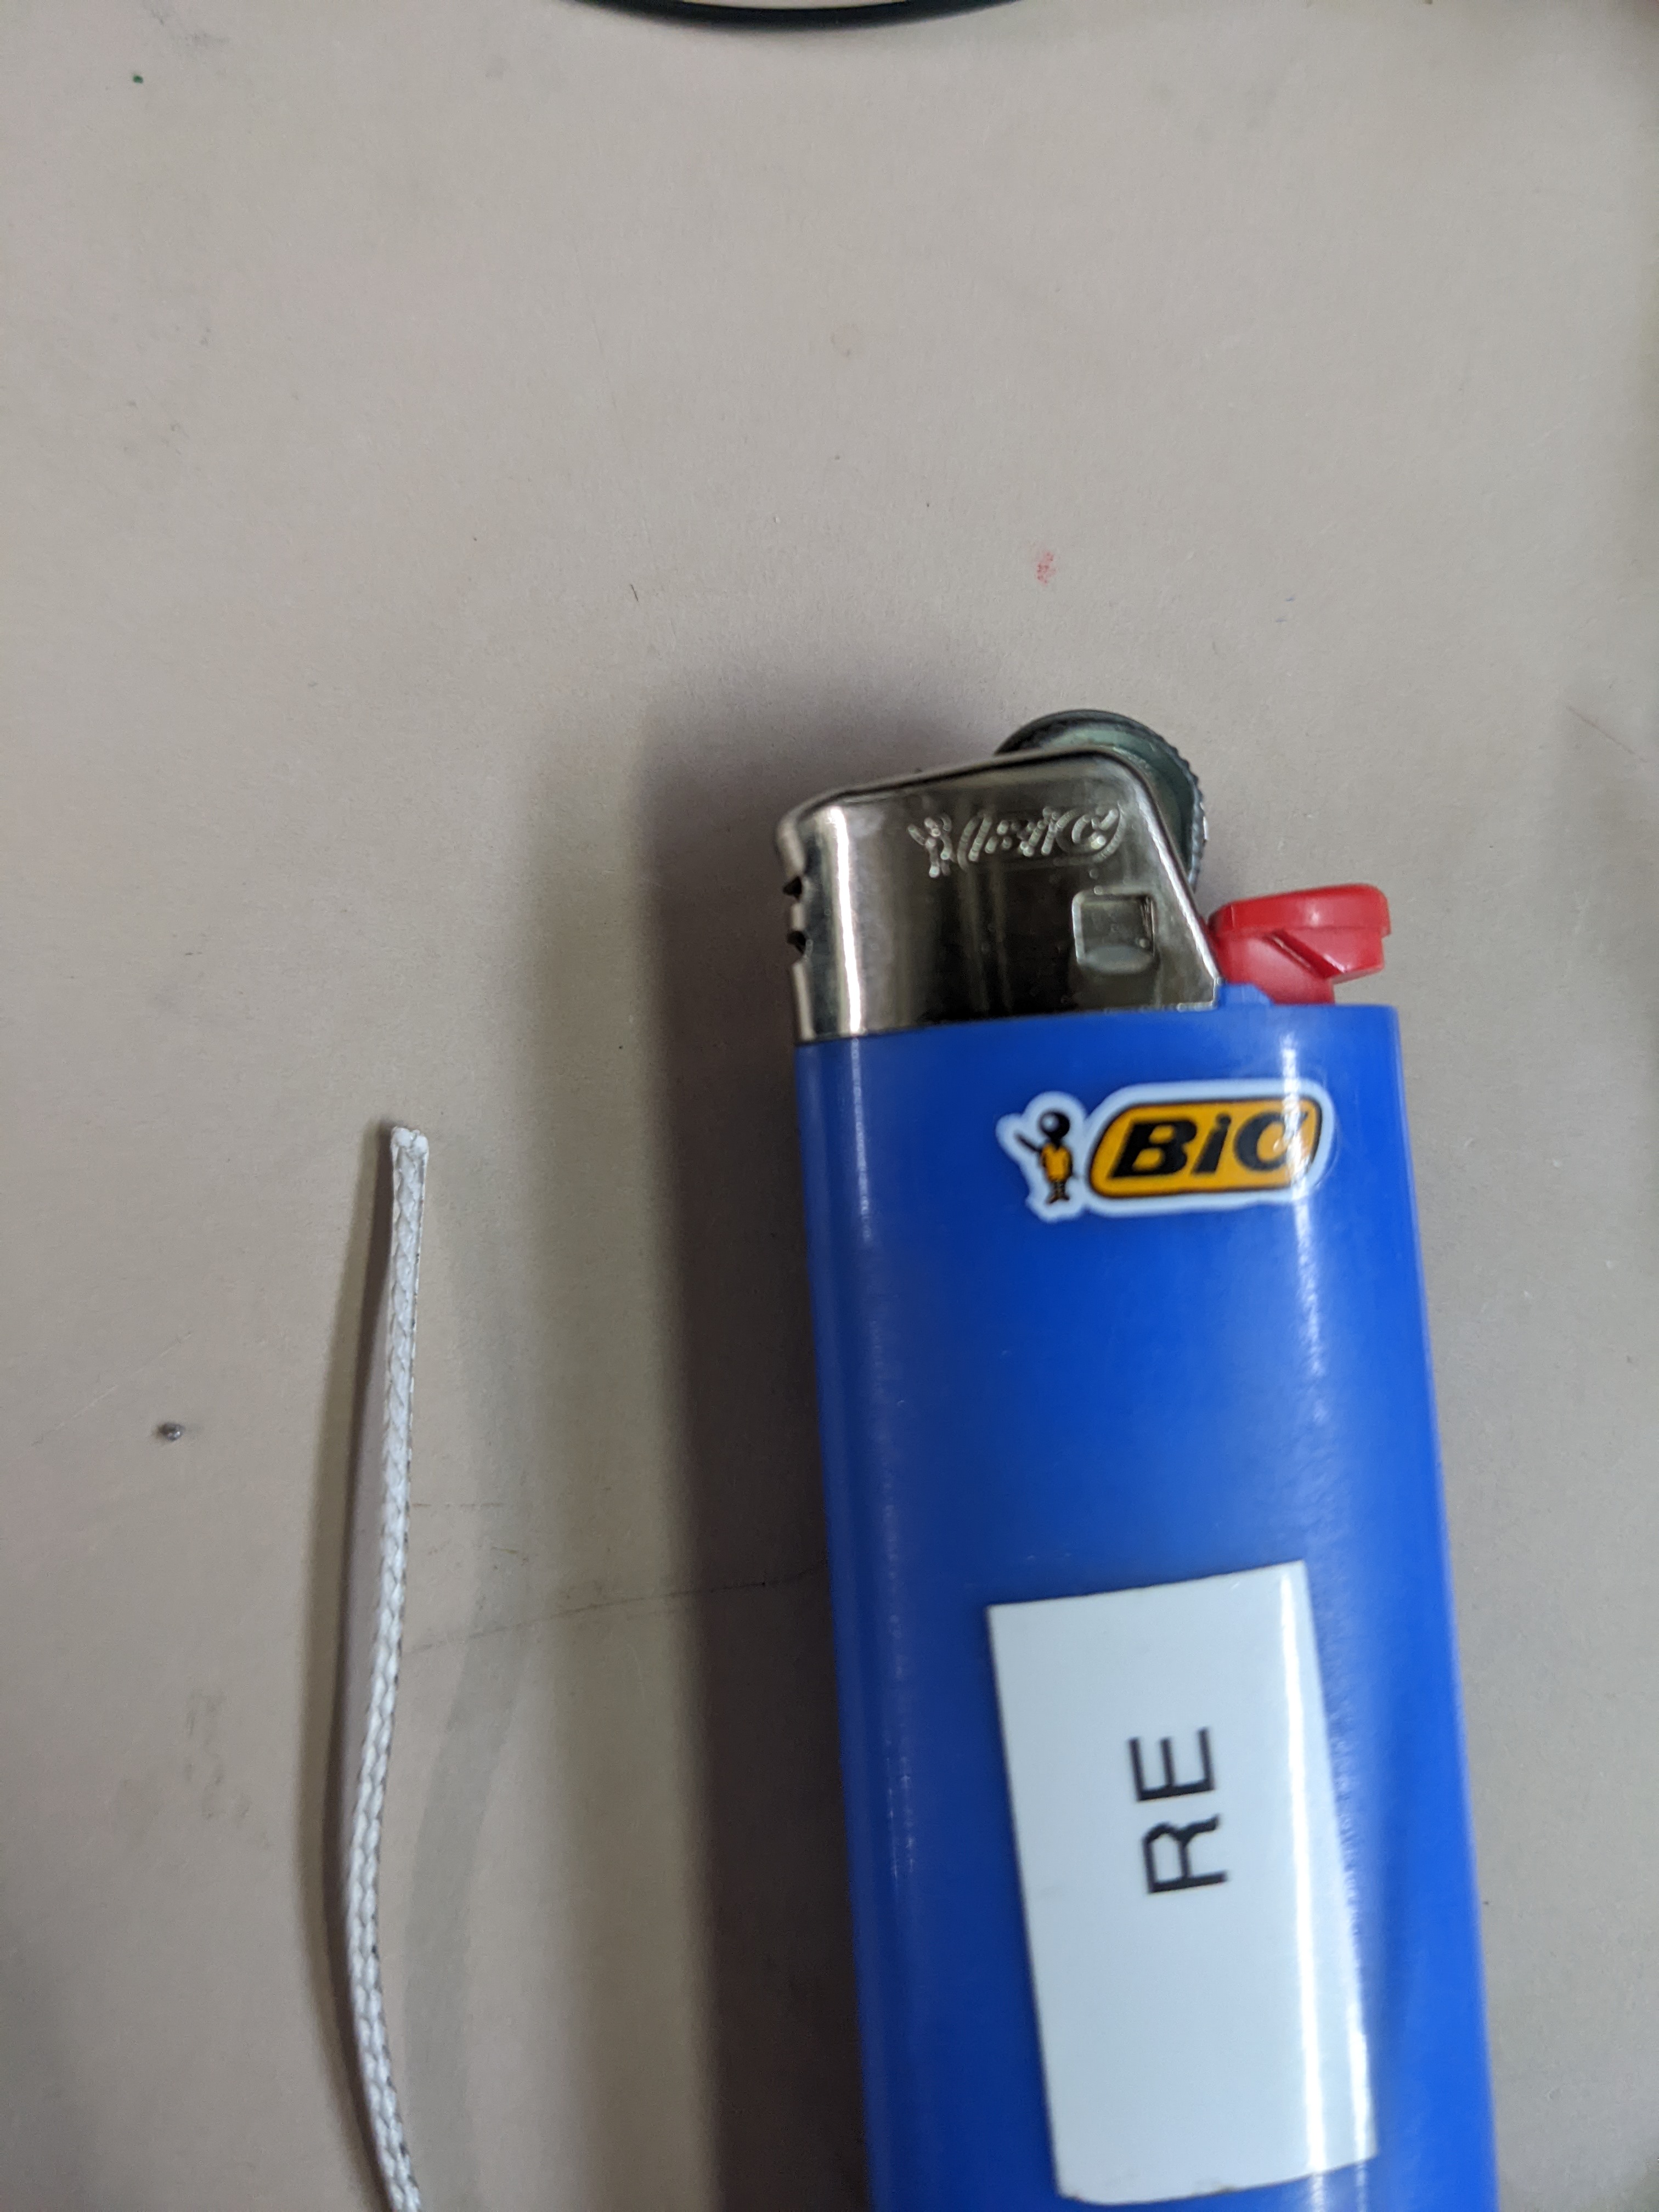
Can be a difficult step! Use eventually the scissors to cut it clean and then burn it with the lighter, you can also use a small clamp to help you

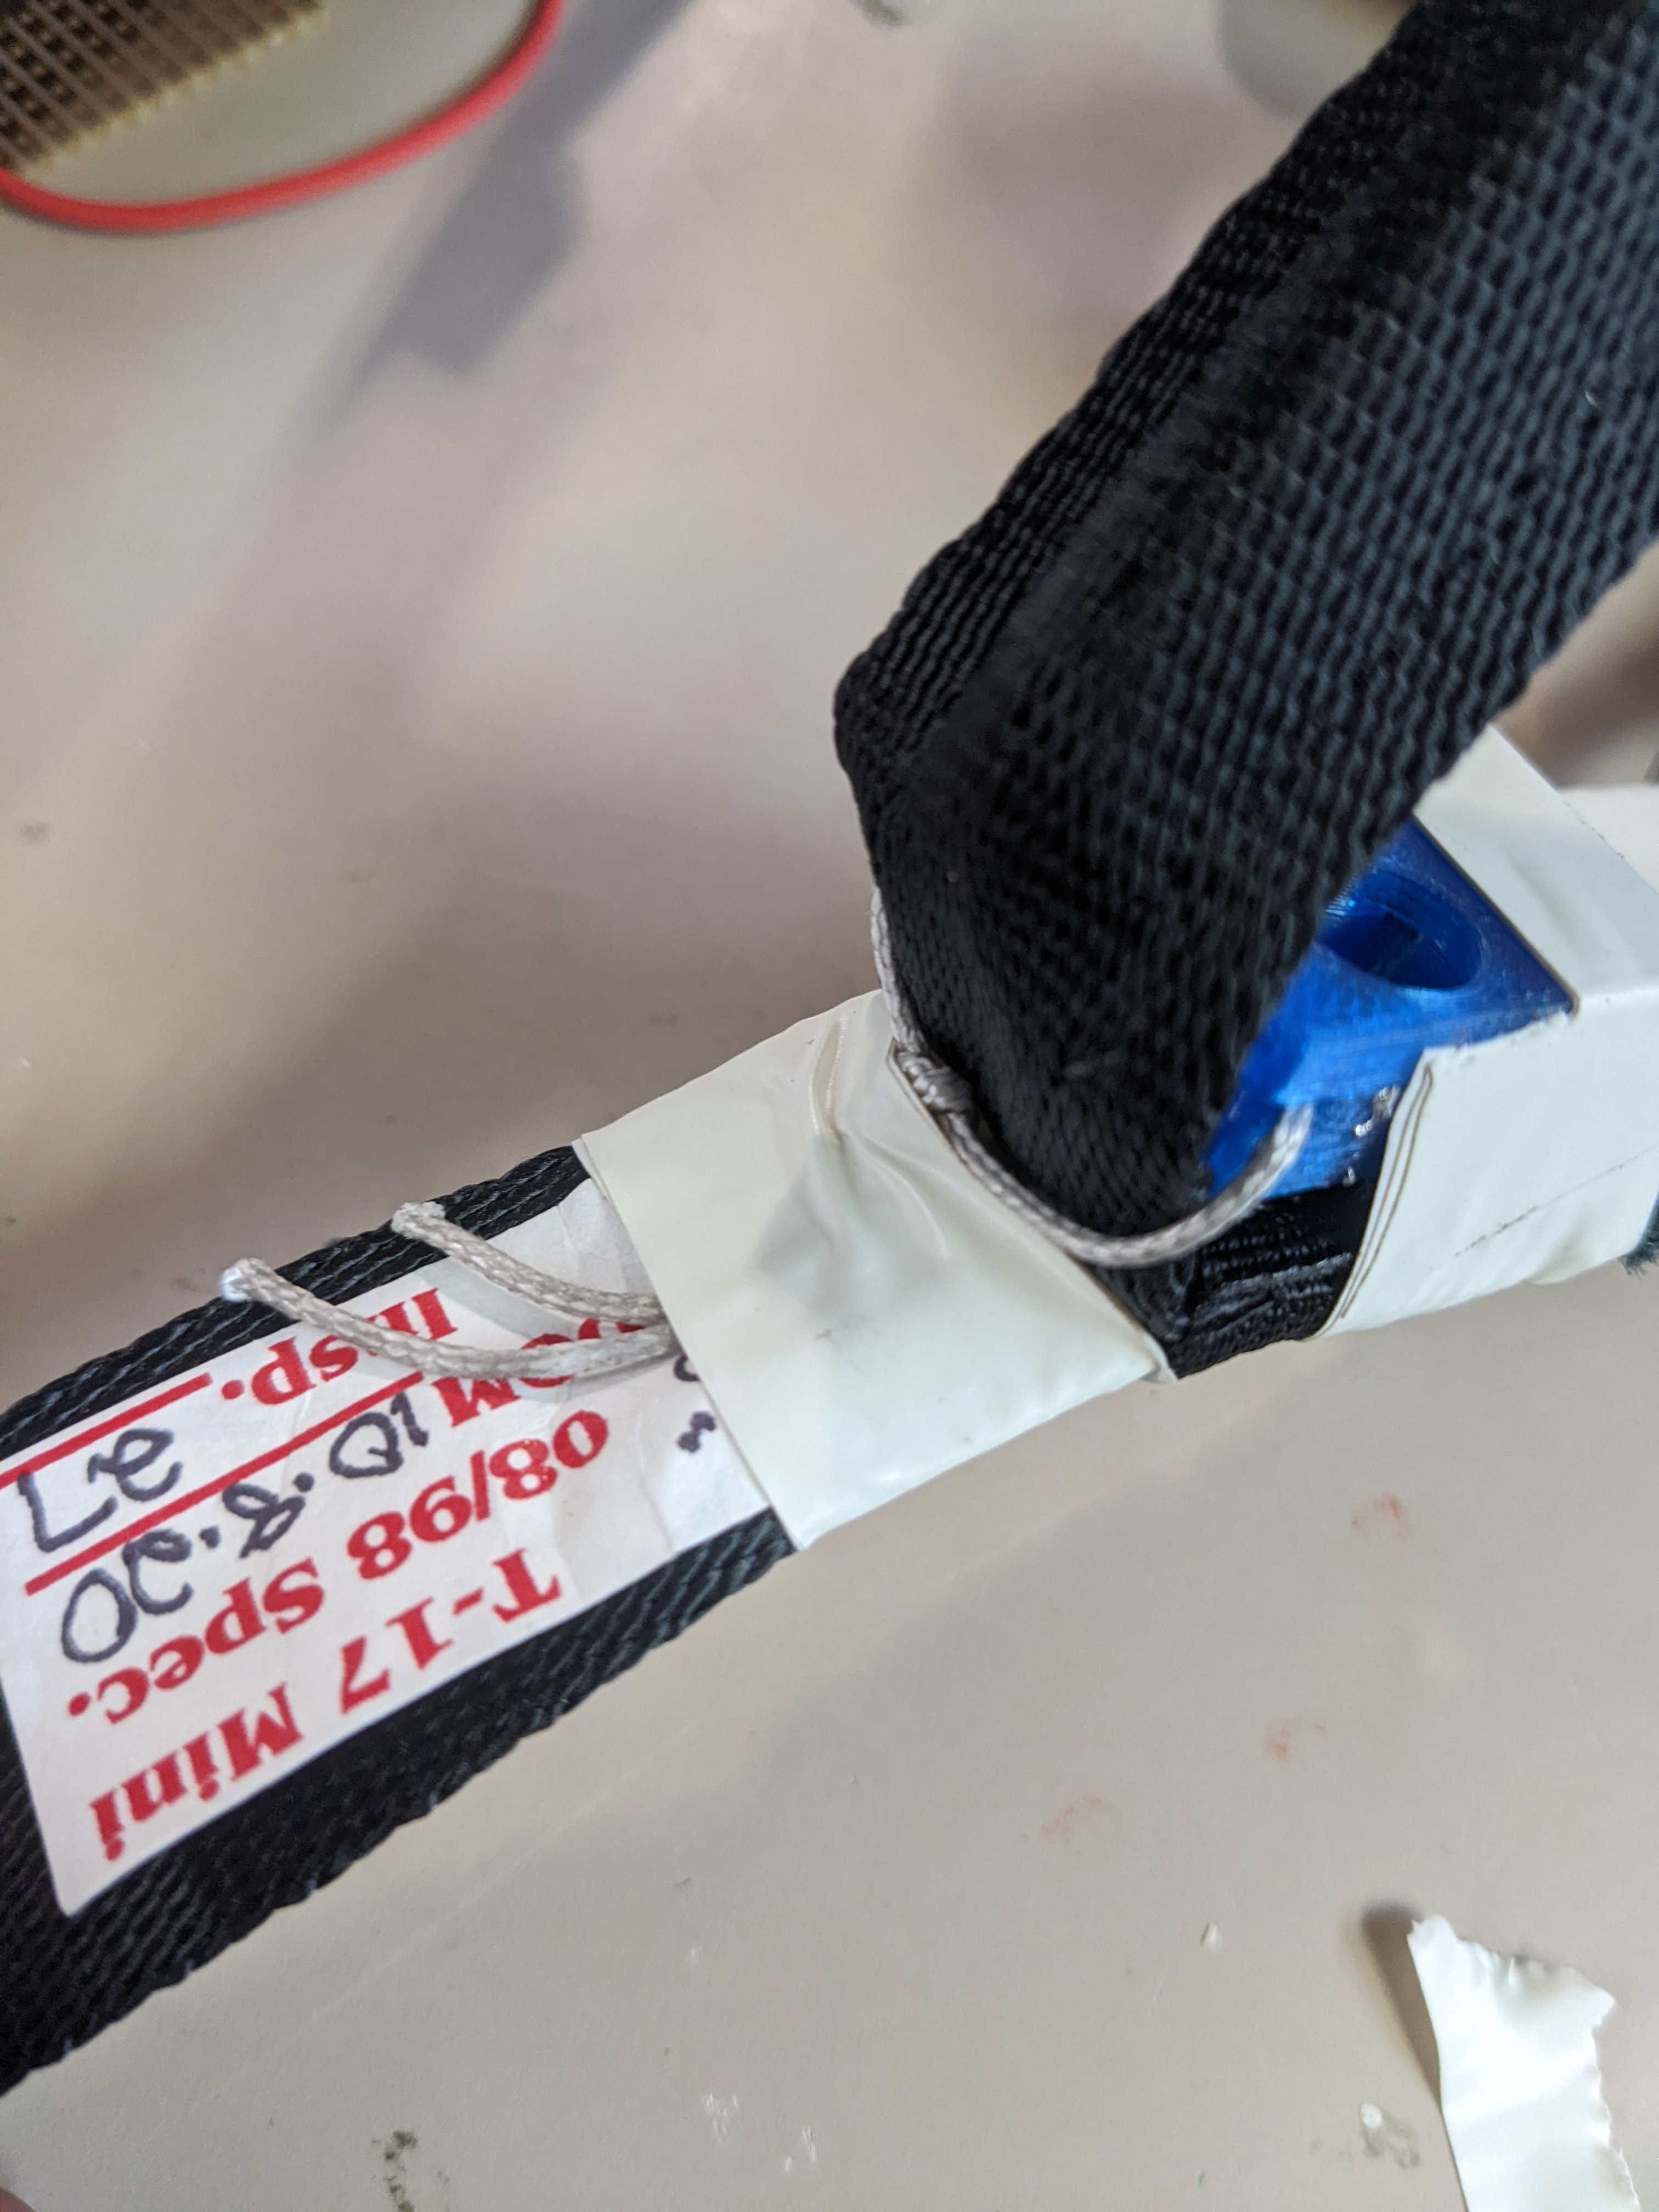
¶ Step B : Node
☐ Pull the 3d printed part until the languette touch the stopper as shown below
☐ Make 3 normal nodes with a good tension so that the dyneema is well tense and the languette still touch the stopper without help
☐ Scotch the node so that it doesn't move
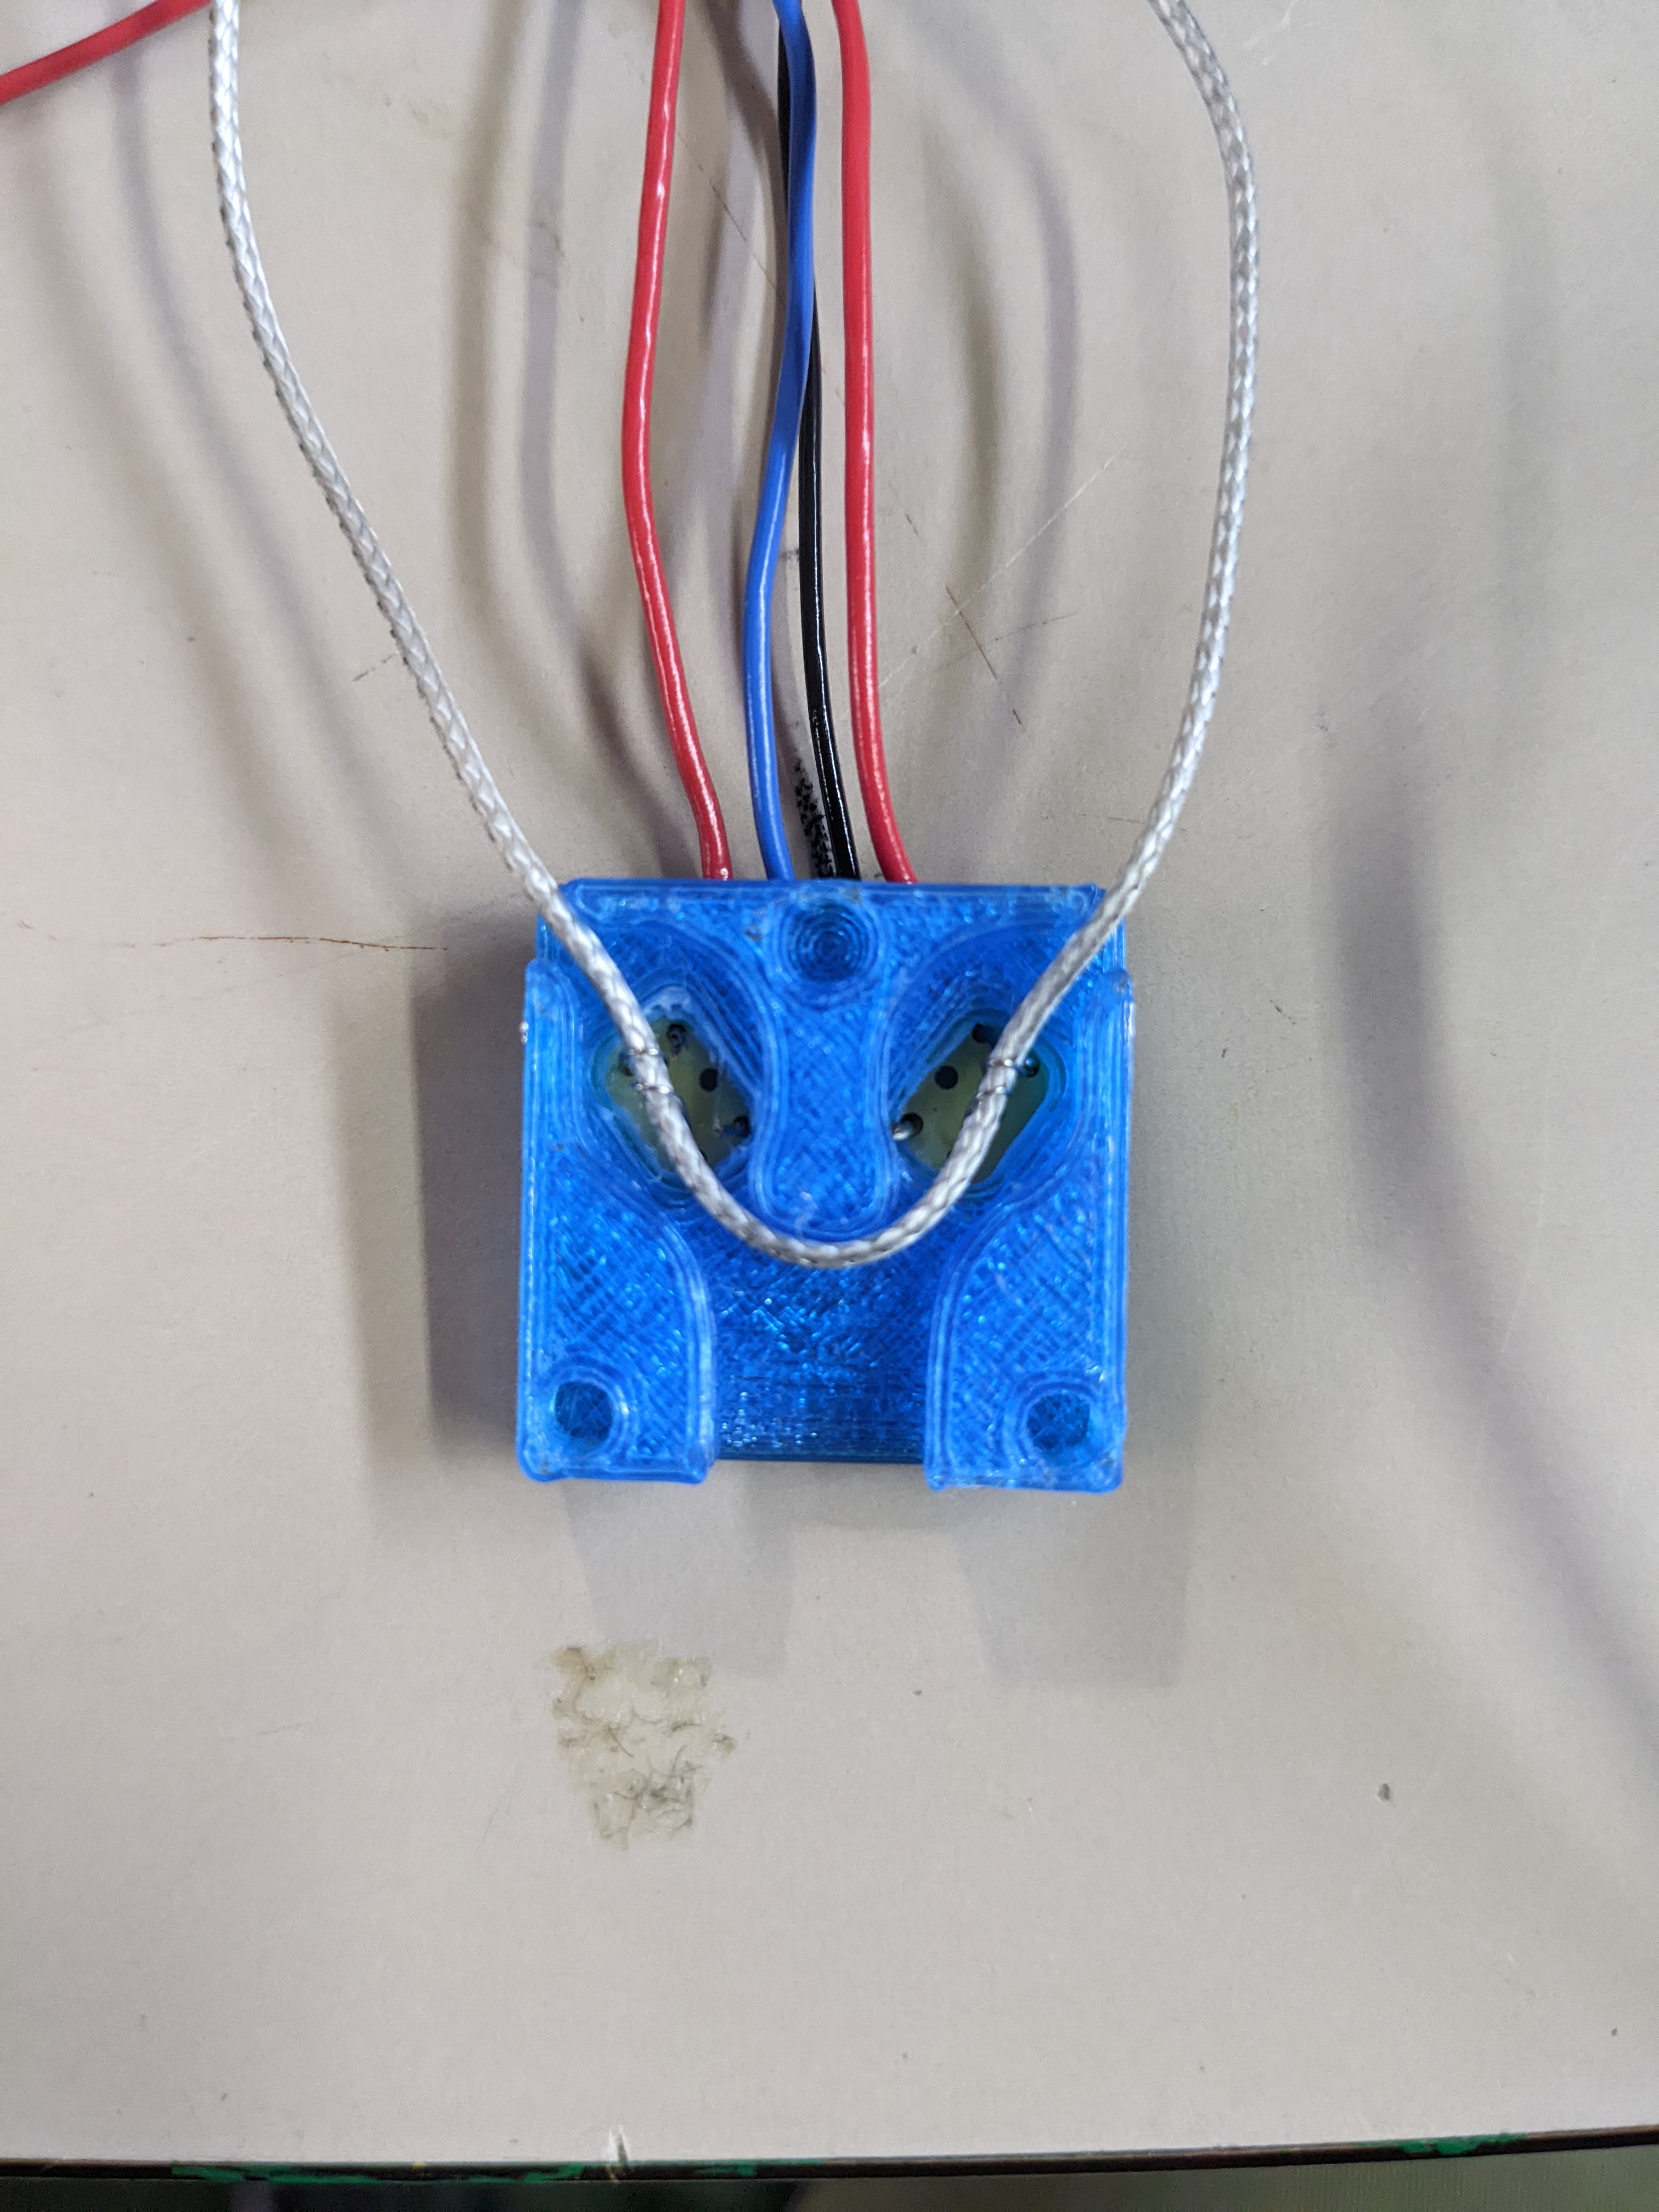
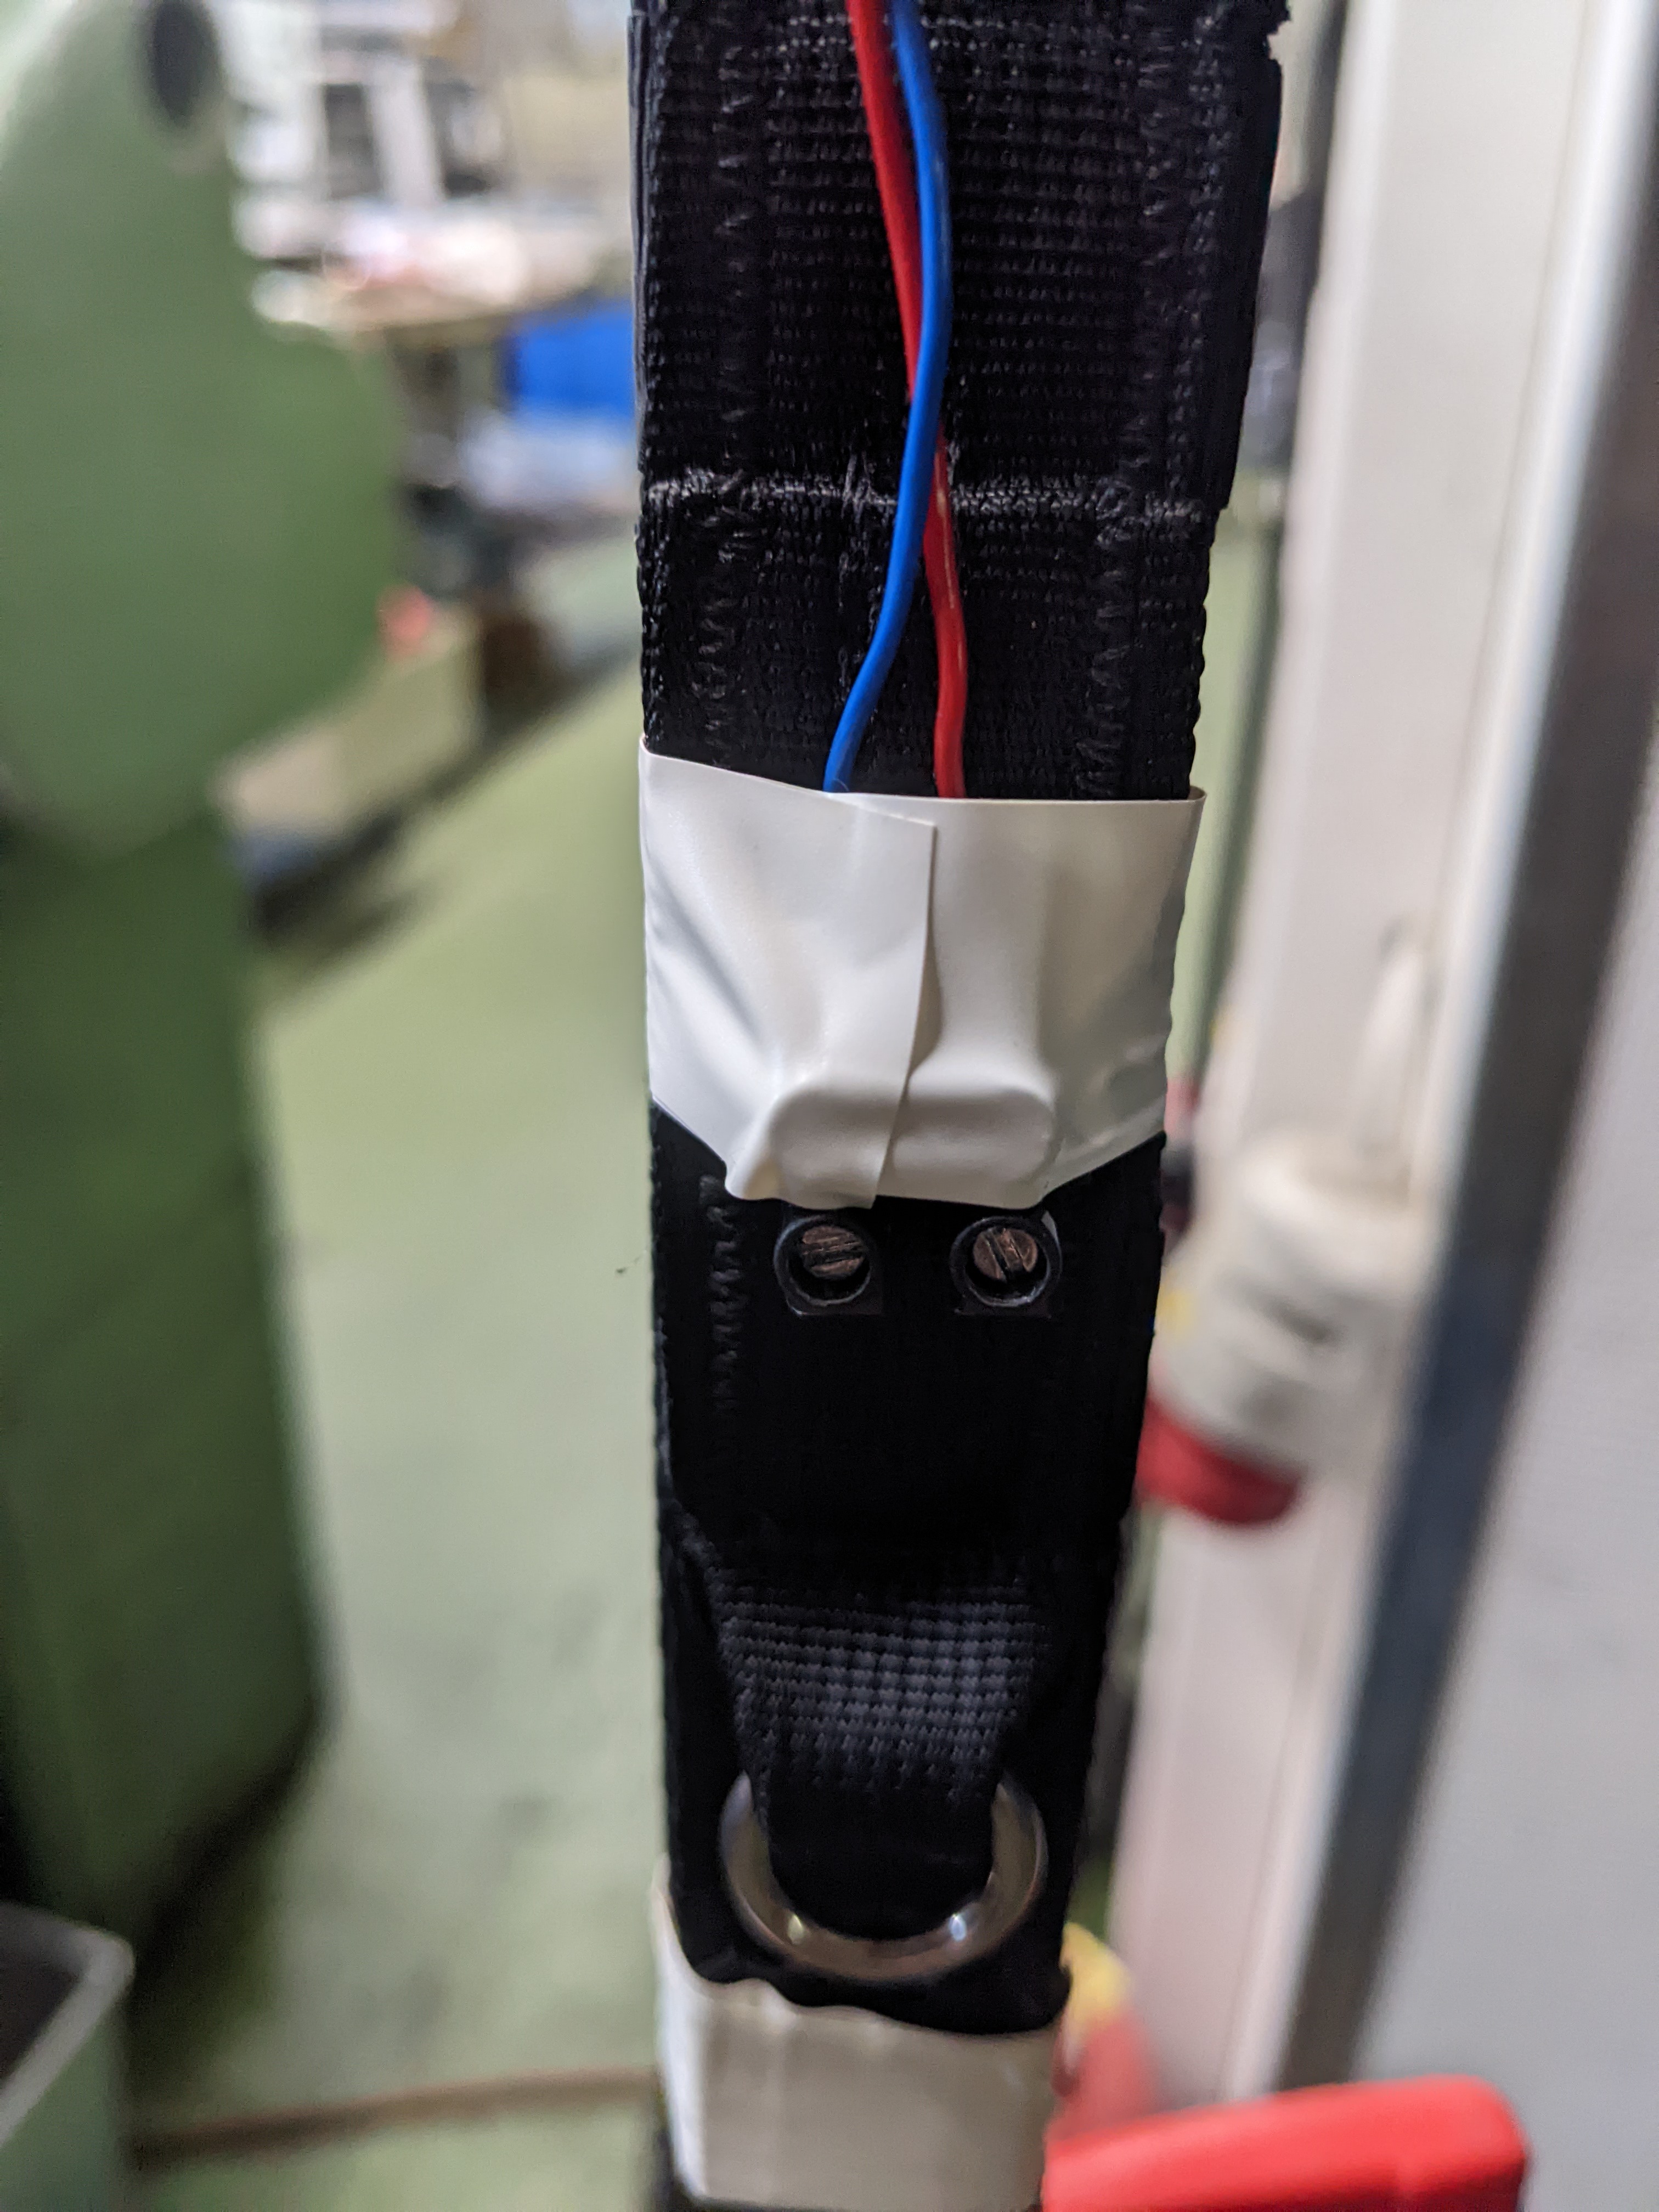
¶ Step C : Wires
☐ Pass all the wires through the metal hole
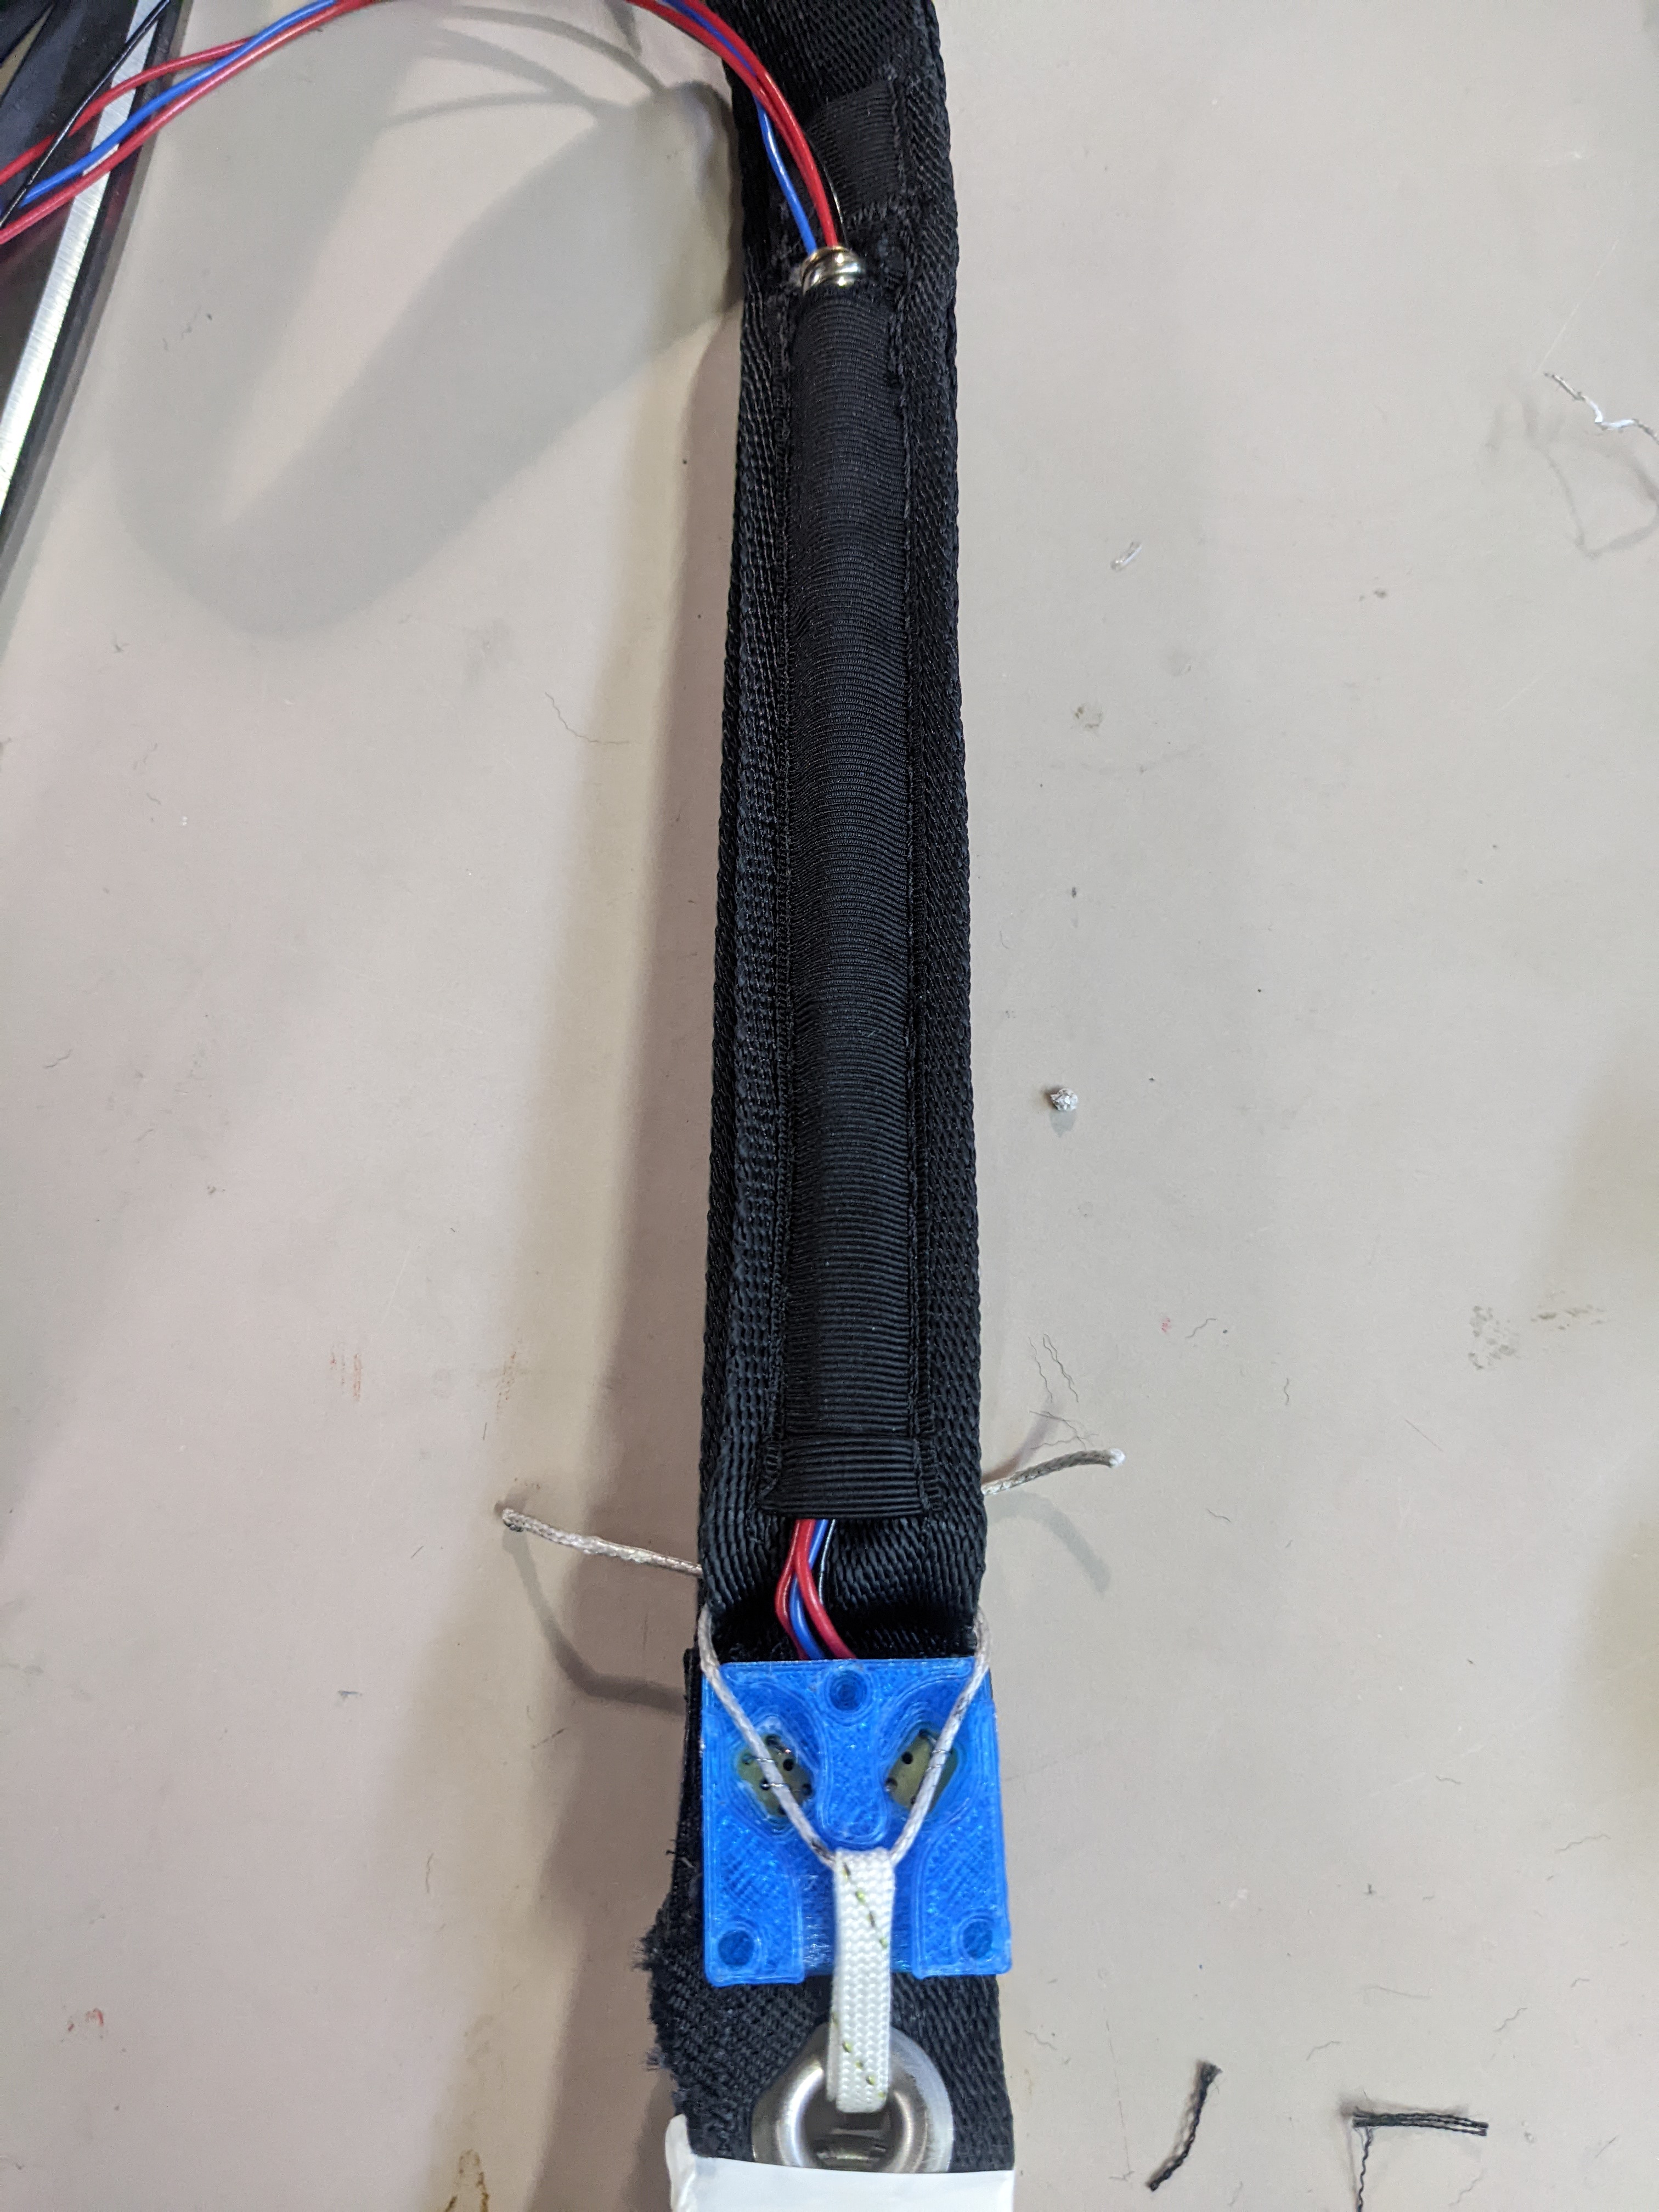
¶ Step D : Closing
☐ Check that the nichrome loops are thin but without short circuit
☐ Close the box with the upper part
☐ Scotch it to the 3 rings riser so that it doesn't move
Don't obstruct the movement of the languette with the tape
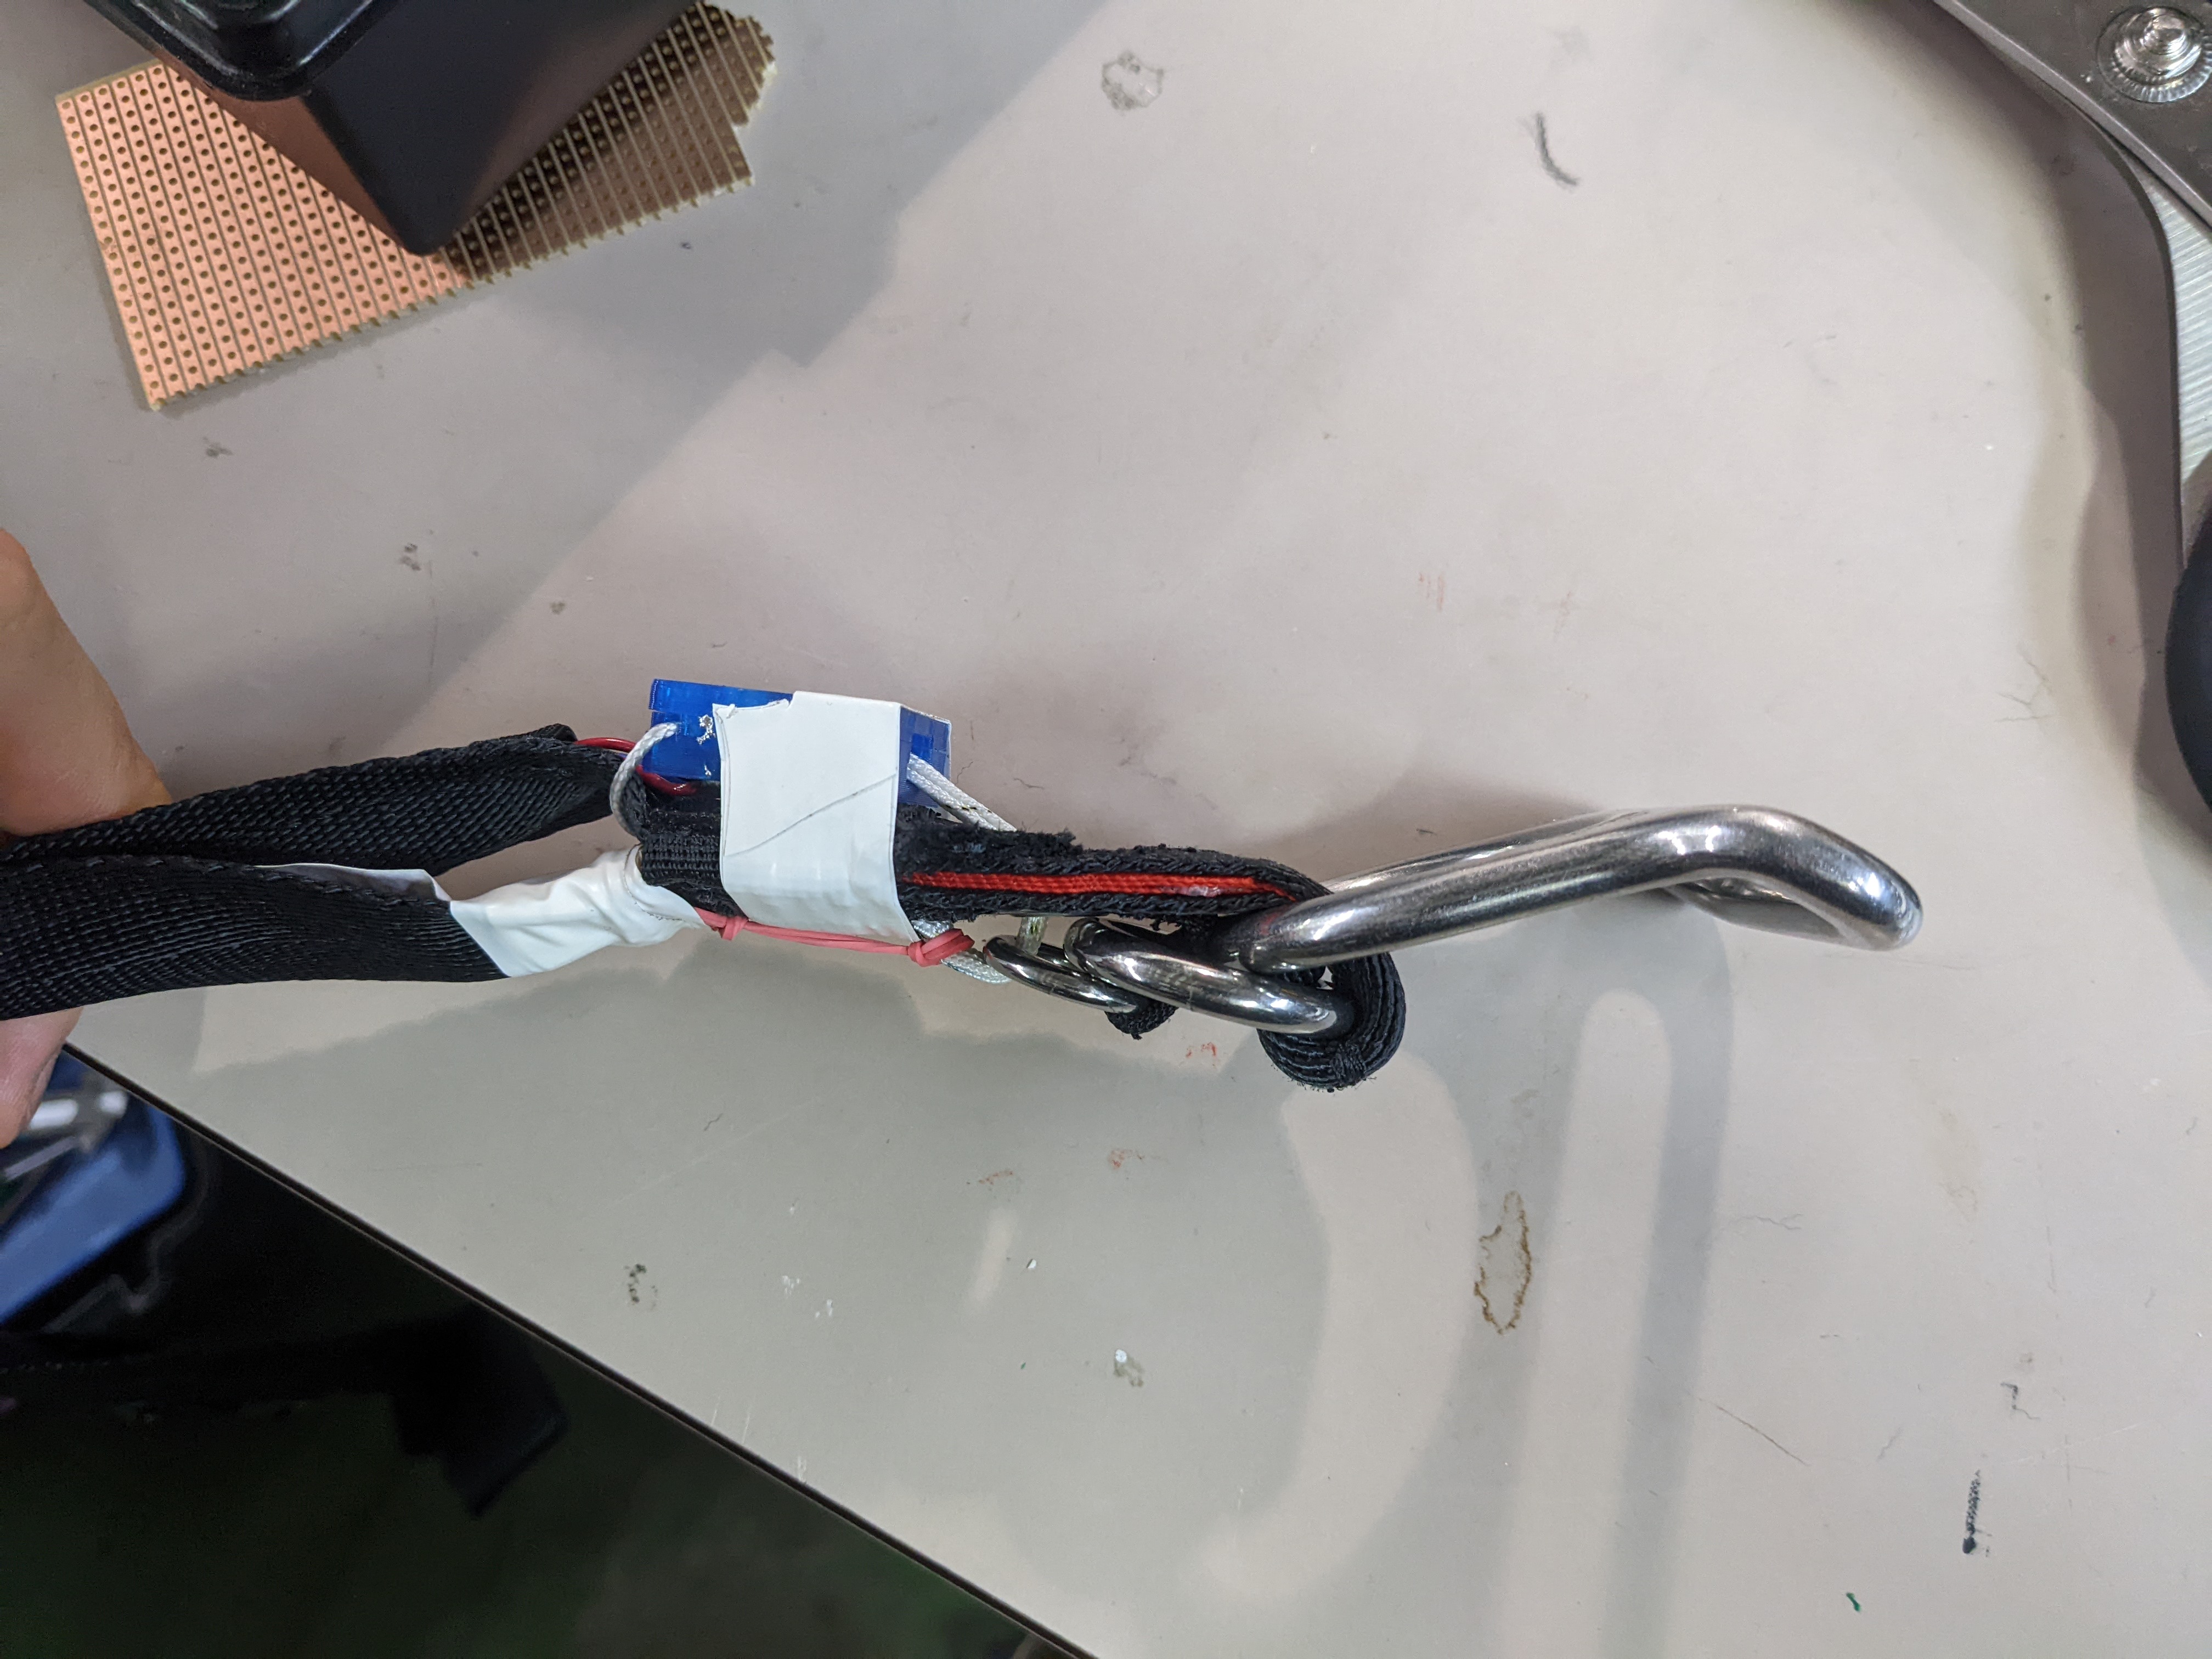
¶ Step E : Elastic
☐ Fix an elastic to the foot of the languette to the 3 rings riser, make a node and tape it
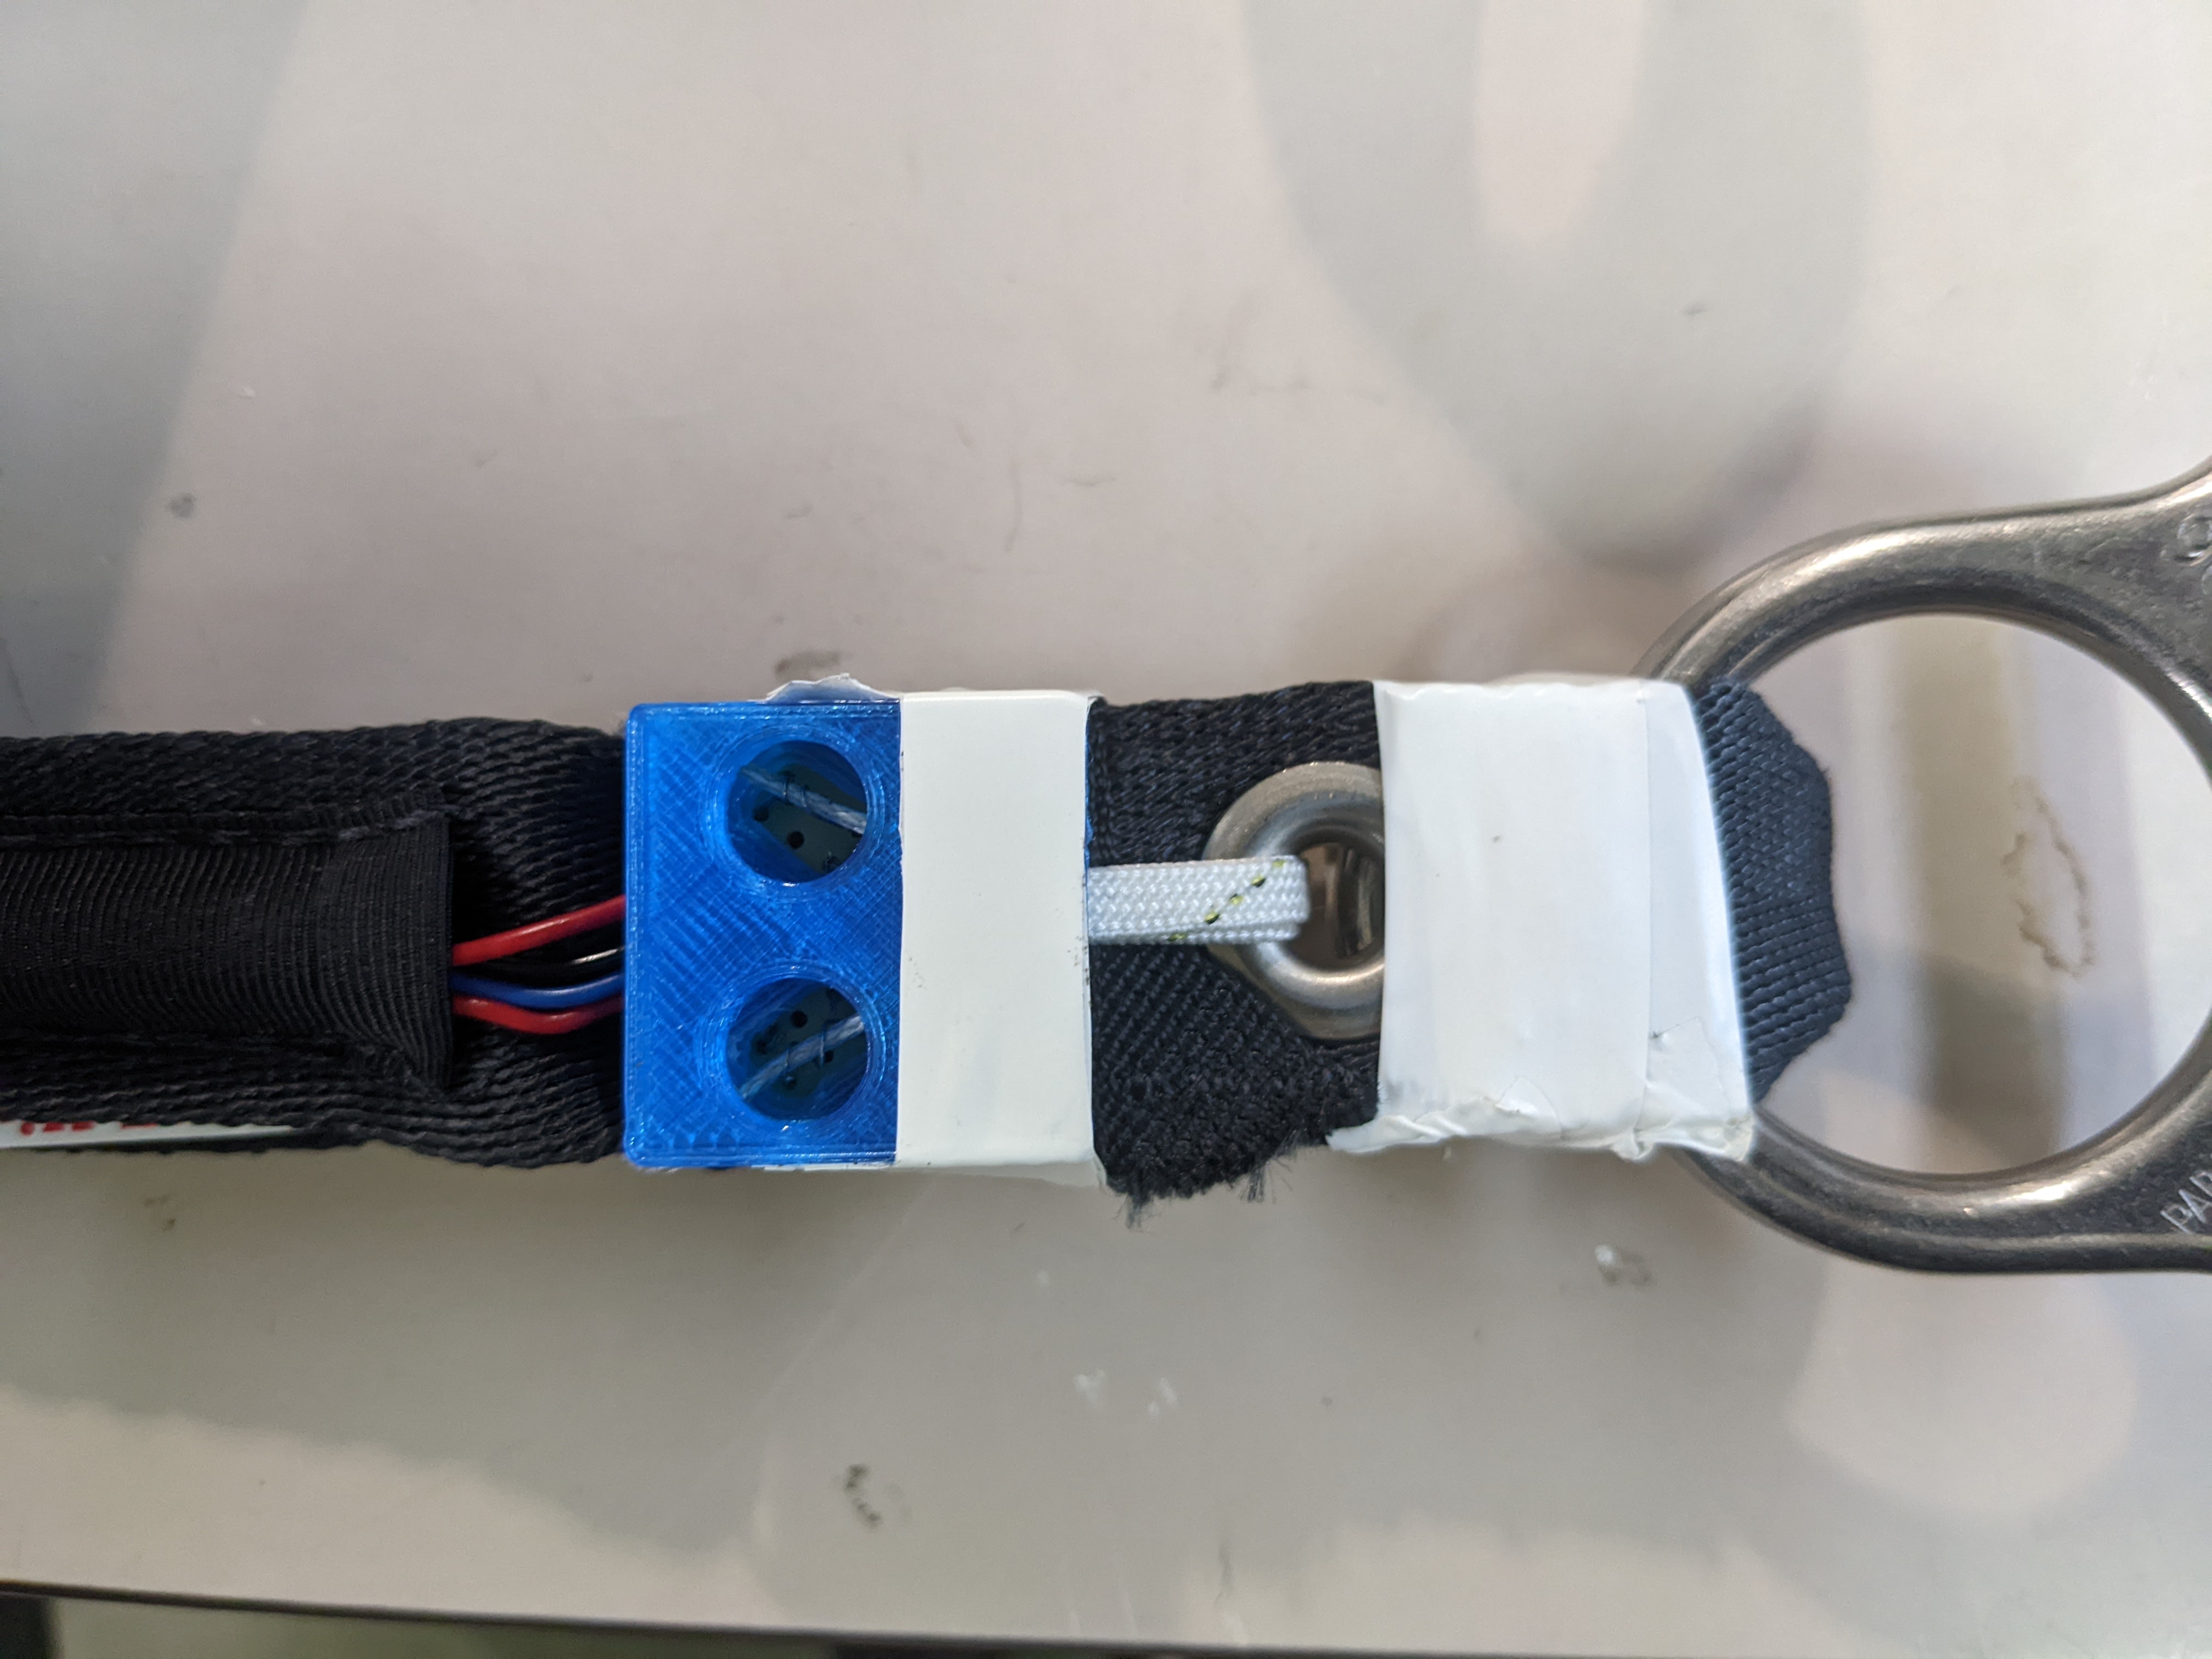
¶ Step F : Connection
☐ Screw the wires to the wire connection taped to the 3 rings riser
☐ Check that wires are longer than necessary in order to allow elongation and torsion of 3 rings riser
¶ Step G : Final tests
☐ Check that there is 0,6 ± 0,2 Ohm between each pair of wires
☐ Visual check, everything fits together, no wire hanging freely
Ready to deploy