¶ Introduction
This document aims to list the different steps to verify if the tanks comply with the pressure requirements.
¶ Test Documentation
This document is a qualification TSP
The main objective of the qualification stage is to demonstrate that the design meets all the specified requirements.
This stage starts after the Critical Design Review (CDR) and ends with the Qualification Review (QR).
The question we are trying to answer in the QR is: Should we redsign this part?
¶ Applicable and Reference Documents
- 2025_C_ST_TANKS_DDF
- 2025_C_ST_TANKS_16L_FEA
- 2025_C_ST_TANKS-6082T6_MAP
- 2025_C_ST_TANKS_PRESSURE_TEST_TR
¶ Requirements to be verified
- 2024_C_SE_ST_TANK_REQ_09 Tank yield pressure
The tank shall not yield under an internal pressure of [90]bars for [30] minutes.
¶ Test Specification
¶ Open issue, Assumption and Constraint
The tanks shall withstand the flight and pressure loads on their own: Flight loads are way lower than the pressure loads so we focus on the pressure.
The use of water as a pressurizing fluid ensures there is no blast in case of burst.
¶ Test Description
¶ 1st Test: Hold at 60 bar for 5 min + hold at 90 bar for 30 min
Objectives :
The Non-Destructive Test must ensure that no leakage,deformation or damage occurs during pressurization at nominal pressure x1.5 for a period of two hours.
Method :
We will fill the tank with water then we will connect a pump in order to gradually increase to 60 bars and leave it for 15 min.
Environment :
The main aspect to take into account is security. It has to take place in an isolated place with thick walls for safety and a source of electricity. ( The 2023 test place is a good option : photo_TR_2023)
Data and Scenarios :
Data will be the pressure and the duration of the test. If there are leaks or deformations and others, photos should be taken with the marking of the damaged area.
Last year, they did 6 tests and for the first 5, they had leaks and problems with the weld parts.
Inspection must be done when the tanks are depressurized.
¶ 2nd test: Cyclique Pressure ΔP = 90 bars, Δt = 5 min
Goal :
Vary the pressure in the tanks with periods of 5 min with a ΔP of 90 bar to ensure that no crack were formed during the 90 bar-Test.
The purpose of this test is to prove that the tank can be used several times as long as it has been operated at its nominal pressure.
Method :
Very similar to the 1st Test : fill the tank with water with the pump and bring it to 90 bar for 1 min then depressurize to 0 bar. Repeat the process 20 times.
Environement :
The environement and the equipement are the same as the 1st Test.
Data and scenario :
The data are still the pressure and the sceneario are the same. A failure of the Tanks even at the last precurisation would be concidered as a Test failure.
¶ 3rd test : Burst Test
Goal:
In theory, the tank can support 120 bar without catastrophic failure. We therefore want to bring the tank to rupture to know its maximal resistance.
Method:
Gradually increase the pressure during 30 min
Environement :
The environement and the equipement are the same as the 1st Test.
¶ Test Requirements
- Every operator involved in testing or handling pressurized tanks shall be familiar with the safety measures to be adopted, the emergency procedures in the event of an incident and must have read the entire Test procedure beforehand.
- A first-aid kit shall be availlable at all times.
- The test shall be performed in clear zone with a radius
¶ Test Sequence
The Burst Test should only be performed once all other tests have been performed and passed.
Sequence:

¶ Pass/Fail Criteria
Pressure was held during the whole test
No leaks
No visible deformation (plastification)
Pressure was not held during the whole test
Leaks
Visible deformations (plastification)
¶ Test Organisation
The tests are performed by the leads from C-ST. One or two additional members are expected but the operating team shall be less than 5 people.
A minimum of 3 people is mandatory to perform the tests.
¶ Test Procedure
¶ Item Under Test
| Part Name | Number of Parts | Main Characteristics | Link to Material Data Sheet |
|---|---|---|---|
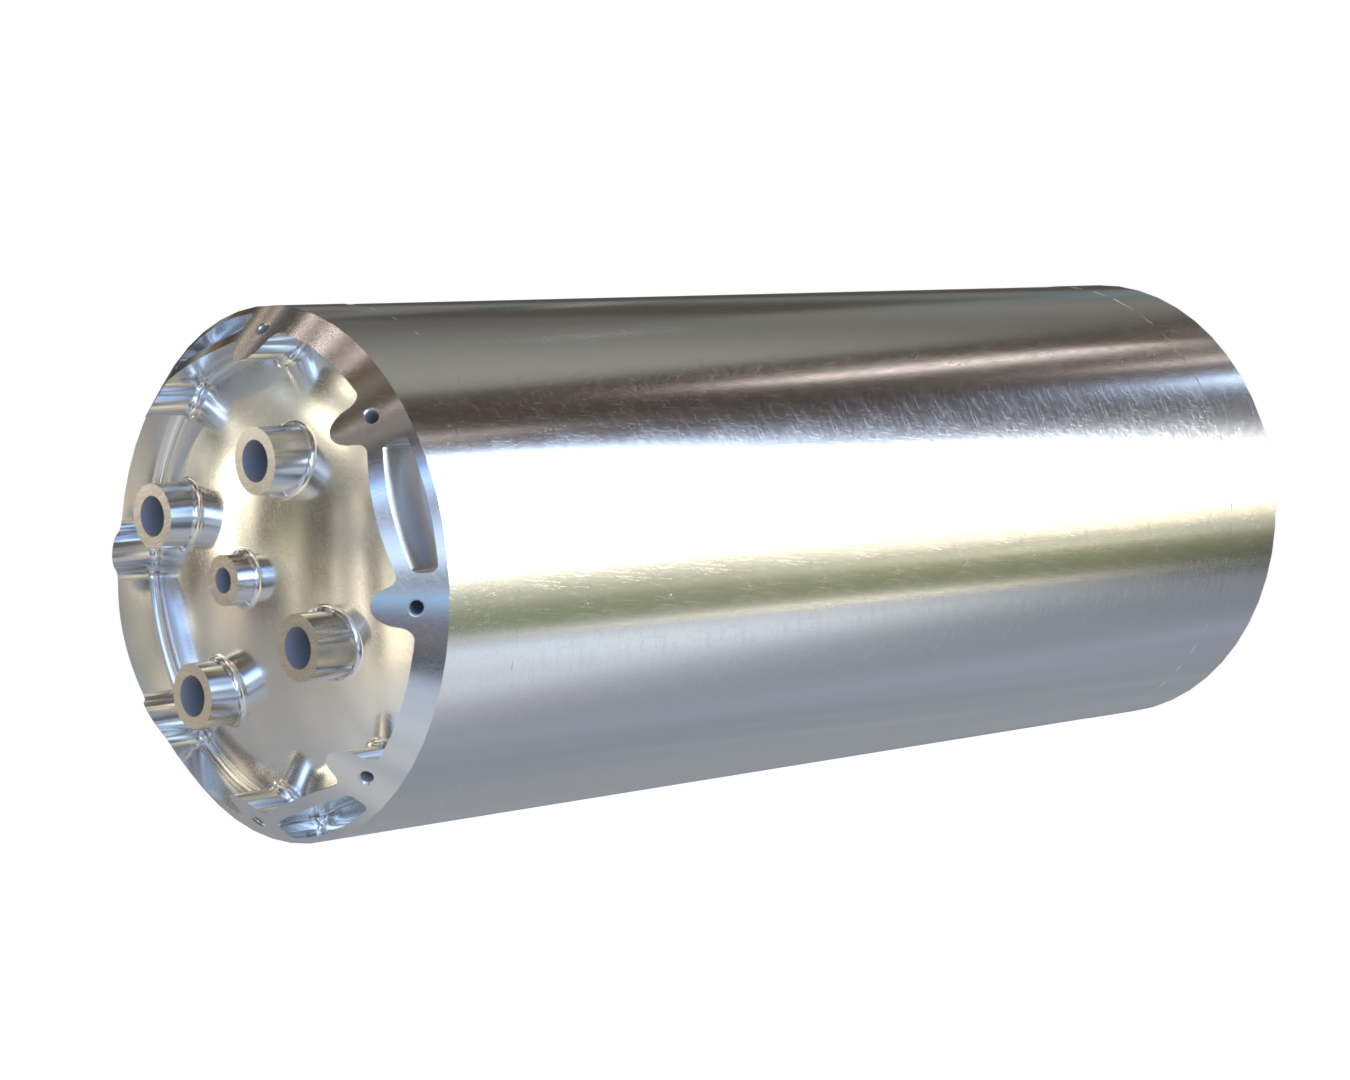
| 215101_Cylindrical_Section | x1 | Main structural element of the tanks, designed to be welded | Al 2195 Datasheet |
| 214202_Coupler_Male | x2 | Designed to close the tank and link the tank to the rest of the rocket' structure | Al 2050 Datasheet |
| 215100_Tank | x1 | Tank design and engineering process |
¶ Test Set-up
¶ Reporting and Documentation
- Incident Traceability: Each incident, anomaly or problem encountered during testing must be recorded in a detailed report. An investigation must be conducted to analyze the cause and take corrective measures.
- Updating Procedures: Procedures must be regularly updated based on new regulations and feedback.
¶ Test Equipment Checklist
| Packed ? | Equipments | Goals |
|---|---|---|
| Bouchons G1/4 (x2) | / | |
| Bouchons G1/2 (x8) | / | |
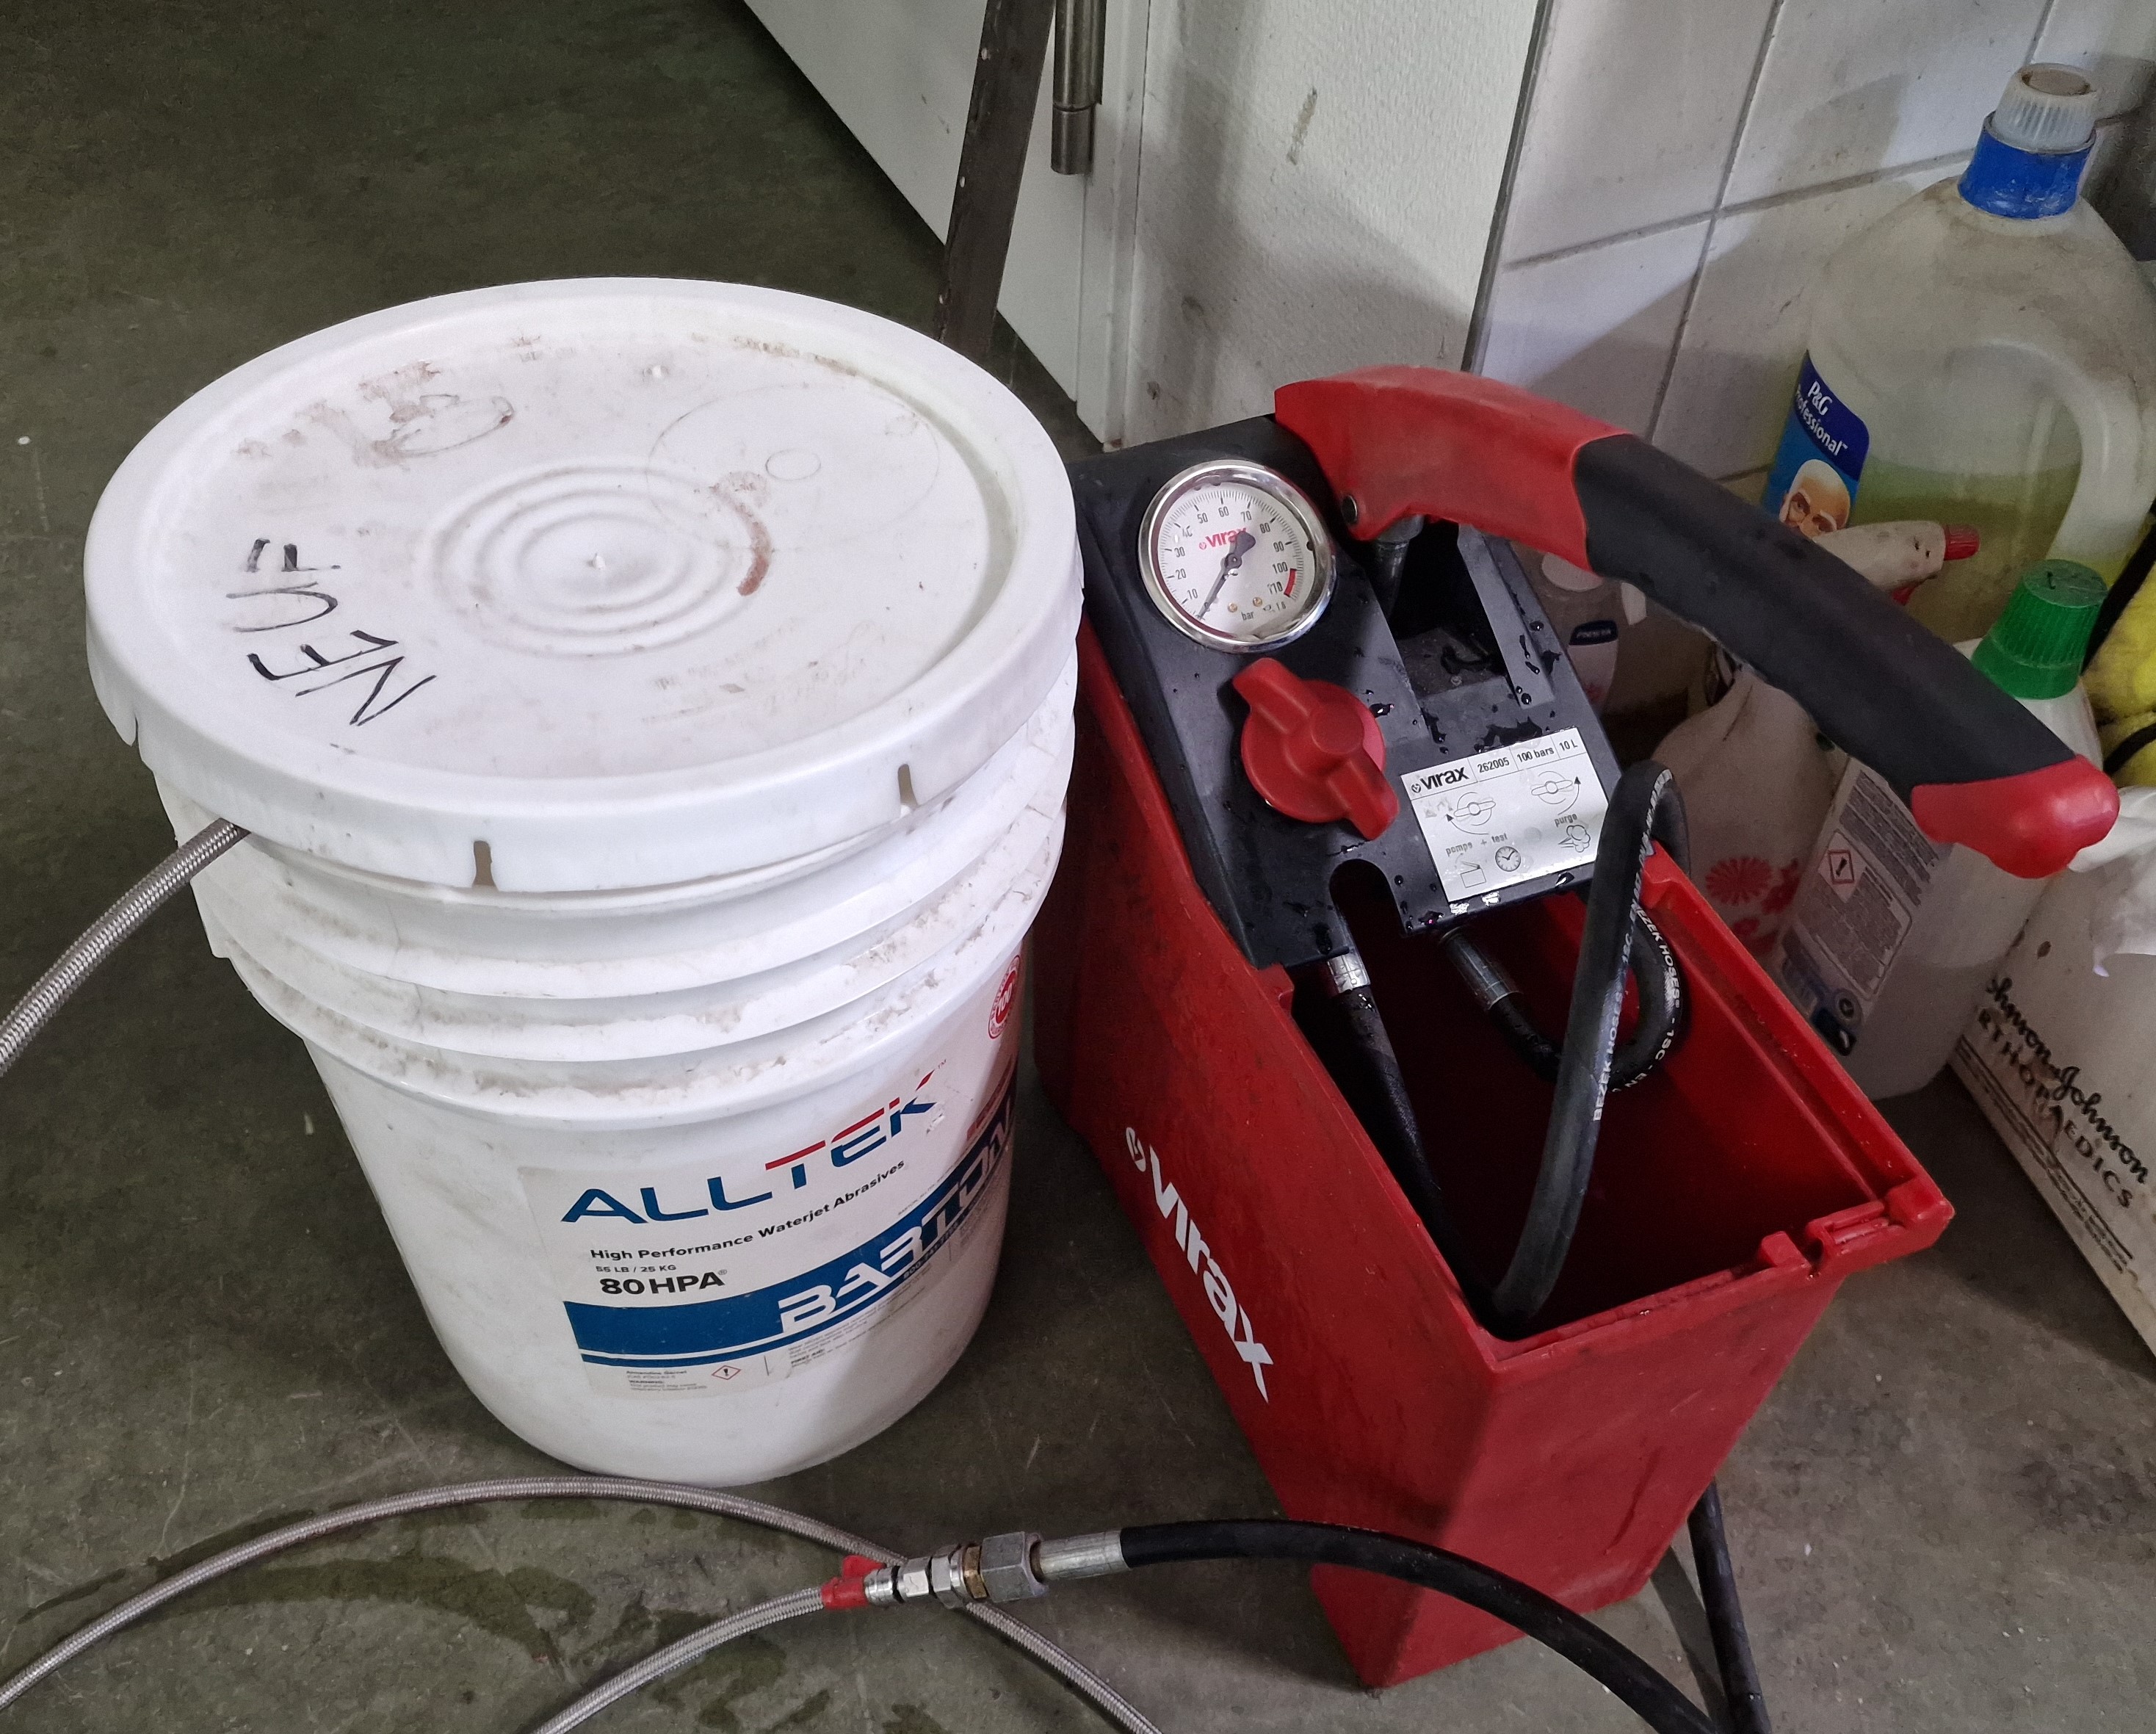
| Water pump (90 bars of capacity minimum) | To pressurize the tanks | |
| Flexible pipe (>3m) | To connect the pump to the tank | |
| Funnel | / | |
| Cloth | To wipe the tank | |
| Pressure sensor | To measure the pressure | |
| Valvotron | To record pressure measurements | |
| Set of wrenches | / | |
| Camera(s) | To record of any anomaly during pressurization | |
| Marker | Mark the leaks zone and deformation | |
| Timer | / | |
| Warning sign | To define danger zone | |
| Tires / sand / trash bin | Shielding | |
| First aid kit | Safety measures |
¶ Test Instrumentation
- Sensor: pressure sensor
- Acquisition device: valvotron
¶ Participants
| Responsible for: | Name |
|---|---|
| Equipment Checklist | __________________________ |
| Safety | __________________________ |
| Site preparation | __________________________ |
| Setup preparation | __________________________ |
| Data gathering | __________________________ |
| Pump boug | __________________________ |
| Reporting boug | __________________________ |
¶ Tasks and Step-by-Step Procedure
¶ Site Preparation
| Done ? | Task | Name |
|---|---|---|
| Know where the first kit aid is and have a phone ready for emergency | ________ | |
| Barricade the test zone by placing a warning sign for passers-by or by having a lookout who keeps an eye on passers-by | ________ | |
| Install a shield to block all direct views of the tank. The shield can be tires, sand bags, trash bin etc. | ________ | |
| Place the pump as far as possible from the test site | ________ | |
| Install a camera to record any phenomena during the test | ________ |
¶ Test Preparation
| Done ? | Task | Name |
|---|---|---|
| Find out about the pump's instructions and precautions for use | ________ | |
| Fill the pump with water | ________ | |
| Block G1/2 inlets (x7) | ________ | |
| Connect the pump to the G1/4 inlet located on the same cap as the four blocked G1/2 inlets | ________ | |
| Place the tank vertically with the pump's pipe downward | ________ | |
| Fill the tank up to the upper cap's dome | ________ | |
| Connect pressure sensor to the G1/4 inlet located on the same cap as the one unblocked G1/2 inlet | ________ | |
| Pump water until spillage to purge all the bubbles from the pump's pipe | ________ | |
| Block the last G1/2 inlet | ________ | |
| Place the tank horizontally on a suitable support and behind the shield | ________ | |
| Take pictures of the pre-test tank | ________ | |
| Calibrate sensor | ________ | |
| Pressure drop test at | ________ |
Pressure drop test: pressurize and hold for
If :
____ Continue
Else :
____ Depressurize
____ Tighten the fittings
____ Restart
GO TL ?
¶ 1st Test: Pressurize at 90 bar for 30 min
Pressurization
| Done ? | Task | Name |
|---|---|---|
| Turn on video recording | ________ | |
| Start pressure data recording | ________ | |
| Pump steadily until reaching | ________ | |
| Pump slowly until reaching | ________ | |
| Pressure drop test at | ________ | |
| Pump slowly until reaching | ________ | |
| Wait | ________ |
Abort:
Whenever a weird sound is heard
When ther pressure drop with a rate
Depressurization
| Done ? | Task | Name |
|---|---|---|
| Open the valve at 10° until reaching (from the pump to depressurize) | ________ | |
| Open the valve at 45° until reaching | ________ | |
| Open fully the valve | ________ |
Check
| Done ? | Task | Name |
|---|---|---|
| Take photo of the post-test tank | ________ | |
| Inspect the zone to see if there is any leakage | ________ | |
| Inspect the tank for any visible sign of damage | ________ | |
| Inspect the circumferential weld | ________ | |
| Inspect the inlets | ________ | |
| Mark all the leak and failure if there are any | ________ | |
| Take photos | ________ | |
| Dry and set up everything as before | ________ |
¶ 2nd Test: Cyclic pressure ΔP = 90 bars
| Done ? | Task | Name |
|---|---|---|
| Pump steadily until reaching | ________ | |
| Depressurize | ________ | |
| 2nd cycle | ________ | |
| 3rd cycle | ________ | |
| 4th cycle | ________ | |
| 5th cycle | ________ |
Check
| Done ? | Task | Name |
|---|---|---|
| Take photo of the post-test tank | ________ | |
| Inspect the zone to see if there is any leakage | ________ | |
| Inspect the tank for any visible sign of damage | ________ | |
| Inspect the circumferential weld | ________ | |
| Inspect the inlets | ________ | |
| Mark all the leak and failure if there are any | ________ | |
| Take photo | ________ | |
| Clean and set up everything as before | ________ |
¶ 3rd Test: Burst Test
Pressurization
| Done ? | Task | Name |
|---|---|---|
| Pump steadily until reaching | ________ | |
| Pump slowly reaching | ________ | |
| Pump slowly until burst while paying attention to weird variation of pressure | ________ |
Check
| Done ? | Task | Name |
|---|---|---|
| Take photo of the post-test tank | ________ | |
| Inspect the crack zone | ________ | |
| Note the fracture surface | ________ | |
| Measure the fracture | ________ | |
| Inspect the inlets | ________ | |
| Mark all the leak and failure if there are any | ________ | |
| Take photo | ________ | |
| Clean the setup | ________ |